Official game
Play Rubinite
This game is hosted by Steam. Continue to the official page to play or download it.
Buy on SteamRubinite Deep Dive Strategy Guide
Overview
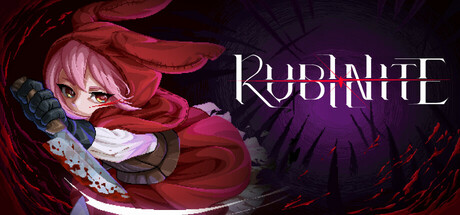
Rubinite is a dark fantasy boss rush action RPG from Cup Dog Games, released July 22, 2026 on Steam for Windows and Mac. You play as Ruby, a princess with crimson eyes who can see the weak points in blood-infused monsters. The Scarlet Kingdom has fallen to a plague called the Bloodstained, and Ruby is the only one who can fight back.
The entire game is built around one mechanic: Focus. Every boss fight is a pattern-recognition puzzle. You read enemy tells, expose weak points during attack windows, and land devastating Critical Thrusts. There are no trash mobs, no grinding, no skill trees. Just 8 unique boss encounters, a hub castle that expands as you progress, and a surprisingly heartfelt story about revenge and found family.
This guide covers everything you need: the Focus system in detail, how to beat every boss, the best Talisman builds, achievement hunting strategies, and advanced techniques that separate clears from clean kills.
Target Audience & Difficulty
Rubinite is for players who enjoyed Furi, Titan Souls, or Sekiro's boss-only structure. The game demands pattern recognition, patience, and precise execution. Button mashing gets you killed. Each boss has 2-3 phases, and dying resets the fight to phase 1.
The difficulty curve is front-loaded. The first boss teaches Focus fundamentals. By boss 4, you're juggling multiple attack patterns, environmental hazards, and phase transitions. The final boss is a three-phase endurance test that checks everything you learned.
Playtime: 4-6 hours for a first clear. Speedrunners finish under 90 minutes. Achievement hunters can spend 15+ hours.
Steam Rating: Very Positive (88% of ~499 reviews)
Getting Started — Your First 30 Minutes
1. Play the tutorial. The game opens with a short tutorial corridor that teaches movement, dodge, Focus, and Critical Thrust. Do not skip it. The tutorial enemy is harmless and exists so you can test the Focus rhythm.
2. Set your controls. Focus is bound to right-click (mouse) or R2/right shoulder (controller). If reaching the Focus button feels awkward, rebind it. You will press it hundreds of times per boss attempt. Comfort matters.
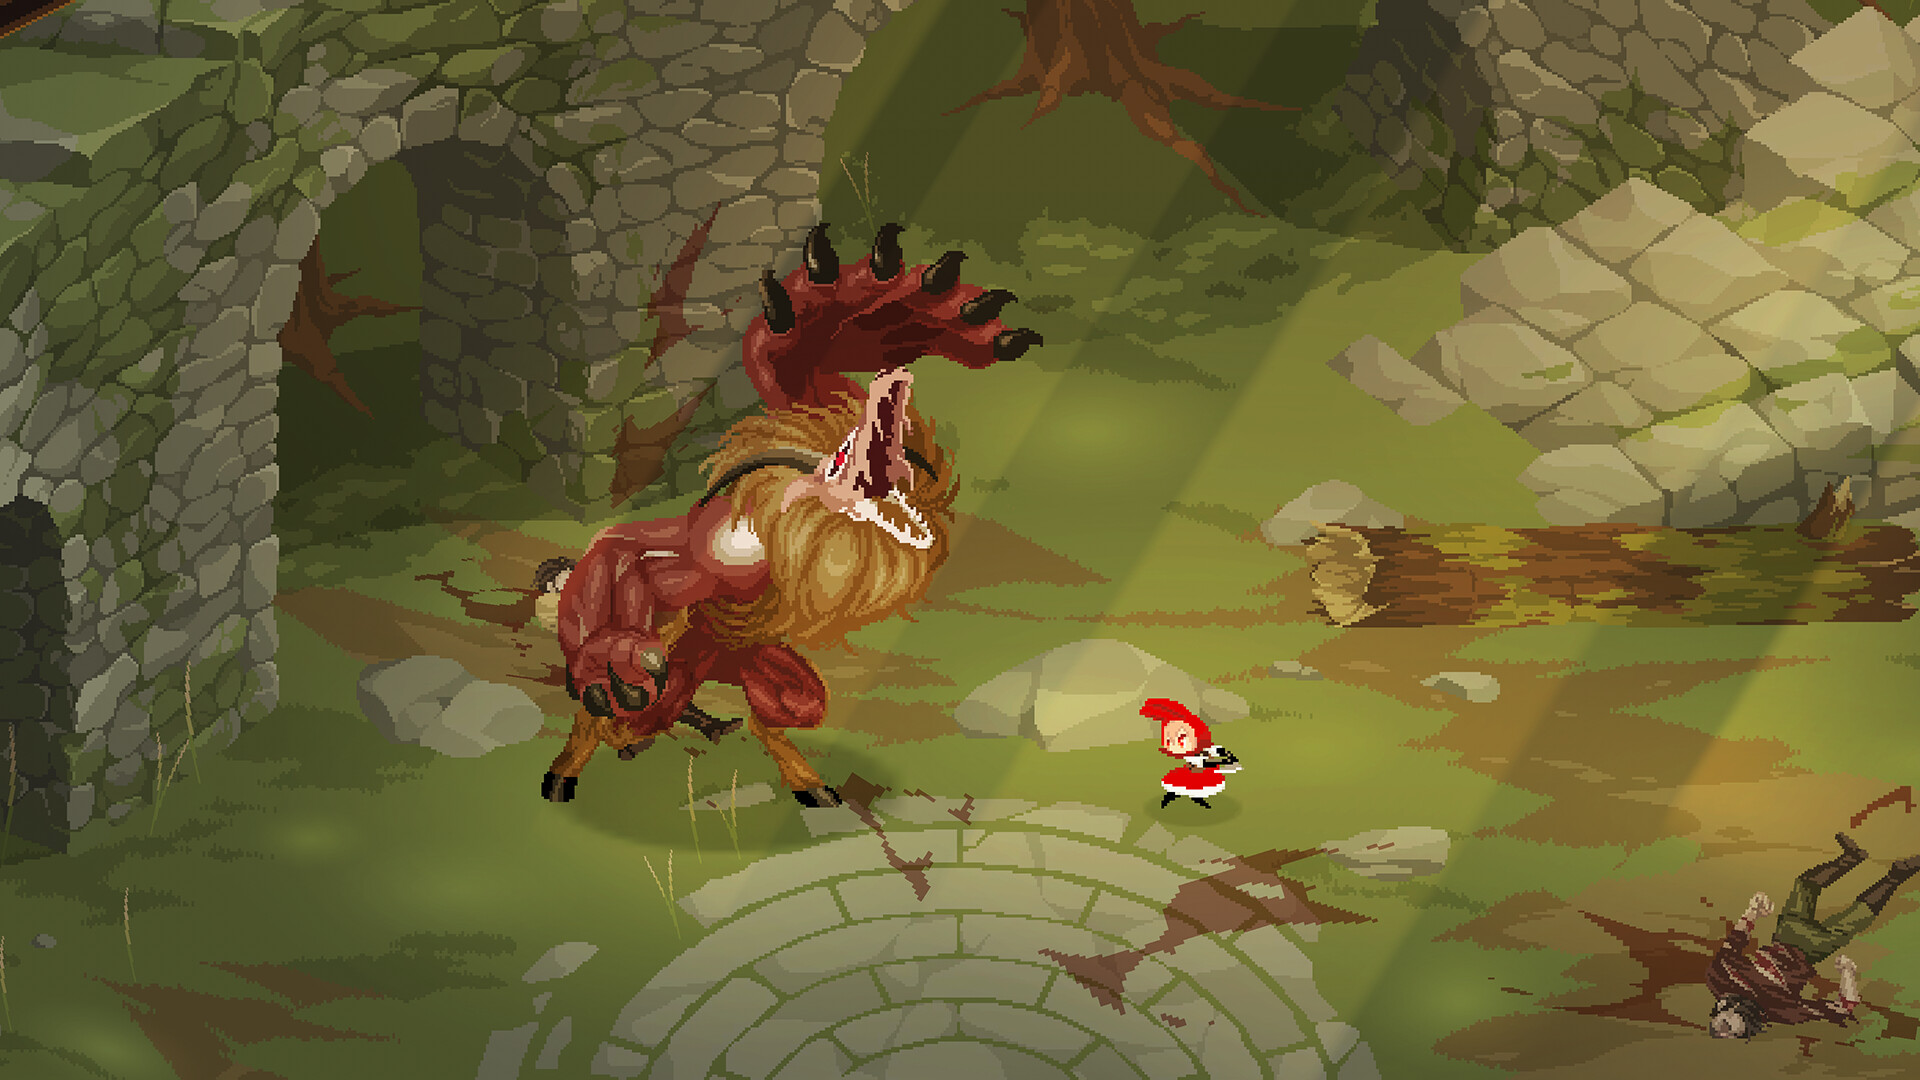
3. Fight the first boss (The Beast). The Beast is a large, quadrupedal monster with three attacks: a slow overhead smash, a charging dash, and a triple-projectile spread. The weak point appears on its chest after the overhead smash. Dodge the smash, hold Focus, land a 1-mark Critical Thrust. Repeat. Do not try for 3-mark plays on your first attempt — the Beast punishes greed with its dash combo.
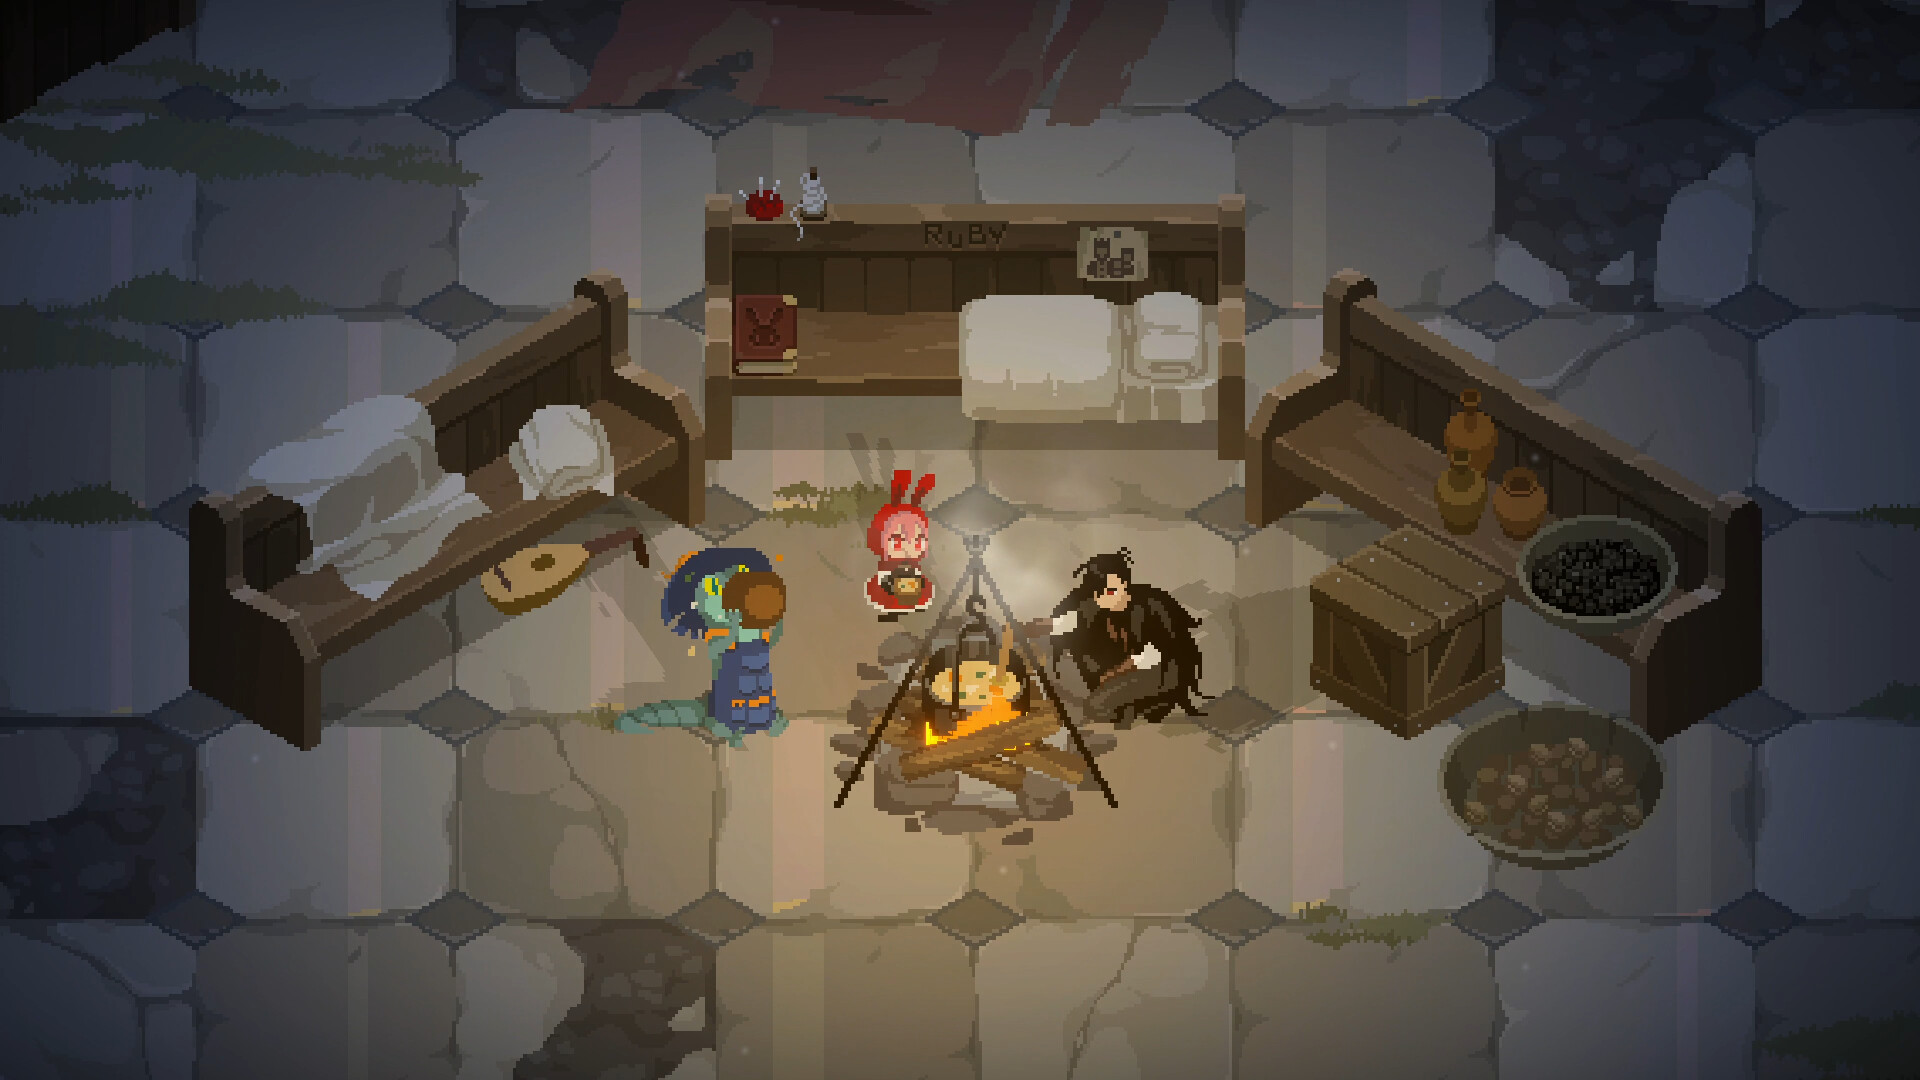
4. Explore the hub. After the first boss, you unlock the Shattered Hub — a ruined castle where you talk to allies Roy and Wichiwi. The hub expands after every 1-2 boss kills. Talk to both allies after each fight. They give lore, hints, and unlock side rooms with upgrades.
5. Craft your first Talisman. After beating The Beast, you get Pureblood — the crafting resource. Visit the crafting bench and make the Crimson Shard Talisman (extends Focus weak point duration by 30%). Equip it immediately. This single Talisman makes every subsequent boss more forgiving.
6. Save your Pureblood. Do not spend Pureblood on cosmetics or repeat crafts until you have a stable Talisman loadout. Pureblood is finite between deaths (though you keep it permanently when you die).
Beginner Mistakes to Avoid
| Mistake | Why It Hurts | Fix |
|---|---|---|
| Button mashing | Normal attacks deal negligible damage. Only Focus strikes move boss HP. | Every fight is about finding openings for Focus, not DPS. |
| Greedy 3-mark stacking | Getting hit during Focus charge resets your progress. You lose the damage window AND take damage. | Start with 1-mark loops. Add marks only when you know the phase timings. |
| Ignoring the hub | The hub unlocks permanent upgrades, lore, and bonus rooms with Rare Talismans. | Visit the hub after every boss kill. Talk to Roy and Wichiwi. |
| Using the same Talisman loadout | Different bosses punish different playstyles. A defensive loadout for boss A is wrong for boss B. | Swap Talismans between fights. The hub allows free re-equipping. |
| Not using the dodge roll | Standing still while charging Focus is a death sentence. Dodge roll cancels into Focus charge. | Practice dodge → immediate Focus as a single muscle-memory sequence. |
Core Mechanics — Deep Dive
The Focus System
Focus is Rubinite's only combat mechanic, and it has layers.
How it works: Hold the Focus button while near a boss. Ruby scans the enemy for a Pure Blood Crystal — a glowing weak point that moves around the boss's body. The scan applies visible marks (up to 3). Each mark takes about 1 second to apply. Once you have marks, release Focus and press attack to spend them all in a Critical Thrust — a high-damage stab that also briefly staggers the boss.
The catch: You cannot move freely while charging Focus. You can only dodge roll. If an attack hits you during the charge window, all accumulated marks reset. You lose the damage and the opening.
The three-mark gamble: 1-mark thrusts are safe and fast. 2-mark thrusts deal 2x damage. 3-mark thrusts deal 4x damage. The risk scales exponentially because you stay vulnerable longer. Beginners should never attempt 3-mark plays. Veterans use 3-mark thrusts only during guaranteed safe windows — typically after a boss's special attack that has a long recovery animation.
Perfect Dodge
Dodge rolling with frame-perfect timing (right before impact) triggers a Perfect Dodge. This has two benefits:
- You take no damage and the dodge animation is faster
- You gain instant Focus progress — roughly equivalent to 1 mark
The meta strategy: learn to Perfect Dodge a boss's most telegraphed attack, then immediately follow with Focus charge for a 2-mark (or even 3-mark) thrust in the same opening. This is how speedrunners and clean-kill hunters play.
Practice tip: The Beast's overhead smash has a 1-second windup. Roll forward through the smash (not backward). Forward rolls have better invincibility frame alignment with the attack's active hitbox.
Talisman Crafting & Build System
Talismans are equippable modifiers crafted from Pureblood. You can equip up to 3 at once. There is no skill tree or stat allocation — Talismans ARE the build system.
Tier S — Priority Crafts
| Talisman | Effect | When to Use |
|---|---|---|
| Crimson Shard | Focus weak points last 30% longer | Every fight. First craft. |
| Blood Rush | Landing a Focus strike heals 10% HP | Sustained fights (Plaguebearer, Dual Cultists) |
| Ghostwalk | Dodge has 2 charges instead of 1 | Fast bosses (Ghost, Roy, final phase Blood Mother) |
Tier A — Situationally Strong
| Talisman | Effect | Best Against |
|---|---|---|
| Iron Will | Reduce damage taken during Focus | Bosses with wide hitboxes (Gravekeeper) |
| Echo Blade | Focus strikes chain to nearby enemies | Dual Cultists (both must die simultaneously) |
| Blood Pact | +50% Focus charge speed, -25% HP | Speedrun attempts, confident players |
Tier B — Niche
| Talisman | Effect | Notes |
|---|---|---|
| Scarab Shell | Take one lethal hit per fight (consumed) | Training wheels. Burns permanently. |
| Hunter's Mark | Weak points visible for +50% longer on Perfect Dodge | Only useful if you're landing Perfect Dodges consistently |
| Scarlet Heart | Double Pureblood drops | Pureblood farming. Waste of a slot during progression. |
Build recommendations by difficulty:
- Easy/Safe: Crimson Shard + Blood Rush + Iron Will. You can tank mistakes and heal through chip damage.
- Aggressive: Crimson Shard + Blood Pact + Ghostwalk. Maximum Focus uptime. High risk, high reward.
- Speedrun: Blood Pact + Ghostwalk + Echo Blade/Scarlet Heart. Skip defensive Talismans entirely.
Boss Guide — All 8 Encounters
The game has 8 main bosses plus optional encounters. Here's how to beat each one.
1. The Beast (Tutorial Boss)
The Beast tests basic Focus execution. Three attacks: overhead smash (safe opening), charging dash (dodge sideways), triple projectile (dodge through, not away).
Strategy: Stick to 1-mark thrusts. The Beast's recovery after the overhead smash is generous enough for a safe 1-mark loop. Do not chase the Beast during its dash phase — let it come to you. Phase 2 adds a spin attack with a wider hitbox. The spin always follows two dashes. Predict it, dodge, then Focus.
Talisman: None required. If you have Crimson Shard, equip it.
2. Guardian Faye
Faye is a humanoid boss with a spear and a large shield. She fights rhythmically — she attacks in 3-hit combos, then rests. The weak point appears on her unshielded shoulder after each combo ender.
Phase 1: Block, thrust, block, thrust. Faye's combo is: sweep → thrust → overhead slam. Dodge all three, then Focus during her recovery. She lowers her shield for 2 seconds after the slam. That's your window.
Phase 2: Faye gains a lunging charge attack and a spinning AoE. The charge is telegraphed by a red flash on her spear tip. Dodge forward through the charge. The spinning AoE has a 1.5-second windup — back away, then Focus.
Tip: Blood Rush Talisman shines here. Faye's phase 2 has tight windows where you might take chip damage. Healing on each Focus strike keeps you in the fight.
3. The Gravekeeper
An undead colossus that controls bone spikes from the ground. This fight is about positioning more than timing.
Phase 1: Bone spikes erupt from the ground in a pattern. The Gravekeeper slams its fist down after each spike salvo. The weak point is on its chest after the fist slam. The arena has safe zones between spike rows — learn the pattern and stand there.
Phase 2: Adds floating skull projectiles that track you. The Gravekeeper slams both fists. The weak point shifts to its head after the double slam. The skulls can be dodged or outrun. Do not Focus while skulls are near you — the projectile will hit you and cancel the charge.
Tip: Iron Will reduces the damage you take if a skull clips you during Focus charge. Worth equipping here.
4. The Plaguebearer (Plague Priestess)
A floating witch who summons Bloodstained minions. The fight has wave management.
Phase 1: She floats above the arena and summons waves of minions. Kill minions to stagger her. When staggered, she drops to ground level and her weak point (chest) is exposed for 4 seconds. Use a full 3-mark thrust during this window.
Phase 2: She floats higher and rains blood projectiles across the arena. The weak point is on her right eye, but only appears while she's casting the rain attack. The window is short. Wait for the eye to glow, then Focus-attack.
Critical detail: The minions in phase 1 heal the Plaguebearer if they reach her. Prioritize killing them over damaging her. This is the one fight where normal attacks matter — use them to clear minions.
Talisman: Crimson Shard is mandatory here. The extended Focus window makes the eye-shot viable.
5. The Dual Cultists
A gimmick fight: two bosses that share a health bar. If one dies, the other enrages and the remaining health bar doubles in speed. You must kill them simultaneously.
Phase 1: Both Cultists use identical attack patterns — a 2-hit combo with a dagger, then a poison orb toss. The weak points appear on both simultaneously after the poison orb toss. Land a Focus strike on each within 3 seconds of the other.
Phase 2: Both Cultists gain teleport attacks. They teleport to your position and stab. The timing is synced — if one teleports, the other will teleport 0.5 seconds later. Dodge the first, immediately dodge again for the second. The weak point window after the second teleport is short but safe.
Tip: Echo Blade is the MVP Talisman here. A Focus strike on one Cultist chains damage to the other, helping keep their health bars even. Without it, you must manually track both HP values.
6. The Martyred Angel
A winged boss fought in a narrow corridor. Tight space, wide attacks.
Phase 1: The Angel sweeps the corridor with light beams. Each beam is preceded by a glowing line on the floor. Stand between the lines. The weak point appears on the Angel's wings after each beam volley.
Phase 2: The Angel crashes to the floor and becomes a melee fighter. It swings a colossal sword in 270-degree arcs. The weak point is on its head after each sword slam. The sword gets stuck in the floor for 3 seconds — your safest window in the entire fight.
Tip: Ghostwalk gives you two dodge charges. Use the first charge to dodge the sword swing, the second to reposition behind the Angel for the Focus strike. Without Ghostwalk, the timing is extremely tight.
7. The Ghost (Optional Boss)
A hidden boss found in a locked room in the hub. To unlock: after beating the Plaguebearer, talk to Wichiwi three times, then examine the cracked wall in the eastern corridor.
The Ghost is a fast, teleporting enemy that hits hard and moves constantly. It has no phase transitions — just one health bar with relentless aggression.
Strategy: Never chase the Ghost. It always teleports behind you after 3 attacks. Wait for the teleport, dodge forward, and you'll be facing its back — where the weak point appears. Land one 1-mark thrust, then reset. This fight is a marathon, not a sprint. Blood Rush is essential for sustain.
8. Roy (Secret Boss — Hidden)
Roy, your ally, becomes a boss if you exhaust his dialogue in the hub before the final boss. Talk to him between every boss fight. If you trigger his boss fight, you get a unique ending and an achievement.
Roy fights like a player character: he dodges, uses Focus, and heals. The fight is a mirror match. The weak point appears on his chest after he dodges and attacks — punish his recovery. He heals twice during the fight, so you need to out-damage his sustain.
Tip: Blood Pact + aggressive play is the counter. Out-damage his healing windows.
9. The Puppet Master (Final Boss — Blood Mother)
Three phases. The Puppet Master controls Bloodstained puppets through glowing threads.
Phase 1: Two puppet knights attack in alternating patterns. The weak points are on their chests. Each puppet must be damaged evenly — if one puppet dies, the Puppet Master enrages and the remaining puppet gains the second phase moveset early.
Phase 2: The Puppet Master fights directly, floating above the arena and striking with thread blades. The weak point is on its mask. The mask disappears and reappears — you can only hit it during the reappearance flash. This phase demands perfect timing.
Phase 3: The arena floods with Blood. The Puppet Master summons copies of every previous boss you fought. Each copy has 30% HP but uses the same attack patterns. They appear one at a time in the order you fought them. You must survive a gauntlet of mini-bosses with reduced health pools. Between each copy, the Puppet Master shoots blood beams from the center. Dodge the beam, kill the copy, survive.
This is the hardest fight in the game. Recommended loadout: Crimson Shard + Blood Rush + Ghostwalk. Use Ghostwalk charges aggressively in phase 3 — the extra dodge is the difference between clean survival and getting clipped.
Progression Strategy — Hub & Tower Guide
Your hub, the Shattered Tower, is more than a lore dump. It has upgrade stations:
- Crafting Bench — Make Talismans from Pureblood. Unlocked after boss 1.
- Soup Kitchen — Roy's soup gives a temporary damage buff for the next boss. Costs 50 Pureblood. Worth it before tough fights.
- Training Room — Practice Focus on a stationary dummy. Unlocked after boss 2. Use this to test new Talisman loadouts.
- Library — Wichiwi reads lore entries that hint at boss weaknesses. Unlocked after boss 3. The hints are vague but helpful for first attempts.
- Hidden Rooms — Break cracked walls to find Pureblood caches and rare Talismans. Check every wall after each boss kill.
Optimal progression order:
- The Beast → Craft Crimson Shard
- Guardian Faye → Unlock Training Room
- Gravekeeper → Unlock Library, get Plaguebearer weakness hint
- Plaguebearer → Unlock Hidden Room access
- Dual Cultists → Craft Echo Blade for this
- Martyred Angel → Craft Ghostwalk
- Ghost (optional) → Pureblood for final Talisman upgrades
- Puppet Master (final) → Full loadout, all upgrades
Achievement Hunting — 38 Total
Rubinite has 38 Steam achievements. Here are the tricky ones:
Flawless Knight: Beat any boss without taking damage. Guardian Faye is the easiest target. Her phase 1 is highly predictable. Phase 2 adds the charge attack, but a Perfect Dodge through it gives you instant Focus stacks without the risk.
Focus Master: Land 10 Focus strikes in 30 seconds. Impossible against most bosses — they don't expose weak points fast enough. The Plaguebearer's phase 2 is the exception. She exposes the eye weak point every 2 seconds during the rain attack. Use Blood Pact for maximum Focus charge speed and farm 10 thrusts.
Speedrunner: Beat the game under 90 minutes. Skip all hub dialogue, skip the Ghost (optional), use Blood Pact + Ghostwalk loadout for every fight. 1-mark thrusts only — don't waste time on 3-mark setups. Save at the hub checkpoint to avoid running back.
No Talisman Run: Beat the final boss with 0 Talismans equipped. This is harder than it sounds because the Puppet Master's phase 3 gauntlet is brutal without Blood Rush healing. Strategy: learn every Perfect Dodge timing for the previous boss copies. You need near-perfect execution for 5+ minutes.
Advanced Tips
Focus charge cancel: Press dodge while charging Focus to cancel the charge without losing your current marks. Use this to bait boss attacks — start charging, the boss prepares a punish, dodge cancel, then re-engage during their recovery. This is the highest-level mind game in Rubinite.
Boss aggression manipulation: Most bosses have a "patience timer" — if you stay too far away for too long, they spam their most dangerous attack. Stay at mid-range (2-3 dodge rolls away) to keep them in their standard pattern cycle. Too close triggers the fast combo. Too far triggers the charge or projectile spam.
The soup trick: Roy's soup buff lasts for exactly 1 boss attempt. If you die, the buff is consumed. Strategy: save your Pureblood for soup, fight the boss once to learn the phase 1 pattern, die intentionally, then craft soup and go for the real attempt. You learn the fight risk-free and then have the damage buff for the serious try.
Bench swapping mid-fight: You cannot change Talismans during a boss fight. However, you can quit to the hub (not die, but quit from the pause menu) and the boss resets to phase 1. Use this to swap loadouts between phases if you realize your current setup doesn't work for phase 2. The boss heals fully, but you keep your Talisman change.
FAQ — Common Questions
Is Rubinite a souls-like? Structurally no — there's no exploration, no stats, no gear. Combat-wise, the Focus mechanic creates souls-like tension (commit to an action, get punished for mistakes). Think of it as a boss-rush game with souls-like pacing.
How many bosses? 8 main bosses, 2 optional (Ghost, Roy). 10 total encounters plus the phase 3 gauntlet mimics.
How long is it? 4-6 hours for a first playthrough. Speedrunners can finish in under 90 minutes.
Is there replay value? Achievement hunting, No Talisman runs, speedrun leaderboards, and the hidden Roy boss with a different ending.
What are the system requirements? Windows 10/Mac OS 12+, 2.4 GHz Dual Core CPU, 4GB RAM, Intel HD Graphics 500 minimum. Recommended: 2.5+ GHz Quad Core, 8GB RAM, GTX 960+.
Is controller supported? Yes, full controller support. The gamepad is recommended — analog stick controls give finer movement for Focus positioning.
Is there a demo? Yes. A free demo with two boss fights (The Beast and Guardian Faye) and Talisman crafting is available on Steam.
Screenshots