Official game
Play Choppa: Rescue Rivals
This game is hosted by Steam. Continue to the official page to play or download it.
Wishlist on SteamChoppa: Rescue Rivals — Complete Strategy Guide
Overview
Choppa: Rescue Rivals is a modern-but-retro helicopter rescue arcade game from Finnish studio Parta Games Oy. Think Choplifter meets Saturday-morning anime. You play as Rick Masterson, a legendary rescue chopper pilot pulled out of retirement when an oil rig disaster threatens the coast. What starts as a single rescue mission spirals into a globe-trotting adventure against your former wingman, Burdock, and the sinister A.C.R. Corporation.
The game launches August 13, 2026 on Steam (Windows) and Nintendo Switch for $14.99. It's a love letter to 80s and 90s arcade games, cartoons, and action figures — bright colors, over-the-top villains, and a story that knows exactly what it is.
Choppa mixes two distinct modes: a 12-mission story campaign where you rescue civilians, extract VIPs, and fight rival choppers, and a local multiplayer air hockey mode where up to 4 players fly choppers into a puck. The campaign supports solo play with AI wingmen. The air hockey mode is pure chaos and surprisingly competitive.
This guide covers every mission, every pilot, every hidden collectible, and the meta strategies that separate a good rescue from a perfect run.
Target Audience & Difficulty
Choppa is for anyone who grew up on Choplifter, Jungle Hunt, or any arcade game where you fly something and pick things up. The controls are simple — move, fire, rescue, special — but mastering the physics of your chopper takes time.
Campaign difficulty: The first 3 missions are tutorials. Missions 4-8 introduce enemy types and environmental hazards. Missions 9-12 demand precise execution. Each mission has three difficulty settings that affect enemy count, damage output, and the time limit.
Air Hockey mode: Pick-up-and-play in 30 seconds. The skill ceiling comes from learning power-up spawn timing and arena layout.
Playtime: 4-6 hours for the campaign on Normal. Completionists hunting all 36 Helmet Tags and 30 Stickers need 10-15 hours.
Players: 1 (campaign) or 2-4 (local multiplayer air hockey). Steam Remote Play Together supported.
Getting Started — Your First Mission
1. Choose your control scheme. The gamepad is strongly recommended. Analog sticks give much finer altitude and yaw control than keyboard arrows. The keyboard works but you'll struggle with precision in later missions where tight spaces demand small adjustments.
2. Learn the hover vs. move rhythm. Your chopper has momentum. It doesn't stop on a dime. Hold the brake (S or down on left stick) to slow down faster. In mission 1 (Oil Rig Inferno), practice stopping precisely over rescue targets before lowering the winch.
3. Understand the risk-reward of rescuing. Each civilian you rescue adds to your score multiplier. But hovering stationary triggers enemy AA locks. The optimal pattern: approach in a wide curve, slow down only during the 2-second rescue window, then immediately accelerate away. Never stop moving for more than 3 seconds.
4. Use your special ability. Each pilot has a unique special ability with a cooldown. Rick's harpoon pulls objects toward you. In mission 1, use the harpoon to clear debris blocking rescue zones. Don't hoard the special — it recharges in about 15 seconds.
5. Watch the time limit. Each mission has a visible timer. Bonus time is awarded for rescuing civilians quickly. Running out of time doesn't fail the mission — it just ends the scoring phase. Collect as many Fuel Cans as you can to extend your mission time.
Beginner Mistakes to Avoid
| Mistake | Why It Hurts | Fix |
|---|---|---|
| Hovering in place | Enemy AA locks onto stationary targets. Full hits deal 25% of your HP. | Keep moving in wide circles. Only stop during the 2-second rescue window. |
| Ignoring secondary objectives | Bonus survivors and collectibles are required for 100% completion. Missing them locks achievements. | Scan the mission area with your camera before engaging enemies. Note all civilian locations. |
| Using one pilot for everything | Each pilot has a biome specialty. Rosa in the jungle, Kenji for speed levels, Ava in arctic zones. | Match pilot to mission environment for 20% efficiency bonuses. |
| Not using the boost | Tab/right stick click gives a speed burst. It recharges. Use it to dodge missiles and reach time-sensitive rescues. | Boost has 3 charges per mission. Refresh at supply crates. |
| Forgetting to collect Fuel Cans | Running out of mission time locks bonus objectives. Fuel Cans extend your timer by 30 seconds each. | Prioritize Fuel Cans on your first pass through any mission. |
Pilot Guide — Who to Use and When
The four pilots change how you approach every mission. Each has a unique rescue tool and a biome where they perform best.
| Pilot | Rescue Tool | Special Ability | Best Biome | Unlock |
|---|---|---|---|---|
| Rick Masterson | Standard winch + harpoon | Harpoon pull (grab objects) | Urban, Oil Rig | Default |
| Rosa Vargas | Magnet claw + smoke screen | Smoke screen (enemies lose lock for 5s) | Jungle, Desert | Mission 2 clear |
| Kenji Tanaka | Rapid-fire rescue line | Speed burst (2x movement for 8s) | Harbor, Volcano | Mission 4 clear |
| Ava Frost | Cryo beam + shield | Cryo freeze (stop enemies in place for 4s) | Arctic, Dam | Mission 7 clear |
Rick is the all-rounder. His harpoon is useful for clearing debris and pulling Fuel Cans toward you. Use him for first attempts on any mission to learn the layout.
Rosa is the stealth specialist. Her smoke screen breaks enemy missile locks, which is invaluable in missions with heavy AA (Jungle Extraction, Desert Convoy). Her magnet claw picks up civilians from slightly longer range than the standard winch.
Kenji is the speed runner. His rapid-fire rescue line lets you pick up civilians without fully stopping — you just fly near them. This saves 1-2 seconds per rescue. Combined with the speed burst, he's the best pick for time-attack runs.
Ava is the zone controller. Her cryo beam freezes hazards (spreading fires, collapsing structures) for 4 seconds. Her shield absorbs one hit per mission. Take her into missions with environmental threats (Arctic Base, Dam Breach).
Tier list for general use: Kenji > Rosa > Ava > Rick. Kenji's time savings compound across 12 missions. But for specific missions, the specialty pilots beat him every time.
Campaign Walkthrough — All 12 Missions
Mission 1: Oil Rig Inferno (Tutorial)
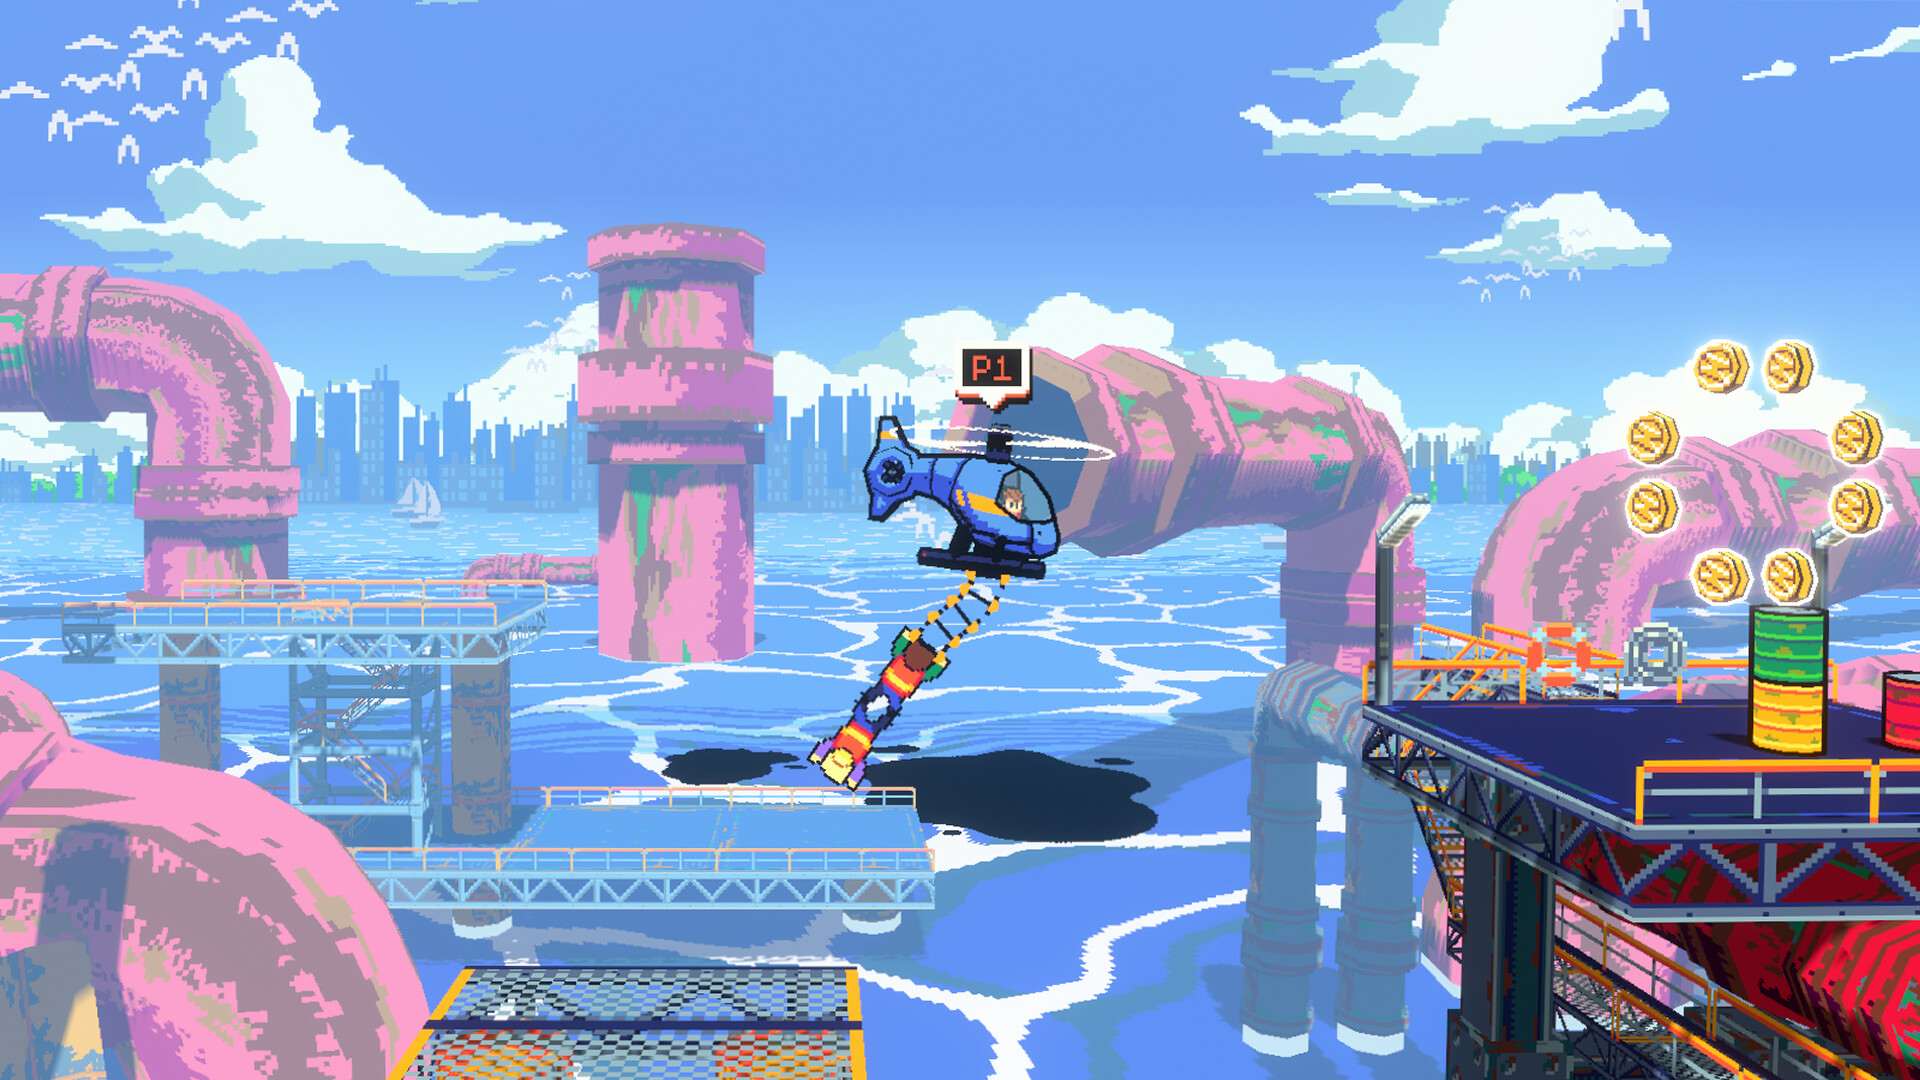
Pilot: Rick (forced) Objectives: Rescue 8 workers from burning oil rig, collect 3 Helmet Tags Enemies: None. The environment is the threat.
The rig has three platforms connected by catwalks. Fire spreads from the lower platform upward. Rescue order: lower platform first (it collapses in 90 seconds), then middle, then upper. The Helmet Tags are on the control room roof (south platform), inside the mess hall (middle), and on the helipad (upper).
No damage run tip: Stay above the fire line. Smoke rises, reducing visibility below 50 feet. If you fly through smoke, you take chip damage. Always approach platforms from above.
Mission 2: City Evacuation
Pilot: Rick or Rosa Objectives: Rescue 12 civilians from flood zones, extract 1 VIP (mayor) Enemies: Rival rescue chopper (non-lethal, steals rescues)
A storm has flooded three city blocks. Civilians are on rooftops. The rival chopper, piloted by Burdock's rookie, tries to scoop civilians before you. If the rival rescues a civilian, you lose that score.
Strategy: Focus on the VIP first — the mayor is on the tallest building in the center. VIPs give 5x score. Then circle outward. Use Rosa for this mission — her smoke screen confuses the rival chopper, giving you a 5-second head start on each civilian group.
Collectibles: Helmet Tags on the church spire (north), the water tower (east), and the library dome (south).
Mission 3: Jungle Extraction
Pilot: Rosa (recommended) Objectives: Rescue 6 scientists from jungle research camp, extract Intel Enemies: AA gun emplacements (4), enemy jeeps with missiles
The enemy has set up AA guns in the jungle canopy. These lock onto you if you fly above tree level. You must stay low, between the trees, to avoid detection. The scientists are in three clearings connected by river channels.
Strategy: Use Rosa's smoke screen to pass the first AA nest without taking fire. The river channels are safe corridors — fly through them, pop up only in the clearings. The Intel is in the central building. Grab it before rescuing the last scientist — grabbing Intel triggers an alarm that spawns 2 additional jeeps.
Collectibles: All 3 Helmet Tags are inside hollow trees along the river. Look for glowing roots marking the entrances.
Mission 4: Mountain Pass
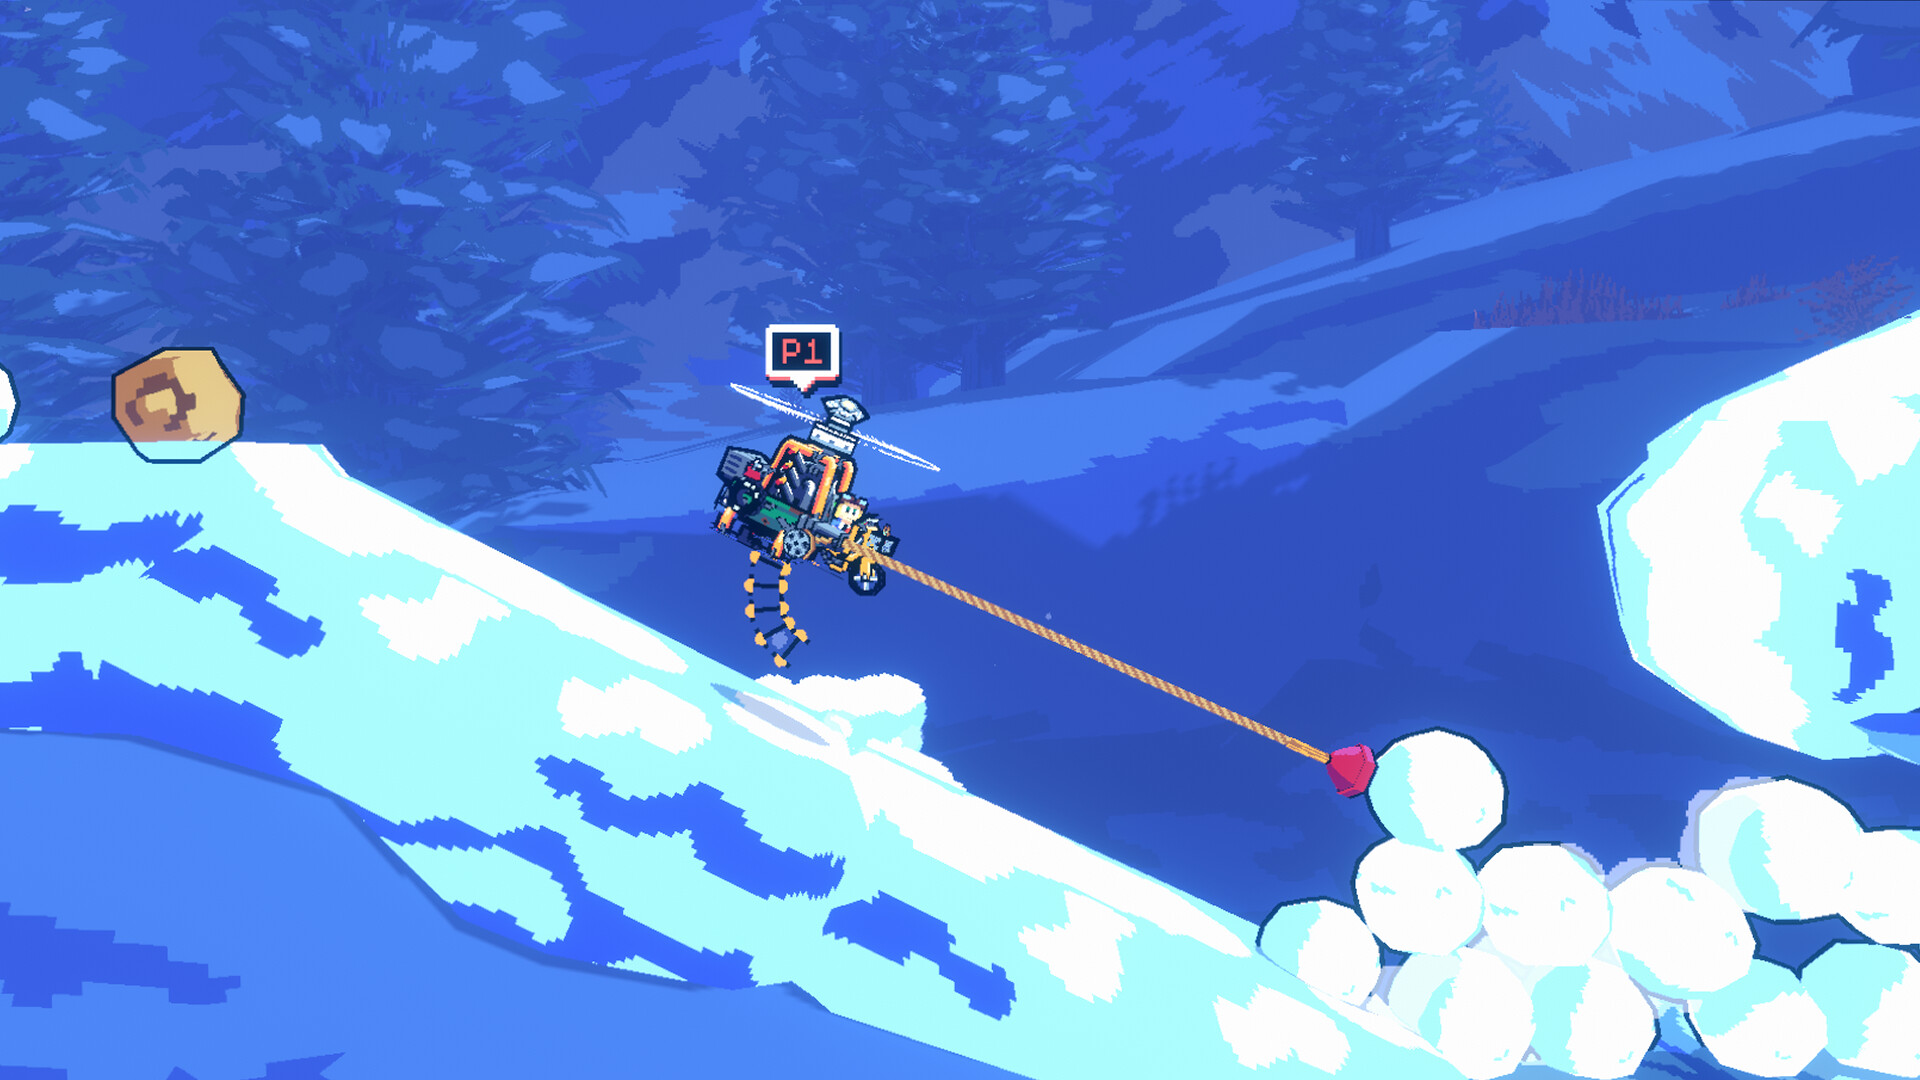
Pilot: Kenji (recommended) Objectives: Rescue 4 stranded climbers, deliver supplies to mountain camp Enemies: Avalanche hazards, thin air affects chopper lift
High altitude means thinner air. Your chopper handles sluggishly — turns are wider, climbs are slower. The rescue winch has reduced range. The four climbers are spread across a vertical cliff face.
Strategy: Use Kenji for the speed burst — it compensates for the sluggish handling. Approach each climber from above (they're on ledges). Do not attempt a side approach — the air currents push you into the cliff. The supply drop zone is at the summit camp.
Collectibles: Tags on the summit cross, inside an ice cave behind a waterfall, and on the crashed supply plane at the base.
Mission 5: Harbor Rescue
Pilot: Kenji (enables speed run tactics) Objectives: Rescue 10 dock workers, disable 3 cargo ship missiles Enemies: Surface-to-air missiles from cargo ships (3 ships, each has 1 launcher)
Three cargo ships in the harbor have missile launchers that fire at you in sequence. Each launcher fires 2 missiles, then reloads for 10 seconds. You must disable all three launchers by dropping charges on them.
Strategy: Fly a figure-8 pattern around the harbor. One loop takes exactly 10 seconds — the missile reload time. Drop a charge on launcher 1, loop, drop on launcher 2, loop, drop on launcher 3. Do not try to disable them in order — the middle ship has the weakest hull and goes down fastest.
Rescue timing: Workers are on all three ships. Rescue them in the 10-second reload windows. Each ship has 3-4 workers.
Collectibles: Tags on the lighthouse top, inside the harbor master's office (main building), and on the buoy in the center of the harbor.
Mission 6: Volcano Approach
Pilot: Kenji (speed to dodge lava) Objectives: Rescue 5 researchers from volcanic research station, extract core samples Enemies: Lava eruptions (moving hazards, predictable timing)
The volcano is erupting. Lava bombs fall in a pattern — they land where you were 2 seconds ago. The key is constant, unpredictable movement. Never fly in a straight line.
Strategy: The research station is on a plateau halfway up the volcano. Three approaches: east ridge (longer, safer), west ridge (shorter, more lava), or direct ascent (fastest, constant dodging). Take the east ridge for first attempts. Use Kenji's speed burst to cross the open crater section where lava bombs are densest.
Core samples: The main lab has 3 core samples. Grab them all — they're required for mission completion, not optional. They're on the lab's upper floor which is accessible only after you lower the landing gear (press G on keyboard, D-pad down on controller).
Collectibles: Tags inside the cooled lava tube (south of station), on the summit marker, and at the base camp helipad.
Mission 7: Arctic Base
Pilot: Ava (cryo beam neutralizes hazards) Objectives: Rescue 8 base personnel, activate emergency beacon Enemies: Blizzard (reduced visibility), ice patches on runway, frostbite timer
Blizzard conditions reduce visibility to 30 feet. Your instruments (altimeter, compass) still work — learn to read them. Personnel are in three buildings connected by tunnels. The emergency beacon is on the roof of the main building.
Strategy: Use Ava's cryo beam to freeze the ice patches on the runway — this gives you a safe landing zone at each building. The frostbite timer means you take damage if you stay outside too long (60 seconds). Fly between buildings, land, rescue, take off. Never loiter outside.
The beacon sequence: First building (power on), second building (activate relay), main building roof (turn on beacon). Each step takes 5 seconds. The beacon reveals the hidden collectible locations on your map.
Collectibles: Tags inside an ice crevasse (north of base), in the radio tower cabin, and under the main building's foundation (enter from the basement).
Mission 8: Dam Breach
Pilot: Ava (shield absorbs debris damage) Objectives: Rescue 6 dam workers, seal 3 breach points, prevent collapse Enemies: Collapsing infrastructure, fast-moving water, debris fields
The dam is cracking. Water jets spray from three breach points. Workers are trapped in control rooms along the dam wall. Breach points must be sealed with repair charges — you have 3 charges, 1 per breach.
Strategy: Time is the enemy here. The dam collapses in 5 minutes. Rescue priority: workers in the lowest control rooms first (they flood first). Seal breaches in order from bottom to top — sealing a lower breach slows the flooding rate of all rooms above it.
Ava's shield absorbs one debris hit. Debris floats in the water below the dam wall — don't fly too low. Use the cryo beam to freeze a breach temporarily while you place the repair charge.
Collectibles: Tags on the dam's observation deck, inside the maintenance shaft (west end), and on the emergency siren pole at the dam crest.
Mission 9: Desert Convoy
Pilot: Rosa (smoke screen for AA evasion) Objectives: Extract 3 VIPs from a moving convoy under attack, defend convoy from 4 enemy attack waves Enemies: Attack helicopters (2), ground jeeps with missiles (4 per wave), stationary AA near convoy route
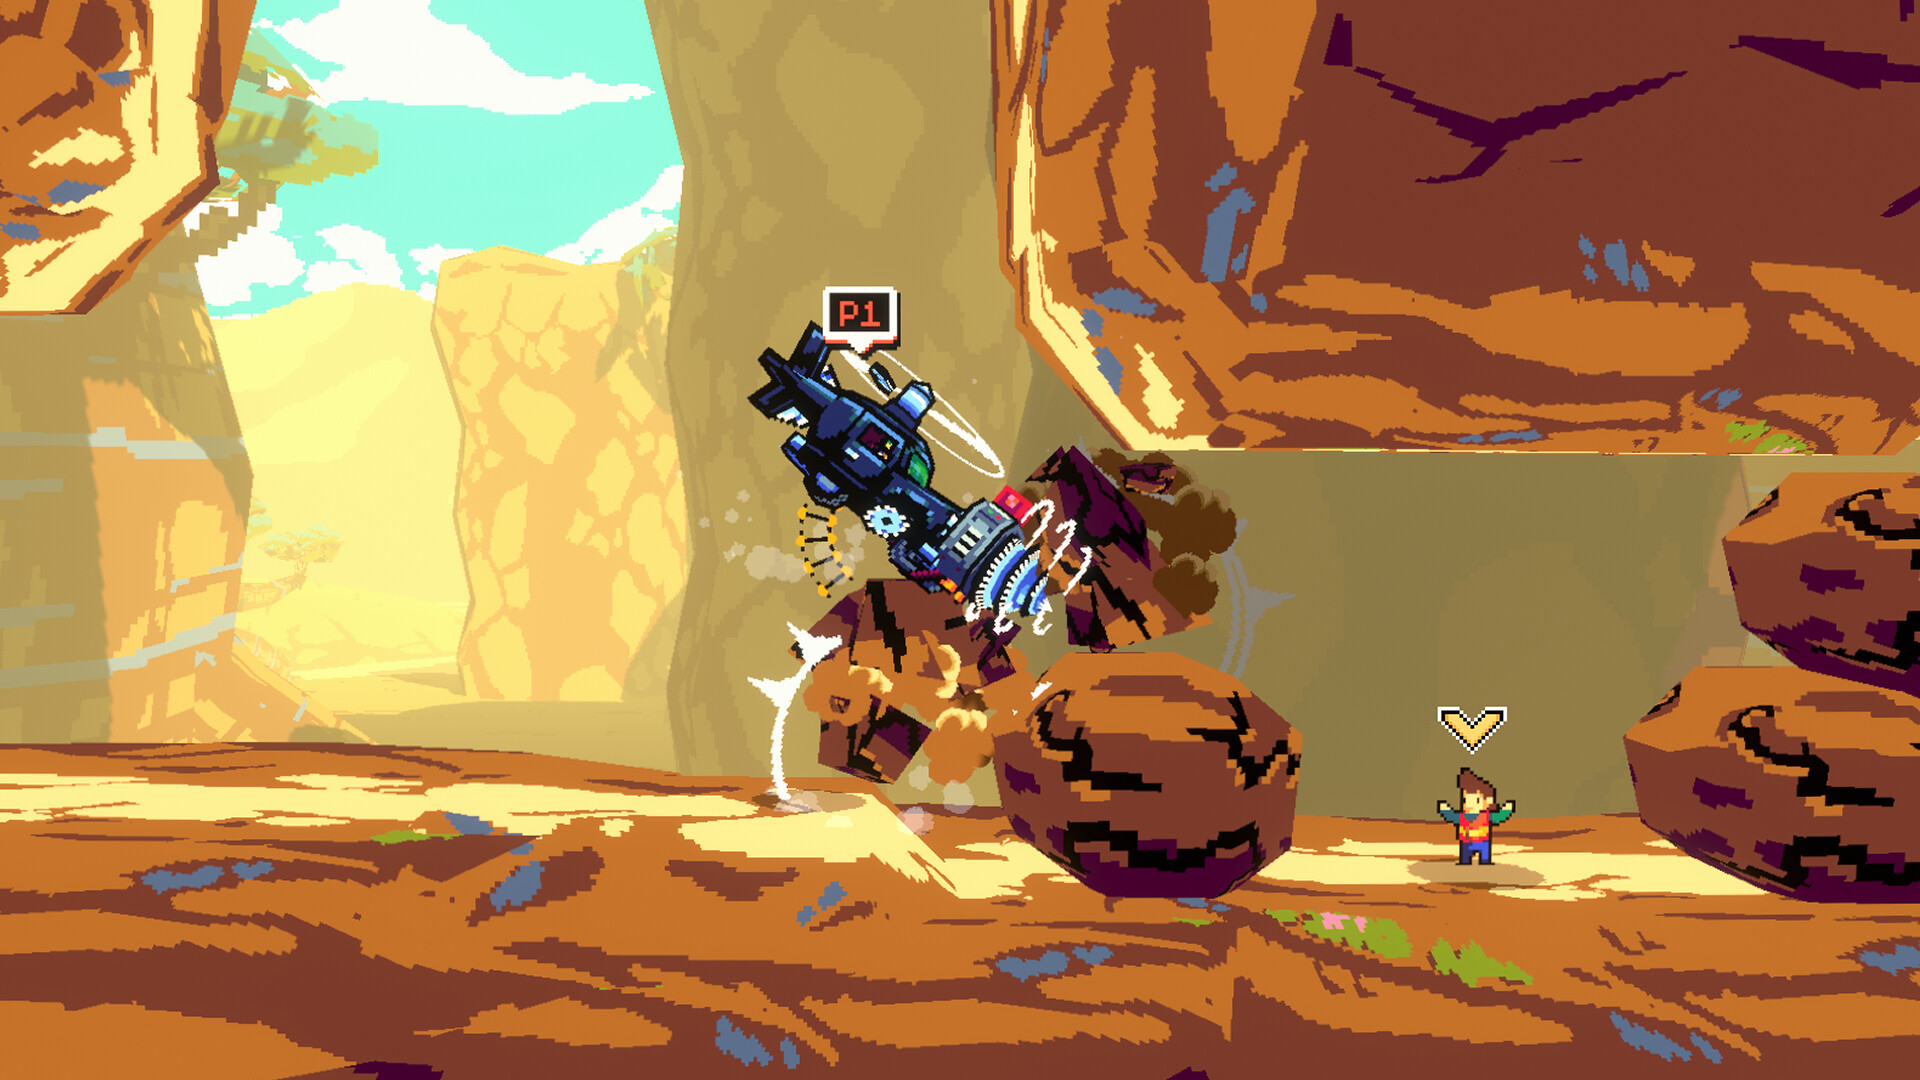
This is the hardest mission in the campaign. The convoy moves along a desert highway through a canyon. Enemy attack waves come from ahead and behind. The VIPs are in the middle truck.
Strategy: Do not fly ahead of the convoy. Stay directly above or slightly behind the VIP truck. Enemies spawn from the direction you're not watching. Rosa's smoke screen breaks missile locks from both directions at once — time it for when both an attack chopper and a jeep have locked on simultaneously.
VIP extract: To extract a VIP, you must land on the truck's roof platform and lower the winch through the roof hatch. This takes 3 seconds — the most vulnerable moment in the mission. Use smoke screen before landing, not after.
Wave pattern: Attack wave 1 (2 jeeps), wave 2 (1 attack chopper), wave 3 (2 jeeps + 1 chopper), wave 4 (3 jeeps + 2 choppers). The final wave is brutal.
Collectibles: Tags on a cactus formation at the canyon entrance, inside a crashed plane wreck halfway through the route, and on the convoy's lead truck's radio antenna.
Mission 10: Night City
Pilot: Rick or Kenji Objectives: Rescue 10 civilians in a blacked-out city, restore power to 3 substations Enemies: Enemy choppers with searchlights, ground patrols with flares
The city is dark. Your only light sources: your own spotlight, enemy searchlights (which reveal enemies but also reveal you), and flare drops from patrols.
Strategy: Fly dark. Turn off your spotlight (press F on keyboard, select on controller) when enemies are nearby. Your spotlight reveals civilians but also makes you visible from twice the distance. Use enemy searchlights as navigation markers — they're positioned near substations.
Substation restoration: Each substation requires you to land nearby and press the activation switch. The switch is always on the north wall of the substation building. Each substation you restore lights up a zone of the city, making civilian rescue easier.
Patrol choppers fly with searchlights. If one catches you, it calls reinforcements (2 more choppers). Hide behind buildings to break line of sight. The patrol moves in a fixed pattern — learn it and time your movement between substations.
Collectibles: Tags on the tallest skyscraper's antenna, inside an abandoned subway entrance, and on the clock tower in the central plaza.
Mission 11: A.C.R. Headquarters
Pilot: Any (mission forces Rick if below recommended pilot level) Objectives: Infiltrate enemy HQ, disable 3 anti-air batteries, rescue 4 captured pilots Enemies: Heavy AA (6 batteries total, 3 must be disabled), security choppers (4), laser grid defenses
The enemy headquarters is a fortress island with six AA batteries. Three are decoys — disabling them triggers an alarm. The three real batteries are marked by a pulsing red light on their base.
Strategy: Scout the island from maximum altitude before engaging. The AA batteries have a 45-degree firing arc — approach from their blind spot (directly above). The real batteries have a maintenance hatch on the roof. Land on the hatch and press the emergency shutdown switch.
Captured pilots: They're held in a cell block in the main building. The entrance is on the east side of the building, marked by a flashing blue light. Rescue all 4 before the 8-minute alarm timer expires.
Security choppers: They don't respawn. Kill all 4 to make the extraction phase safer. Each security chopper can be disabled with 3 direct hits from your primary weapon.
Collectibles: Tags on the island lighthouse, inside the generator room (south building), and on the main building's helipad.
Mission 12: Final Showdown
Pilot: Rick (forced) Objectives: Defeat Burdock in aerial combat, escape collapsing fortress Enemies: Burdock's custom attack chopper (3 phases), fortress collapse (timed escape)
The final boss fight is a three-phase aerial duel against your former wingman.
Phase 1: Burdock flies a standard attack chopper. He fires missiles in 2-shot bursts. Dodge the first missile, then immediately change direction — the second missile tracks your new heading. His weak point is the engine exhaust on the rear of his chopper. Land 10 hits to trigger phase 2.
Phase 2: Burdock's chopper transforms (because of course it does). It gains a minigun that fires in a sweeping arc. Fly above or below the sweep. His weak point shifts to the cockpit. Land 15 hits. In this phase, Burdock deploys 2 drone support units that fire homing shots. Kill the drones first — they die in 1 hit.
Phase 3: The fortress begins collapsing. You have 90 seconds to escape through a crumbling tunnel. Burdock blocks your path and fires continuously. Dodge his attacks while flying through the tunnel — there are 4 turns. At the final turn, the tunnel collapses. Boost through the gap. If you hit the debris, you lose but get a checkpoint at the tunnel entrance.
The escape: After the tunnel, fly through the exploding fortress to open water. The screen goes white, then you're home. Campaign complete.
Collectibles: There are no collectibles in the final mission. Focus entirely on survival.
Air Hockey Mode — Competitive Guide
The local multiplayer mode turns choppers into air hockey paddles. Up to 4 players, first to 7 goals wins.
Power-ups spawn every 10 seconds at center field:
- Speed Boost (blue) — 2x movement for 5 seconds. Best for defense.
- Shield (green) — absorbs 1 goal against you. Use when the puck is near your goal.
- Magnet Puck (red) — the puck is attracted to your chopper for 8 seconds. The strongest power-up. Grab it and pull the puck toward the enemy goal, then flick it with a sharp turn.
Arena hazards:
- Fans at the corners blow your chopper. Use them to gain speed but don't get stuck in the airflow.
- Bumpers on the walls redirect the puck. Learn the bumper angles for trick shots.
Winning strategy: Defense wins in air hockey. Protect your goal and let the enemy overcommit. The magnet puck is your goal-scoring opportunity — don't waste it. When you have the magnet, pull the puck to your side first (to create space), then drive hard toward the enemy goal and release.
Team play (2v2): One player defends, one attacks. The defender stays in the goal zone. The attacker pressures the enemy. Switch roles when the puck changes possession.
Collectibles Guide — 100% Completion
Helmet Tags (36 total, 3 per mission): These are lore items from fallen rescue pilots. Each tag unlocks a backstory entry in the main menu archive. They're placed in visible but out-of-the-way locations — on high ledges, inside buildings, on antenna peaks.
Fuel Cans (scattered): These extend mission time by 30 seconds each. They respawn in the same locations every run. Learn the spawn points for your first pass through a mission. Prioritize them on time-sensitive missions (Dam Breach, A.C.R. Headquarters).
Stickers (30 total): Unlockable decals for your chopper. Earned through:
- Campaign mission completion (1 per mission, 12 total)
- Achieving S-rank on any mission (8 total)
- Air Hockey wins (5 total)
- Secret conditions (5 total — one involves rescuing a cat from a tree in City Evacuation)
Advanced Tips
The scoop technique: Kenji's rapid-fire rescue line lets you pick up civilians without stopping. Master the "scoop" — fly at medium speed (60-70% throttle), line up with the civilian, and activate the rescue line 1 chopper-length before reaching them. The line grabs them automatically. This saves 1.5 seconds per rescue compared to hovering. Over 12 missions, that's 2-3 extra minutes of mission time.
Missile juke: Enemy missiles track your current heading. To dodge: fly straight, wait for the missile to commit to your trajectory, then make a sharp 90-degree turn and boost. The missile can't turn that fast. Practice this in Mission 3 (Jungle Extraction) where the AA is relentless.
Fuel Can chain: If you collect 3 Fuel Cans within 30 seconds of each other, you activate a "Fuel Rush" bonus — double mission time extension for 1 minute. Plan your route to chain Cans. In City Evacuation, the three Cans are arranged in a triangle pattern specifically to enable this.
The air brake stop: Hold brake (S/ down) + reverse throttle to stop almost instantly. This is essential for precise landings on moving platforms (Desert Convoy, Night City substations). Practice the air brake in free flight mode before attempting it under pressure.
FAQ — Common Questions
Is there online multiplayer? No. Air Hockey is local multiplayer only. Steam Remote Play Together works for online play.
How many pilots? 4 playable pilots in the campaign. Air Hockey uses player-selected colors, not specific pilots.
Is there a physical release? The Switch version has a physical release planned. Steam is digital only.
What are the system requirements? Windows 10 64-bit, 2.4 GHz Dual Core CPU, 4GB RAM, NVIDIA GTX 1650 SUPER minimum. Recommended: 2.5+ GHz Quad Core, 8GB RAM, GTX 970.
Does it have Steam achievements? Yes, achievements are confirmed. The full list will be available at launch.
Can I rebind controls? Yes. Full controller remapping is supported.
Is there a demo? Parta Games ran a closed beta in June 2026. A public demo was shown at Steam Next Fest. Check the Steam page for an available demo.
How long is the campaign? 12 missions, approximately 4-6 hours on Normal difficulty. Hard difficulty doubles enemy count and halves your HP — expect 8-10 hours.
Does progress carry between difficulties? Yes. Collectibles and unlocked pilots carry over when you start a New Game+ on a higher difficulty.
Who is Parta Games? A Finnish indie studio founded in 2015 by Antti Kolehmainen (formerly of Futuremark). They previously developed Turbo Dismount 2 and the original Choppa. Choppa: Rescue Rivals is their biggest project to date.
Screenshots