Official game
Play Puffer Panic
This game is hosted by itch.io. Continue to the official page to play or download it.
Play on itch.ioOverview
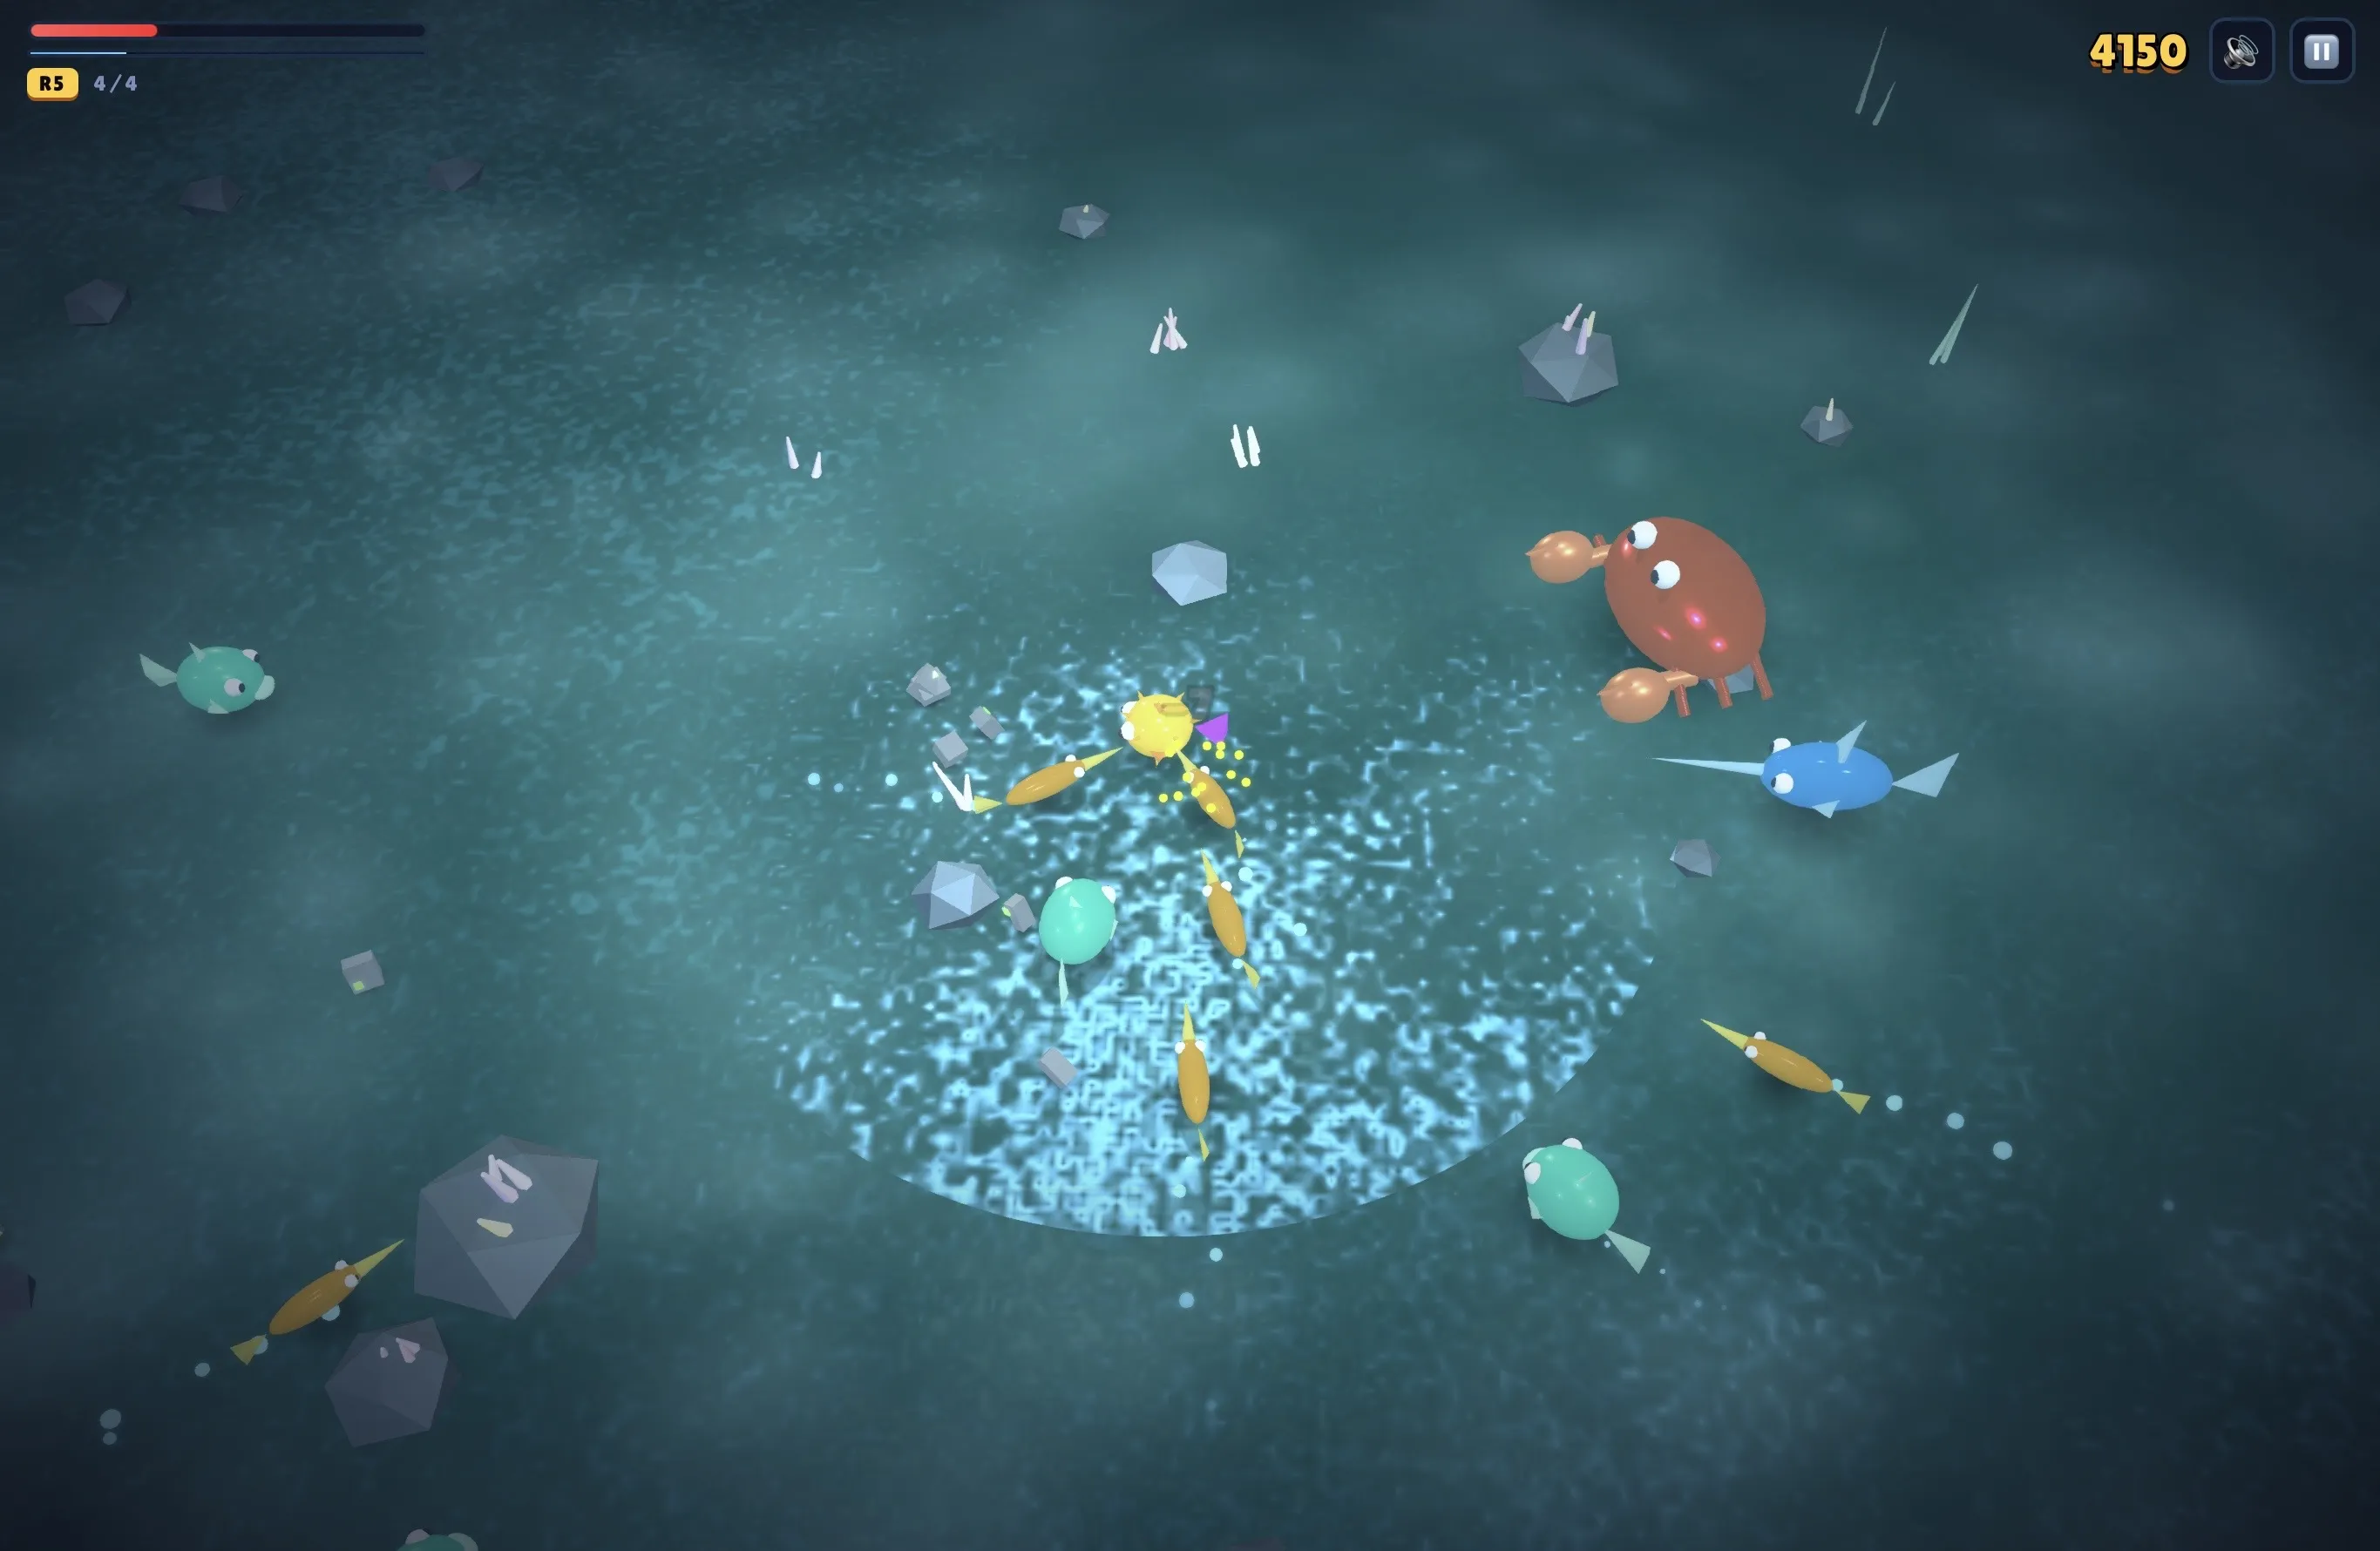
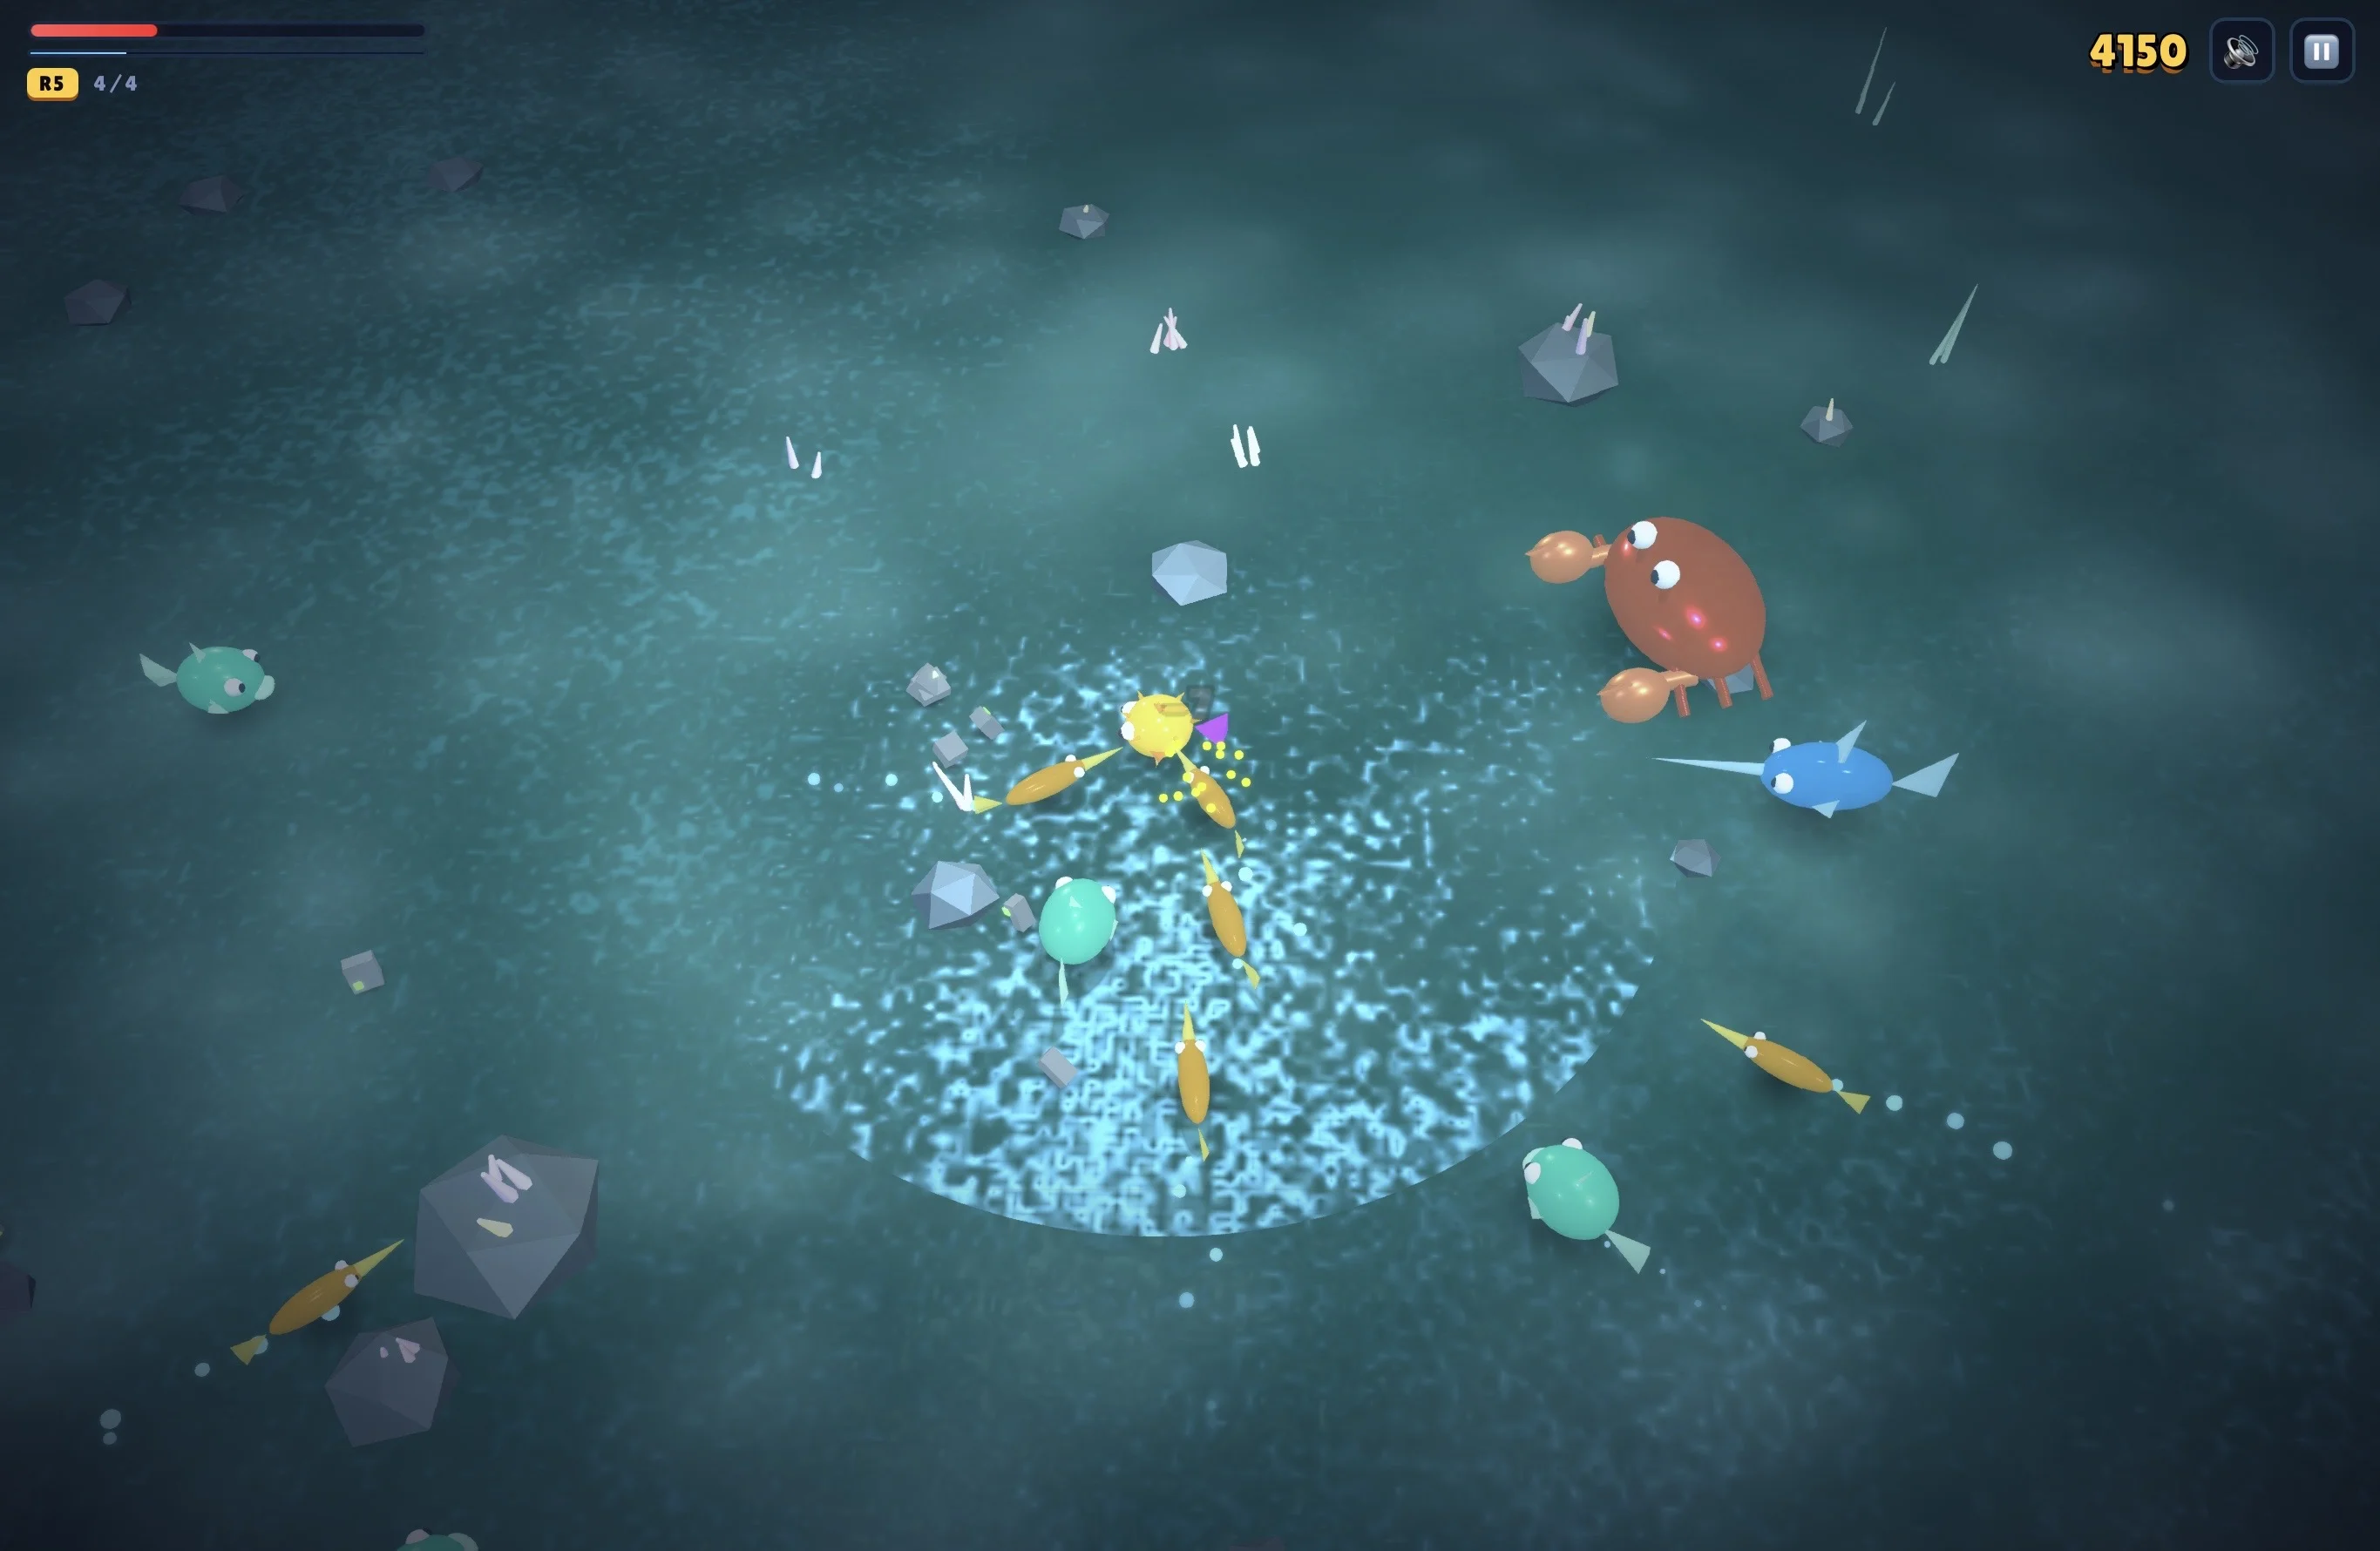
Puffer Panic is a browser-based 3D underwater survival game where you play as a pufferfish with a unique hold-and-release combat system. Developed by solo creator 74bit, it's free on itch.io and runs entirely in your browser.
You don't shoot. You inhale, swell up, then explode. The tension comes from timing — hold too long and you over-puff, scattering your payload and leaving yourself wide open. Get it right and you clear the screen.
The game structures itself across three ocean zones, each with 4-5 waves of escalating enemy types and a boss fight. Between waves, you pick from 10 upgrade options that stack into distinct builds. A full playthrough takes roughly 30-45 minutes, but the challenge comes from chasing high scores through kill streak multipliers and smart upgrade synergy.
This is a pure skill-and-timing game. There's no grinding, no progression gate, no meta currency. Your only resources are your reflexes, your patience with the hold-release rhythm, and your ability to read enemy patterns under pressure.
Getting Started
First 30 Minutes
Load the game on itch.io and jump straight in. There's no tutorial mode — the game teaches you by killing you. Expect to die in the first zone at least twice.
Your first run: focus on surviving the Tide Pools (zone 1). Don't stress about the boss. Use each death to learn one thing: how far your inhale reaches, how fast enemies close distance, and what happens when you over-puff.
Control Basics
| Action | Input |
|---|---|
| Move | Mouse — aim where you want to swim |
| Gulp / Inhale | Hold left mouse button |
| Blast | Release left mouse button |
| Pause | Escape |
That's the entire control scheme. The game lives or dies on how well you master that single hold-release rhythm against different enemy types, spawn patterns, and environmental hazards.
Beginner Mistakes
Holding too long. The most common death. You see a cluster of enemies, you want to swallow as many as possible, you hold past the sweet spot, and your pufferfish bursts. All that ammo scatters. All those enemies are still alive. You're now empty and surrounded. Rule of thumb: release as soon as you feel the pufferfish reach maximum inflation. The visual cue is clear — your fish gets round and starts trembling.
Not holding long enough. The opposite problem. You tap and release immediately, firing a weak puff that kills nothing. You need to hold long enough to accumulate mass. A successful blast requires at least 1-2 seconds of gulping.
Camping in one spot. Enemies spawn from multiple directions. Staying still lets them surround you. Circulate around the arena, sucking up debris and enemies as you go, and releasing when you're facing the largest cluster.
Ignoring debris. The small floating rocks and shells aren't just decoration. They're ammo. Practice sucking them up even when no enemies are nearby. A pufferfish full of debris is still a weapon.
Core Mechanics Explained
Hold-and-Release Combat
The combat system has three states:
- Idle — Normal swimming speed. No damage output. Good positioning time.
- Gulping — Hold mouse button. You inhale everything nearby: enemies, debris, projectiles. Your movement slows slightly. The more you consume, the more you inflate.
- Blasting — Release mouse button. Everything you've consumed fires outward in a 360-degree spiky shockwave. Damage and range scale with how much you consumed.
The game uses a hidden mass counter. Each enemy or debris piece adds to your mass. More mass = bigger blast radius + more damage per hit. Over-puffing triggers at a threshold roughly 30% past optimal fill — the game gives you a generous window but punishes greed hard.
Enemy Types
| Enemy | Behavior | How to Handle |
|---|---|---|
| Crab | Slow, armored. Takes 2-3 blasts to kill. Moves sideways. | Don't waste a full charge on a single crab. Use partial releases to chip them down. |
| Rusher | Charges directly at you. Fast but fragile. | Gulp as it approaches, release at point-blank. One-shot with even a partial charge. |
| Tank | Huge, slow, explodes on death. The explosion damages anything nearby — including you. | Kill from range or clear the area before it dies. The explosion radius is about 3 pufferfish lengths. |
| Splitter | Divides into two smaller enemies when hit. Each smaller splitter divides again. | Don't blast into a cluster of splitters. You'll create 4-8 mini-enemies instantly. Isolate and kill them one at a time with precise charges. |
Kill Streak Multiplier
Killing enemies rapidly builds a multiplier displayed on screen. Each kill within roughly 2 seconds of the last increments the streak. The multiplier directly increases your score and the rate at which you earn upgrade points between waves.
A streak of 5 gives a 2x bonus. Streak of 10 gives 3x. Streak of 20+ gives 5x. Losing the streak means waiting 4 seconds without a kill — it resets to zero.
The chain explosion upgrade synergizes with this system perfectly, since blast kills trigger chain kills.
Zone Mechanics
Each zone adds a unique environmental hazard:
| Zone | Hazard | Strategy |
|---|---|---|
| Tide Pools | None — pure combat tutorial | Practice timing here. Learn enemy patterns. |
| Zappy Reefs | Electric currents pulse across the arena floor. Standing in them damages you over time. | Keep moving. The currents pulse in a predictable pattern — learn the safe windows. |
| Deep Trench | Screen goes dark periodically. Enemy spawns increase. Tanks appear in every wave. | Sound becomes your cue. Listen for enemy audio. Upgrade your blast radius before this zone. |
Upgrade System — All 10 Options
Between waves you're offered 3 random upgrades from a pool of 10. Each upgrade can be taken multiple times and stacks additively.
| Upgrade | Effect | Max Stack | Best For |
|---|---|---|---|
| Bigger Gulp | +20% inhale range and capacity | 3 | All builds — core to everything |
| Faster Swell | +15% charge speed | 3 | Speed builds, rusher-heavy zones |
| Chain Explosion | Kills trigger small blast that damages nearby enemies | 4 | Crowd control, streak building |
| Lifesteal | 10% of blast damage returns as health | 3 | Tank builds, boss fights |
| Spike Armor | Enemies that hit you take 25% damage | 2 | Beginner-friendly, Deep Trench |
| Wide Blast | +30% blast angle (less gap between spikes) | 3 | Tight clusters, splitters |
| Deep Breath | +50% over-puff threshold (can hold longer) | 2 | Risk management, learning curve |
| Shockwave Echo | Blast fires twice — second wave at 50% damage after 0.5s delay | 2 | DPS stacking |
| Recycler | 30% chance to refund consumed enemies on blast | 2 | Combo builds, endless waves |
| Regeneration | Recover 1 HP every 3 seconds outside combat | 1 | Passive recovery, new players |
Builds — Three Archetypes
1. The Exploder (Best for Clear Speed)
Focus: Chain Explosion + Wide Blast + Bigger Gulp
Prioritize Chain Explosion to 4 stacks. Then Bigger Gulp and Wide Blast. This build turns each kill into a cascade of explosions. In early Tide Pool waves, one well-placed blast can clear 80% of the screen. The chain explosions maintain your kill streak automatically, snowballing upgrade income.
Weakness: Struggles against Tanks (explosion doesn't kill them — you need direct hits) and bosses (single target damage is lower).
2. The Invader (Best for Boss Fights)
Focus: Bigger Gulp + Faster Swell + Shockwave Echo
Stack Bigger Gulp to 3, then Faster Swell to 3, then Shockwave Echo. This build maximizes your frequency and impact of blasts. You charge faster, hold more, and hit twice per release. Against bosses, this translates to consistent high DPS.
Weakness: Fragile. No sustain, no armor. One mistake and you take heavy damage.
3. The Unbreakable (Best for Survival / New Players)
Focus: Spike Armor + Lifesteal + Deep Breath + Recycler
Start with Deep Breath to extend your over-puff threshold (more forgiving). Add Spike Armor and Lifesteal for sustain. Recycler gives you ammunition efficiency for prolonged fights. This build won't set speed records, but it will get you to the Deep Trench reliably.
Weakness: Slow clear speed. Lower kill streak earnings. Final boss takes patience.
Step-by-Step Zone Strategy
Zone 1: Tide Pools
Wave 1-2: Only crabs. Practice your timing. Don't worry about kill streaks yet — focus on consistent blast-charging. Learn the max charge sweet spot by feel.
Wave 3-4: Rushers join. Position yourself near the center of the arena. Rushers come from the edges. Gulp as they approach, release when they're in your face. The center position lets you see all spawn points.
Boss — Tide Pool King: A giant crab with 4x normal HP. Attack pattern: pause, lunge, pause. The pause is your window. Charge a full blast during the pause, release as it lunges. Repeat 6-8 times. Don't get greedy — the lunge covers half the arena.
Zone 2: Zappy Reefs
Wave 1-2: Crabs and rushers plus electric currents. Learn the current pulse rhythm — it follows a 4-beat pattern. Count: 1-2-3-pulse, 1-2-3-pulse. Move between pulses.
Wave 3-4: Tanks join. Tanks are the real threat here. Don't kill a tank near an electric current — the explosion + current combo deals massive damage. Lure tanks to clear zones.
Wave 5: Splitter gauntlet. This wave is pure splitters. DO NOT use chain explosion. Isolate splitters one at a time with precise partial charges. One chain explosion on a splitter cluster creates 16 mini-enemies instantly.
Boss — Zappy Reef Eel: Attacks in figure-8 patterns, leaving electric trails. Stay in the center. The eel doesn't cross the center during its attack — it loops around the edges. Charge and release as it passes. When it pauses to recharge (every 3 loops), get a full charge blast into its head for bonus damage.
Zone 3: Deep Trench
Wave 1-2: Everything at once. Crabs, rushers, tanks, and occasional splitters. This wave is designed to panic you. Don't. Stick to your build's strategy. The Exploder build shines here — chain explosions keep the crowd manageable.
Wave 3-4: Darkness adds. The screen goes dark for 5-8 seconds at random intervals. During darkness, tank spawns double. Memorize your arena position before darkness hits. Keep moving in the same direction during darkness — don't reverse, don't stop.
Wave 5: The gauntlet wave. 3 tanks + 5 rushers + endless crabs spawn simultaneously. Prioritize rushers first (they're fastest), then tanks (kill them away from each other), then crabs. This wave tests everything you've learned.
Boss — Deep Trench Leviathan: Two-phase fight. Phase 1 (50% HP): stationary turret that fires spread shots. Circle it while charging, release between shot volleys. Phase 2 (<50% HP): it detaches and chases you while spawning mini- rushers. Keep moving, focus on the mini-enemies to build streak, then unload full charges on the boss when there's a gap. The chain explosion build is risky here — the minis are small but chain blasts can keep hitting the boss.
Advanced Tips
Bait the over-puff, cancel it. If you see you're going to over-puff, you can release into a direction with no enemies to dump your payload safely. The blast still clears debris even if it hits nothing alive. This resets your charge without taking the over-puff penalty.
Use debris as a shield. When a rusher is charging, time your gulp so you inhale a piece of debris instead. The rusher passes through your inhale zone and gets sucked in too. This is safer than trying to gulp the rusher directly.
Positioning is reloading. In the few seconds after a blast, you're vulnerable. Always position yourself near a debris cluster before releasing. That way your next gulp starts immediately with ammo.
The recycler refund is a damage check. Recycler at 2 stacks gives 60% chance to refund. This means you can fire near-continuously in dense enemy clusters. If you get recycler early, play aggressively — stand in the thick of it and blast constantly.
Boss timing window stacking. In all three boss fights, the invulnerability window between attack cycles is exactly 2 seconds. That's long enough to charge a partial blast. Don't wait for the full open window — chip during the transitions.
Kill streak preservation across waves. When a wave ends, your streak resets after 4 seconds of no kills. The boss transition gives you about 6 seconds of downtime. That's barely enough to keep your streak if you kill a straggler during the wave-end cleanup. Always chase down the last enemy — that 2 extra seconds of buffer keeps your multiplier alive.
FAQ / Common Mistakes
Q: The game feels unfair in the Deep Trench. What am I doing wrong? A: You're likely under-upgraded for zone 3. Go back and focus on getting at least 8 upgrade picks across the first two zones. If you enter zone 3 with fewer than 6 upgrades, you're in for a rough time.
Q: Chain explosion kills splitters in one hit but creates more. Should I avoid it? A: Only in zones 2-3 when splitters appear. In zone 1, chain explosion is free value. Consider swapping out chain explosion during splitter waves by choosing a different upgrade at the next opportunity.
Q: Is lifesteal worth it? A: Only if you have the damage to back it up. Lifesteal without Bigger Gulp and Faster Swell at 2+ stacks each returns pitiful health. Get your damage online first, then add lifesteal.
Q: How do I deal with the Zappy Reef boss as Exploder build? A: The chain explosions from the Eel's minions can actually hurt the boss indirectly. Let the minis spawn near the boss, kill one with a direct blast, and the chain will propagate through the boss. It's slower but safer.
Q: Why does the game sometimes not register my release? A: You're releasing on an empty stomach. You need at least 1 piece of debris or enemy in your inhale to fire a blast. If you release with nothing consumed, nothing happens. Always gulp something before releasing.
Q: What's the over-puff exactly? A: Fill your puff meter past ~130% capacity. Your pufferfish visually explodes, all consumed mass scatters outward as tiny harmless puffs, and you're stunned for 1.5 seconds. Any enemy in your face gets a free hit.
Q: Can I beat the game without upgrades? A: Technically yes. Practically no. The Deep Trench boss's phase 2 spawns minis faster than you can kill them without upgrade support. You need at minimum Bigger Gulp 1 and Faster Swell 1 to clear zone 3.
Screenshots