Official game
Play Curse: The First Knot
This game is hosted by Steam. Continue to the official page to play or download it.
Buy on SteamOverview
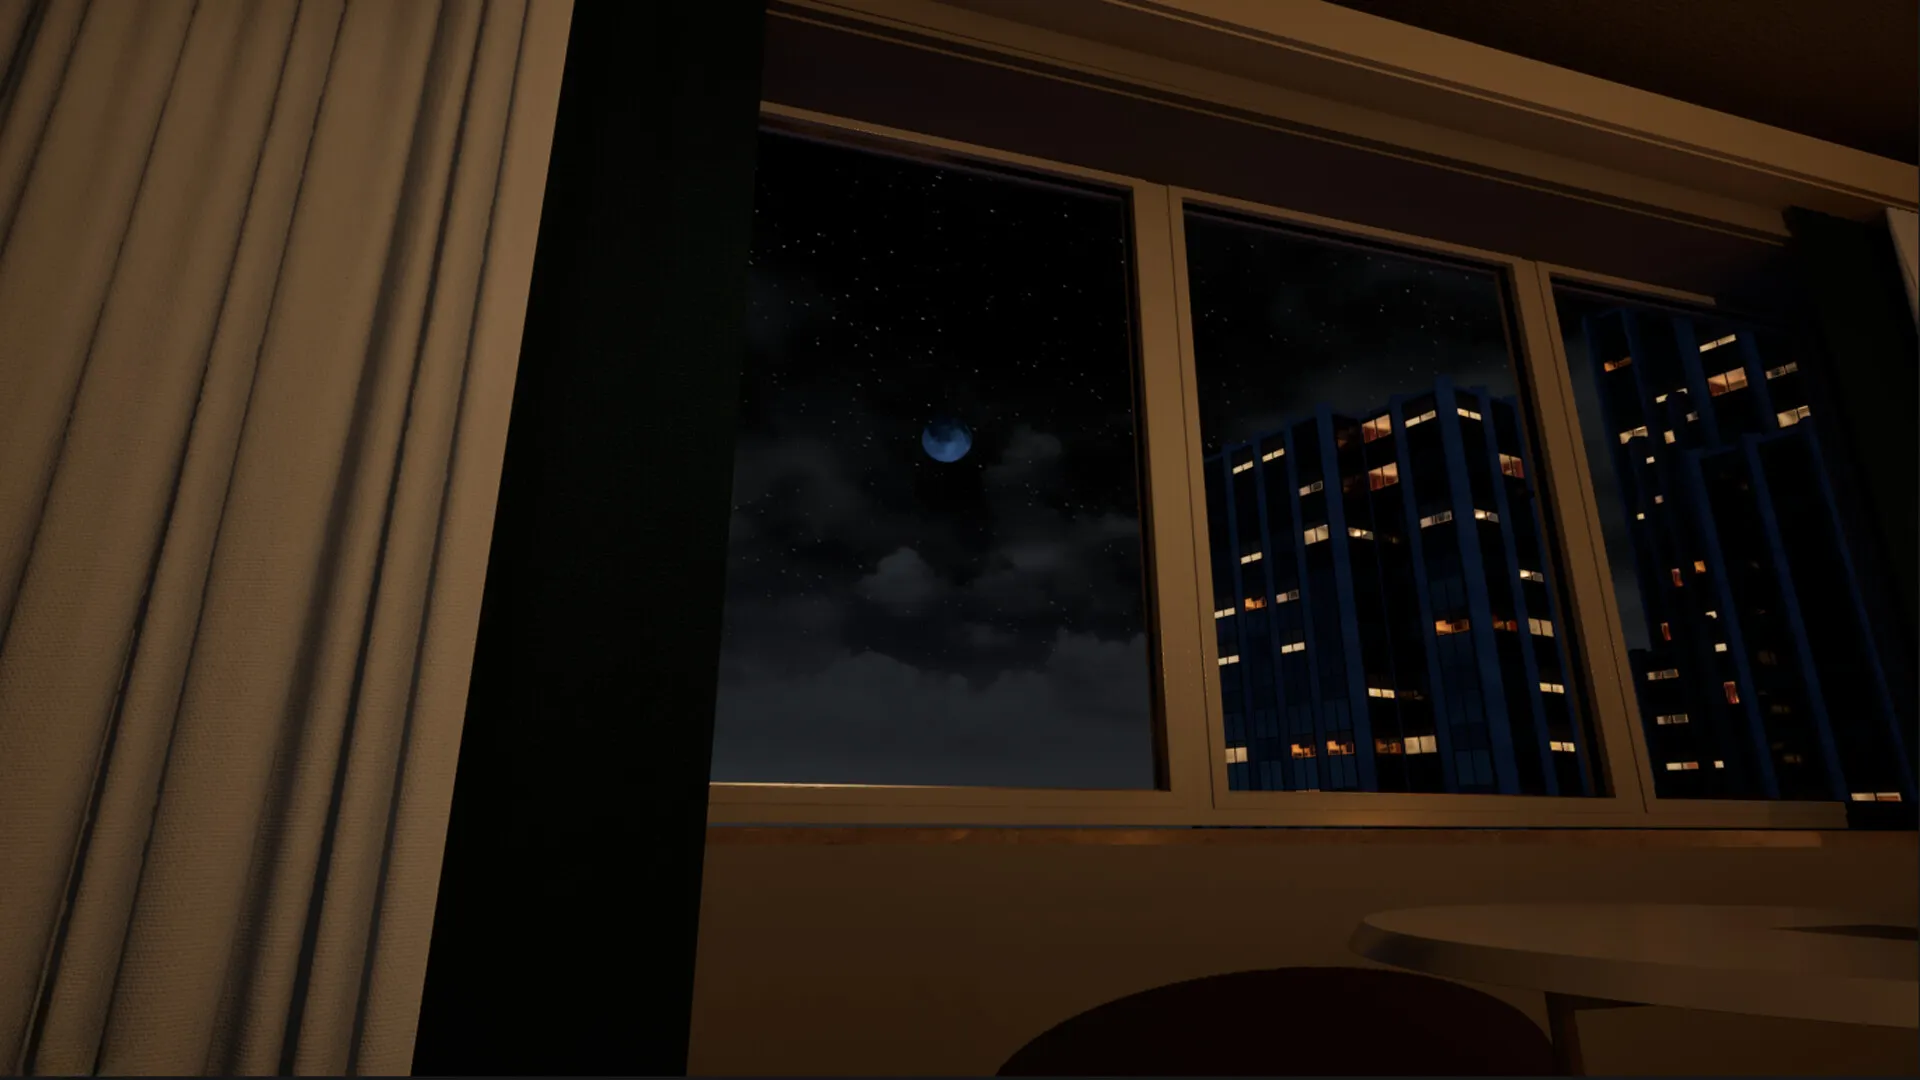
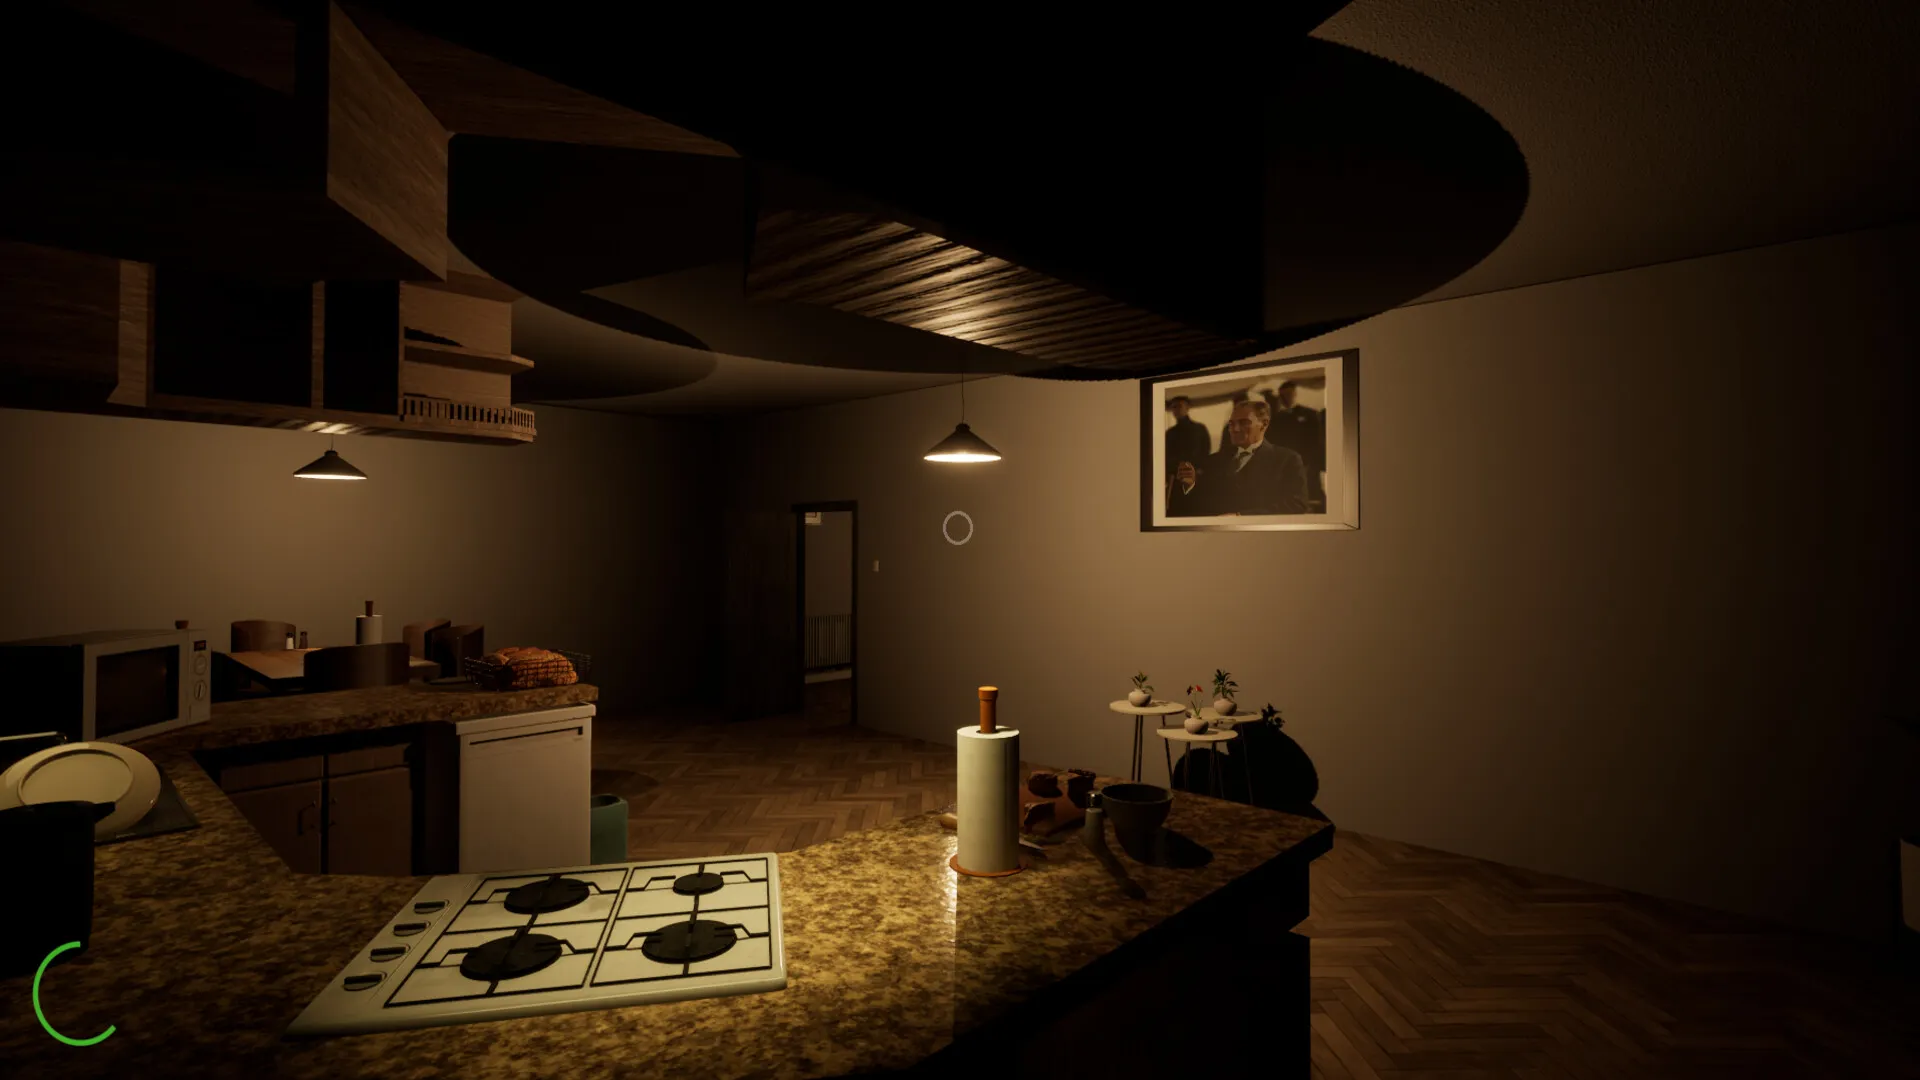
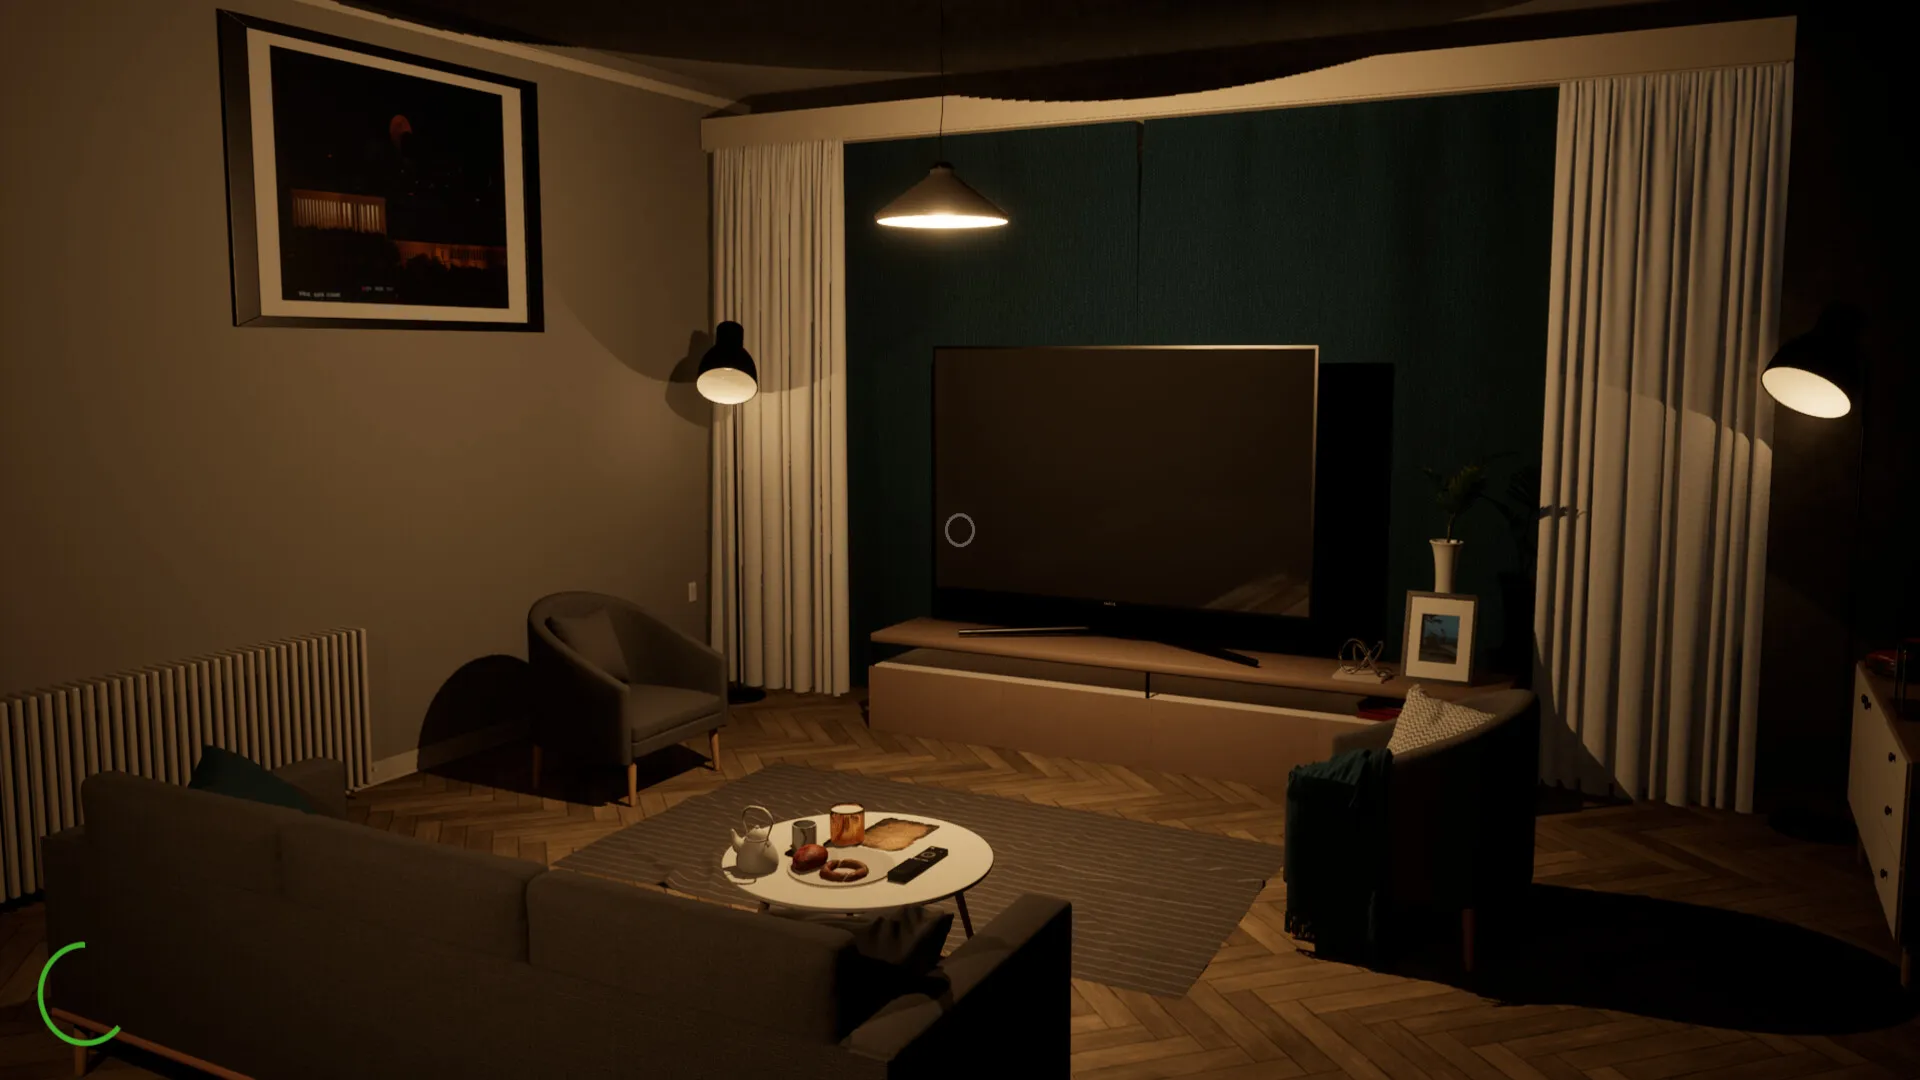
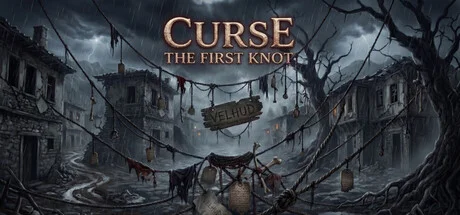
Curse: The First Knot is a first-person psychological horror game from the two-person team at Noxra Studios (Kaan ASLAN). Released June 21, 2026 on Steam, it drops you into a remote Anatolian village where a protagonist fleeing a devastating car accident discovers that the village's shadows carry secrets darker than guilt. The title itself is a clue — in Anatolian tradition, knots are tied in rituals to bind curses. The first knot is the original sin.
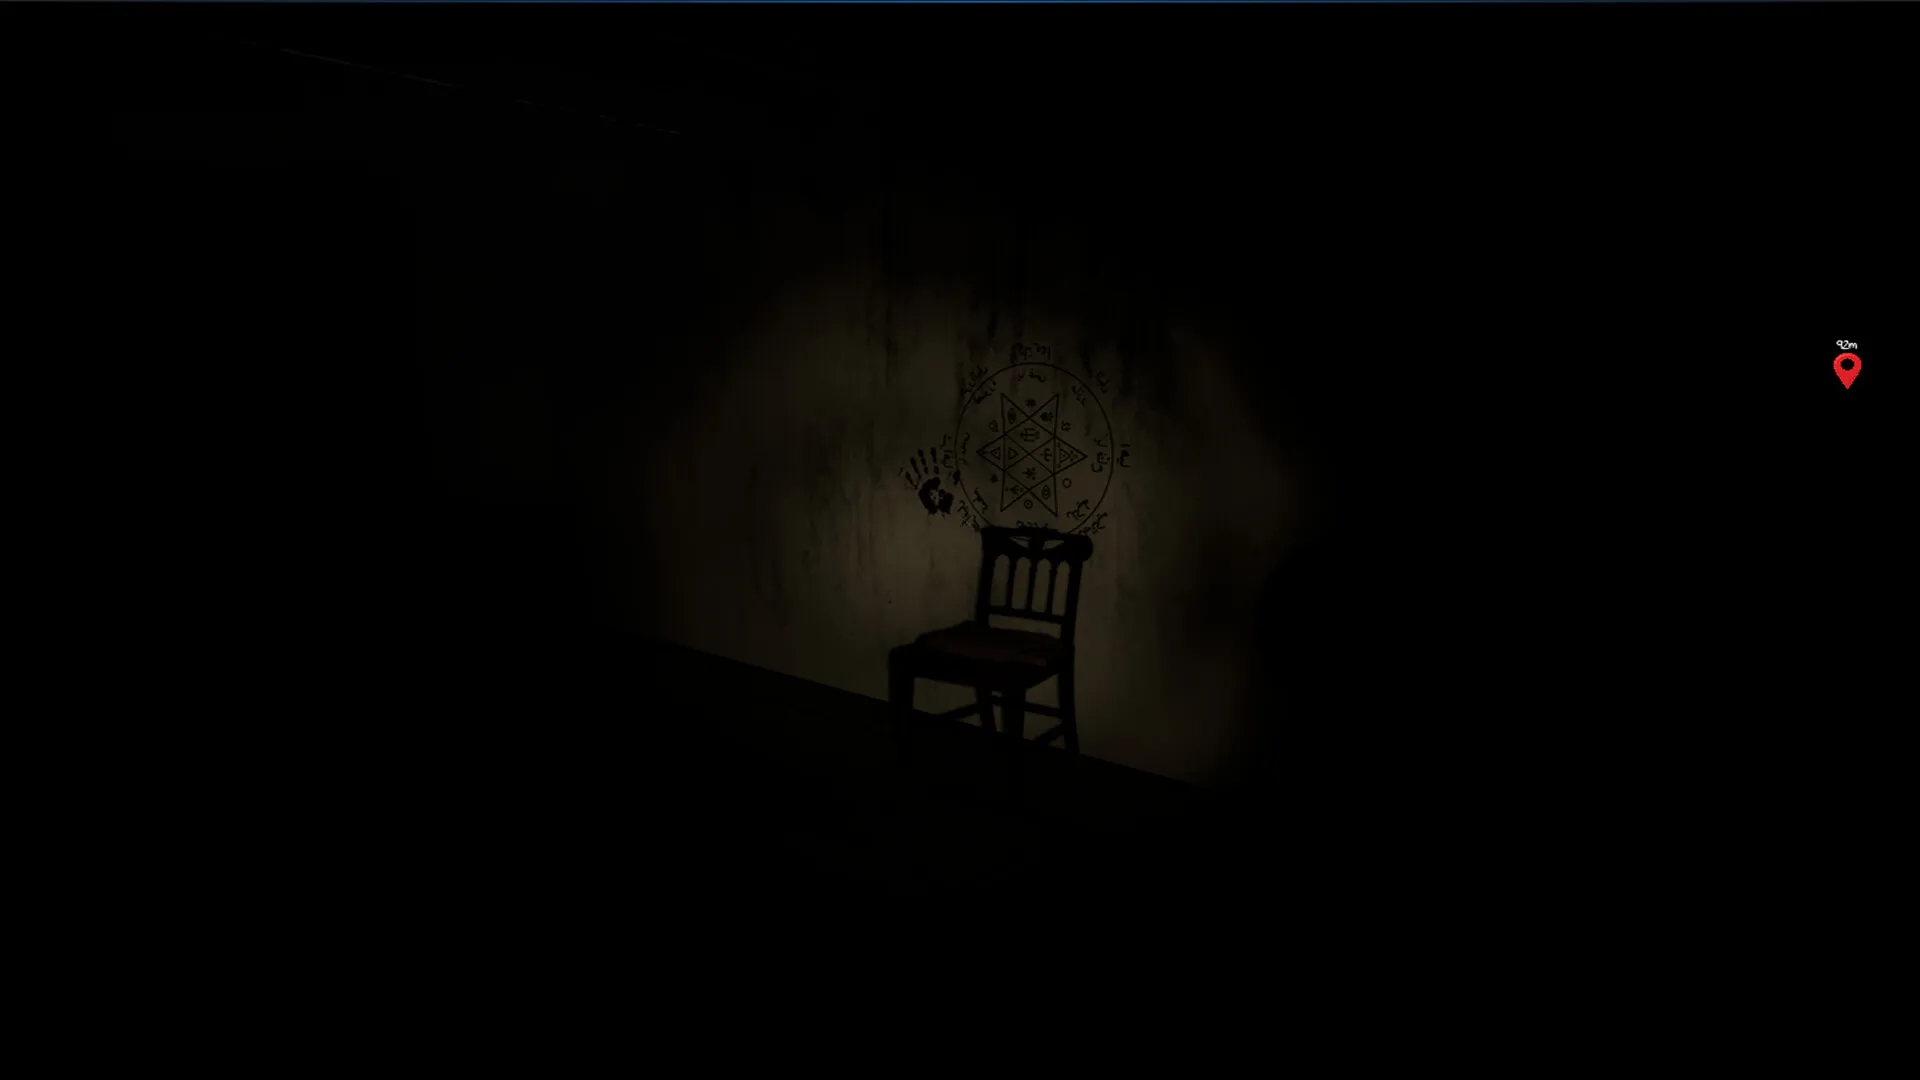
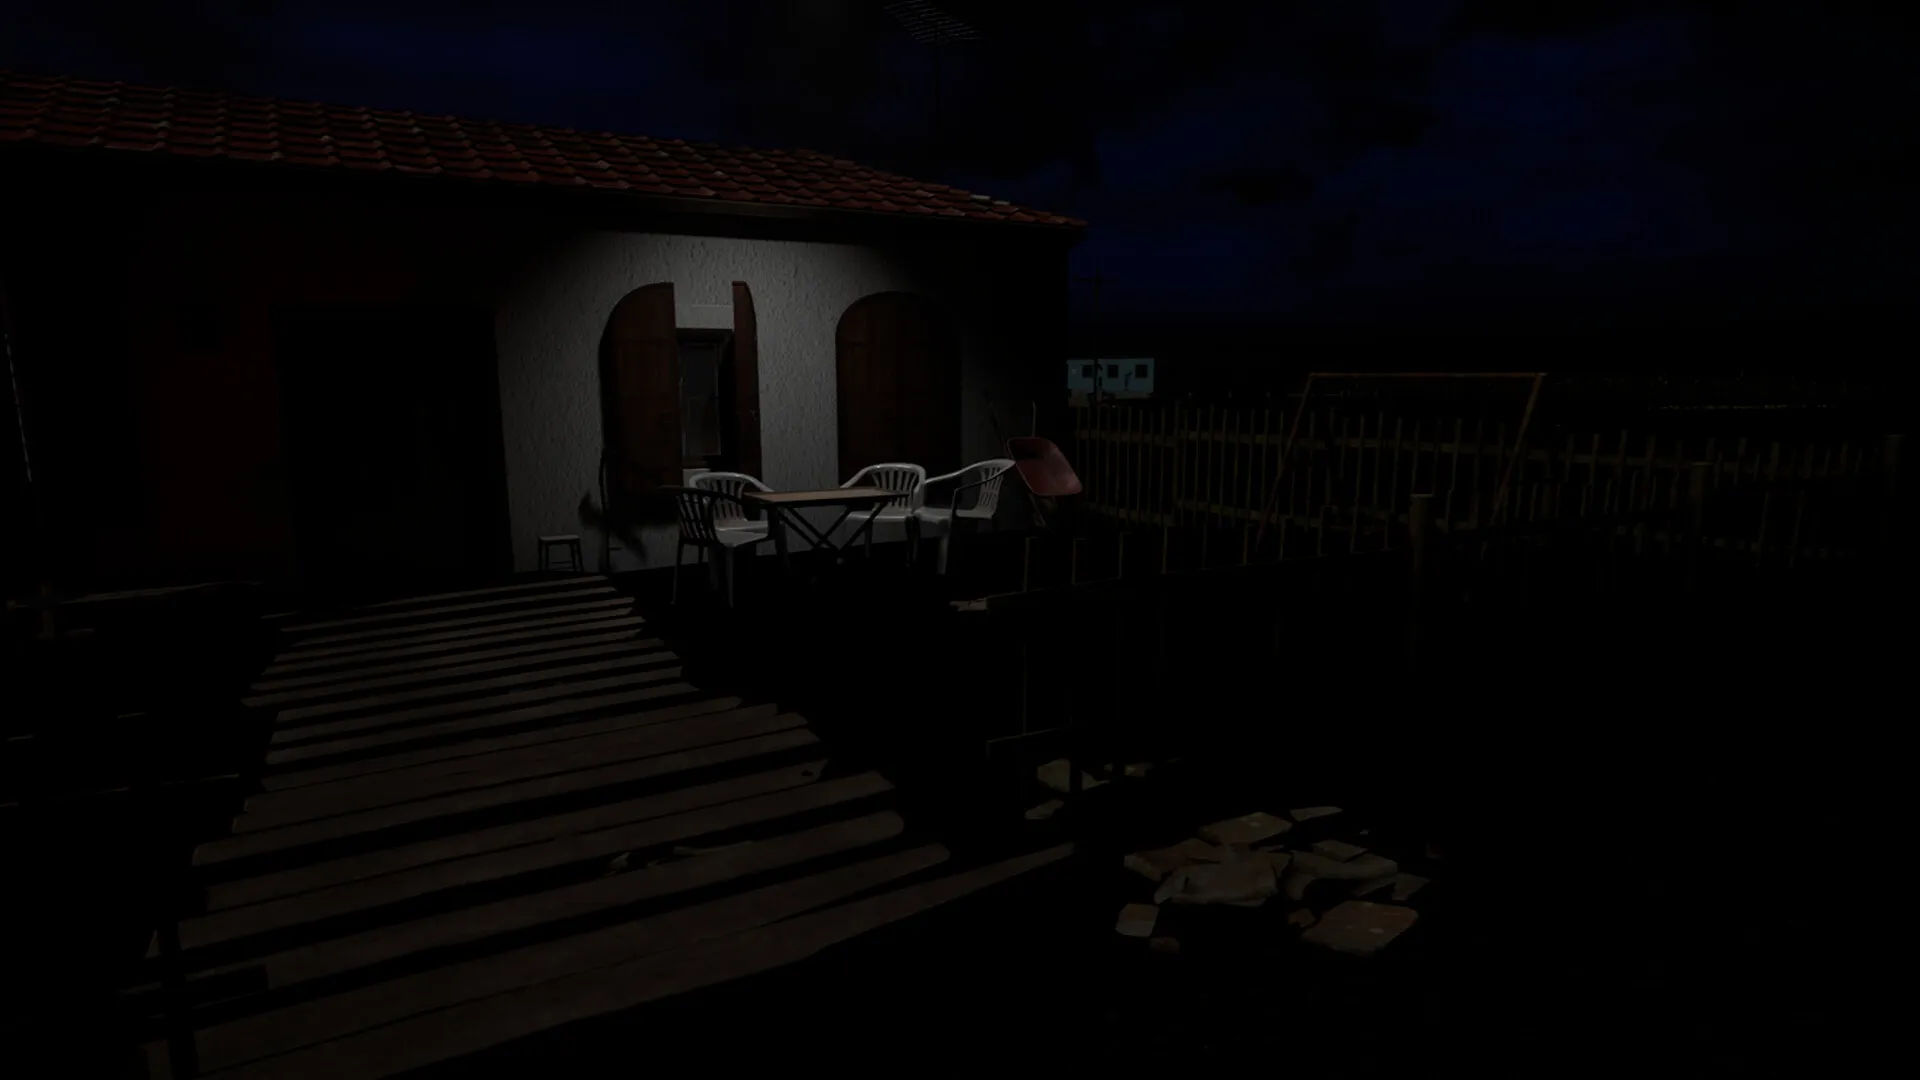
This isn't a jump-scare factory. The horror comes from patient atmospheric dread: faithfully recreated Turkish village architecture, a sound design that weaponizes silence, and a narrative that blurs the line between psychological trauma and genuine supernatural presence. It never tells you which is which.
12 Steam achievements, multiple endings, 5-7 hours for a first playthrough. Priced at $2.39 SGD ($1.79 USD). Windows only.
Getting Started — Before You Enter the Village
Step 1: Configure Audio
This game is designed for high-quality headphones. The developers recommend 7.1 surround sound. The horror relies on subtle directional audio — footsteps that aren't yours, whispers from adjacent rooms, changes in ambient wind. You will miss critical information without good audio. Laptop speakers will noticeably diminish the experience.
Step 2: Adjust Graphics
The lighting engine is demanding. If you experience stutter: lower shadow quality and post-processing first. Cap framerate at 60 FPS for consistent pacing. Raise in-game brightness just enough to see environmental details without washing out the atmosphere.
Step 3: Understand Controls Immediately
| Key | Action | Notes |
|---|---|---|
| WASD | Movement | Standard first-person |
| Mouse | Look / Camera | Standard |
| E | Interact | Open doors, pick up items, examine |
| F | Flashlight toggle | Battery drains; find batteries in the world |
| Left Ctrl | Crouch | Move quietly, access low spaces |
| Left Shift | Sprint | Limited stamina; sprinting is loud |
| Tab | Inventory | View collected items and notes |
| J | Journal | Review discovered lore and clues |
| Escape | Pause / Menu | Manual save supported |
Step 4: The Dread Meter — Understand It Now
The game tracks an invisible dread meter (psychological state). This is your health bar. Treat it like oxygen in a survival game.
Increases dread: Prolonged darkness, witnessing paranormal events, being pursued, finding grim lore, staying too long in unsafe areas.
Decreases dread: Standing near light sources, spending time in safe havens (lit rooms, friendly NPC homes), story progression.
High dread effects: Screen vignette darkens, peripheral vision narrows, movement slows, audio distorts, visual hallucinations appear. At critical levels, you may see things that aren't there — and some of those things can hurt you.
Rule: Plan routes between lit safe areas. If dread is high and you don't know where a safe room is, backtrack to the last known safe location. Never let dread hit max — the recovery time is punishing.
Step 5: Exploration First, Progress Second
The game has no quest markers, no minimap, no objective list. Everything is communicated through the environment. Open every drawer, check behind furniture, read every scrap of paper. Useful items, lore fragments, and puzzle clues reward curiosity. The game does not repeat important information — if you skim, you will get stuck.
Step 6: Sound Is Your Early Warning System
Audio cues are your best tool for survival:
- Footsteps that aren't yours = something is following you
- Whispers from adjacent rooms = story trigger or threat
- Sudden silence (wind stopping, birds ceasing) = something is about to happen
- If you hear something behind you, find light before turning around
Beginner Mistakes to Avoid
| Mistake | Why It Hurts | Fix |
|---|---|---|
| Sprinting everywhere | Attracts threats; drains stamina fast | Walk by default; sprint only in emergencies |
| Ignoring audio cues | Danger signaled through sound before visual | Wear headphones; learn footstep types |
| Not reading documents fully | Critical puzzle solutions hidden in text | Read every note completely; take screenshots |
| Overusing flashlight | Battery drains quickly | Toggle off in lit areas; conserve batteries |
| Staying in darkness too long | Rapidly increases dread | Move between light sources; know safe room locations |
| Rushing puzzles | Puzzles require observation — rushing causes frustration | Examine environment for clues first |
| Not revisiting safe areas | Dread accumulates without recovery | Memorize safe rooms; return to reset state |
| Playing without headphones | Directional audio cues lost on speakers | Required; 7.1 surround recommended |
| Skipping the mental map | No minimap means getting lost, especially during chases | Note landmarks and shortcuts as you explore |
Core Mechanics Deep Dive
The Dread System
The dread meter operates on a 0-100 scale with discrete thresholds:
| Level | Range | Effects | Recovery Time |
|---|---|---|---|
| Calm | 0-25 | Normal | — |
| Uneasy | 26-50 | Slight vignette, occasional audio distortion | 30s in light |
| Afraid | 51-75 | Noticeable vignette, slowed movement, intermittent whispers | 60s in safe room |
| Terrified | 76-90 | Heavy vignette, hallucinations possible, auditory distortion | 90s in safe room |
| Critical | 91-100 | Near-blindness, constant hallucinations, threat attraction | Requires story trigger |
Reset strategy: Never let dread exceed 60. The recovery time from 60 to 0 is 45 seconds in a safe room. From 85 to 0 is nearly 2 minutes. The extra risk of pushing past 60 isn't worth the time saved.
Puzzle Types
The game features four diegetic puzzle categories — they exist naturally within the game world and make contextual sense:
1. Pattern/Affinity Puzzles Arrange objects in a specific order based on a pattern seen elsewhere. Example: a painting on a mosque wall shows four symbols in sequence — you must replicate that sequence on a locked chest.
Method: Survey the room first. Look at every wall, floor, and ceiling. The pattern is always visible within a 30-second walk of the puzzle. Take a screenshot. Return to the puzzle and input in order.
2. Knowledge/Ritual Puzzles Perform actions in sequence based on village lore documents. Example: a document describes a protection ritual involving water, salt, and a specific prayer. You must perform these steps at a designated location.
Method: Read every document twice. Key words are often in a different language (Turkish) — note them. The order of steps matters. Performing steps in the wrong order resets the puzzle.
3. Environmental Observation Puzzles Solutions hidden in shadows, reflections, or sounds. Example: a key hangs from the ceiling above a light source — its shadow points to a loose floorboard. Or: a combination is whispered by an NPC, but only audible if you stand at a specific window at a specific time.
Method: Adjust your perspective. Crouch. Look up. Shine your flashlight at unusual angles. Stand still and listen for 10-15 seconds. The game rewards patience.
4. Item Combination Puzzles Combine items from different locations to create a tool. Example: a broken lantern + oil + wick (found in three separate buildings) creates a working lantern needed to enter a dark tunnel.
Method: Keep every item in your inventory. Don't discard anything until you've used it. The game has no junk — every item serves a purpose.
Light and Resource Management
Your flashlight is your lifeline with finite battery life.
Battery locations: Drawers, kitchen counters, shelves near beds, tool sheds, abandoned cars. Approximately 8-10 batteries are scattered through the village. Each battery provides roughly 5 minutes of continuous light.
Conservation strategy:
- Toggle off in well-lit areas (NPC homes, mosque interior during daytime)
- Use moonlight on clear nights — the village has ambient light sources
- Candles and lanterns in buildings are static light sources — learn their locations
- The flashlight beam narrows when you crouch — this reduces battery drain by about 15%
- If you hear a threat, turn off the flashlight and crouch in darkness — some threats track light
Item Categories
| Category | Examples | Where Found |
|---|---|---|
| Key Items | Rusty Key, Mosque Key, Photograph fragments | Specific locations, puzzle rewards |
| Consumables | Batteries, Matches, Bandages | Drawers, cabinets, random searches |
| Lore Documents | Letters, Diary pages, Newspaper clippings | Desks, floors, pinned to walls |
| Ritual Items | Salt, Incense, Prayer beads, Silver coin | Shrine rooms, mosque, hidden compartments |
| Tools | Crowbar, Lockpick, Lantern | Tool sheds, locked boxes, NPC gifts |
Crowbar priority: The crowbar is the most important tool in the game. It opens locked doors, breaks boarded windows, and creates shortcuts. Find it early. It's in the tool shed behind the tea house (requires a side path around the building, not the front door).
Progression Strategy — Chapter Flow
The game doesn't have named chapters, but it has a clear narrative arc defined by location progression:
Chapter 1: Arrival (First 45 minutes)
Location: Village entrance → first safe house → tea house area.
Objectives: Establish a safe haven. Learn the dread mechanic. Find your first battery and the journal.
Critical items: Journal (starting room desk), Battery (kitchen drawer in first safe house), Note about "the accident" (bedroom floor).
Strategy: Don't explore outward yet. Map the immediate 3-4 buildings within a 60-second walk of your starting room. Memorize one safe room per building. This creates your initial safe-haven rotation.
Dread management: The opening areas have generous light sources. Keep dread below 30 by moving between lit rooms. The first threat encounter is scripted — don't panic, just move toward light.
Chapter 2: The Village Awakens (45 min - 2 hours)
Location: Central village square → mosque → residential alleyways.
Objectives: Find the crowbar. Unlock the mosque side entrance. Read about the accident victim. Understand the village's relationship with the supernatural.
Critical items: Crowbar (tool shed behind tea house), Mosque Key (village head's house, locked drawer — crowbar it), Photograph 1/3 (mosque upstairs).
Puzzle: The mosque door lock has a 4-symbol sequence. The symbols are painted on the walls of four buildings surrounding the mosque — one per building. Visit all four, note the order (clockwise from the mosque entrance), then input at the door.
Strategy: The crowbar changes everything. After getting it, backtrack to every locked door you passed in Chapter 1. Each one contains resources or lore. Don't progress deeper until you've cleared the opening area.
Chapter 3: The Descent (2-4 hours)
Location: Underground passages → well system → abandoned homes.
Objectives: Navigate the tunnels beneath the village. Piece together the accident victim's identity. Find the lantern and oil.
Critical items: Lantern (hanging in the well house), Oil (storage room off the main tunnel), Wicks (three scattered — one in the tunnel, one in the abandoned school, one in the back room of the mosque), Photograph 2/3 (in a submerged room — accessed after lighting the lantern).
Threats: The tunnels introduce the first active stalker entity. It patrols set routes and is attracted to light. The lantern is brighter than the flashlight but attracts more attention. Use the flashlight in tunnels, save the lantern for puzzle rooms.
Navigation tip: The tunnel system has natural landmarks: a collapsed pillar (turn left), a red-painted pipe (straight ahead), a puddle reflecting moonlight (right path). The game doesn't give you a map, so these visual markers are your navigation.
Chapter 4: Confrontation (4-6 hours)
Location: Accident site → village elder's compound → final sequence.
Objectives: Return to the accident scene. Confront the truth about what happened. Make the final decision that determines your ending.
Critical items: Photograph 3/3 (accident scene, under the driver's seat of the wrecked car), Ritual components for the final sequence (incense + silver coin + prayer beads — locations vary by playthrough).
Ending triggers: Your ending is determined by three factors:
- All 3 photographs collected (required for true ending)
- The conversation choices in the elder's compound
- Whether you found the victim's letter (hidden in the school desk)
There are 3 endings: The "Forgiveness" ending (requires all photographs + victim's letter + compassionate choices), the "Escape" ending (ignore the truth, flee the village), and the "Knot" ending (embrace the curse).
Step-by-Step Strategies
Strategy 1: The Safe-Haven Rotation
Establish a rotation of 3-4 safe havens connected by lit pathways:
- Starting safe house — Bedroom with a working lamp. Central location. Best for early game.
- Tea house interior — Always lit, has NPC activity during daytime. Good mid-game anchor.
- Mosque main hall — Lit by candles and moonlight through stained glass. Safe even at night. The largest safe zone.
- Village head's study — Lockable door, permanent lantern. Best late-game safe room.
Rotation pattern: Explore outward from Haven 1 until dread reaches 50-60%. Return to recover. Push outward toward Haven 2. Once Haven 2 is established, use it as the new base. Repeat.
Strategy 2: The Shadow-Pacing Method (Stalker Evasion)
Hostile entities patrol set routes. Here's how to navigate around them:
- Observe shadows first. Before entering a room, check for shadows moving on walls or floors. Entities cast shadows even when invisible to direct sight.
- Count patrol timing. Each patrol route takes approximately 20-30 seconds. If you see a shadow pass, count to 15, then move. You have a 5-10 second window.
- Use environmental noise. Crouch-walk near a noise-making object (stack of pans, loose floorboard) and interact with it. The sound draws the entity to investigate — giving you an opening to move in the opposite direction.
- Always have an exit. Before entering any new room, note the exit. If an entity appears, you leave the way you came. Never explore a room without knowing your escape route.
- Dark corners. Some entities don't see in complete darkness. If you crouch in a corner with your flashlight off, they may pass within 2 meters without detecting you.
Strategy 3: The Journal-Backtrack Loop
Your journal updates with new locations and clues. Use this systemically:
- When the journal updates, read it immediately. The update is always triggered by a recent discovery.
- Cross-reference with your mental map. Where does this location refer to? If you don't know the location, search the most recent area you visited.
- Go there now — time-sensitive events can be missed. Some NPC conversations only happen once. Some items disappear after story progression.
- After resolving the journal entry, backtrack. Revisit the last 2-3 locations before the journal update. Sometimes triggering a story event changes previously explored areas — a locked door is now open, a drawer now contains an item, a previously silent NPC now speaks.
- Repeat. The game uses this loop consistently. Journal updates → immediate action → backtrack → explore new area.
Strategy 4: The Dread Reset Route
When dread hits 60+, execute this route:
- Don't sprint. Sprinting increases dread gain by 20%. Walk quickly instead.
- Retrace your exact path backward. You know this route is safe because you just came through it.
- Turn on flashlight only when necessary. If you know the path, navigate by memory and ambient light.
- Reach the nearest safe haven. Prioritize ones you confirmed earlier.
- Wait until dread drops to 15 or below. This takes roughly 60 seconds from 60 dread.
- Check inventory while waiting. Use the cooldown time to read notes, combine items, and plan your next move.
Strategy 5: Ending Route Planning
To maximize your chances of the best ending, follow this from the start:
- Read every document completely. The game tracks which documents you've found. Missing even one lore-critical note locks you out of the true ending.
- Revisit the accident site multiple times. The wrecked car has different items visible on first visit vs. after certain story triggers.
- Talk to every NPC more than once. NPCs have multiple dialogue phases. Visit them when you enter a new area, when you find a key document, and before the final sequence.
- In the final chapter, take time before the last decision. The game doesn't time you. Walk around. Revisit key locations. Make sure you have all three photographs and the victim's letter before making your choice.
- The victim's letter is in the school desk (blue paint, second floor, under loose floorboard). Every guide misses this. It's the most missable critical item.
Strategy 6: Puzzle-Solving Framework
When you encounter a puzzle, follow this step-by-step:
- Survey the room. Stand still. Look at every wall, ceiling, and floor. 70% of puzzle solutions are visible from the puzzle itself.
- Read all documents in the area. The solution is in the same building 90% of the time.
- Take notes. Write down symbols, numbers, or sequence orders. The game expects you to remember across rooms.
- Test one pattern at a time. If the puzzle resets, you made an error. Try a different order. Buttons and levers often have a hidden sequence.
- If stuck, leave and return. Some puzzles require information from a different area. About 20% of puzzles are "locked" behind discoveries elsewhere.
- Check your inventory. Sometimes a puzzle isn't a puzzle — you just need to use the right item on the right object.
Strategy 7: The One-Hour Marathon Route (Speedrunner Approach)
If you want to complete the game efficiently:
- Skip optional exploration. Only visit buildings directly on the critical path: starting house → tea house → tool shed (crowbar) → village head's house (mosque key) → mosque → well house (lantern) → tunnels → school (letter + photograph 2) → accident site (photograph 3) → elder's compound.
- Dread management is optional. If you know the patrol patterns, you can navigate without caring about dread. Just avoid direct entity contact.
- Don't combine items. Keep everything separate. The game doesn't require item combining on the critical path except for the final ritual.
- One save. Manual save only at story checkpoints. Reload if you make a wrong choice affecting the ending you want.
Advanced Tips
-
The crowbar is a weapon. Sort of. If an entity gets close, swinging the crowbar (E + mouse click) stuns it for 2 seconds. Not a kill — just a stagger. Enough to get past a doorway.
-
Moon phases matter. The village has a day/night cycle with moon phases. Entities are more active during the new moon (3 nights per cycle) and less active during the full moon. Plan outdoor exploration during full moon nights.
-
Safe rooms have visual cues. A burning candle in a window means the room is safe. An overturned chair means it's not. The game teaches this through environmental storytelling in the first hour.
-
Notes despawn if you leave them. If you read a note and drop it, it disappears. Read-and-keep is the only safe approach. Your journal records the text, but the physical item may be needed for puzzles.
-
The well shortcut. After descending the well, there's a side passage that connects to the mosque basement. This creates a 2-minute shortcut between the lower village and the upper village. Remember it — it's useful in the final chapter.
-
Audio settings matter for puzzles. One puzzle requires hearing a specific sequence of chimes from the mosque. The audio mix needs to be balanced — turn down SFX slightly and raise ambient volume to hear the chimes clearly.
-
Two endings require no combat or stealth. The "Escape" and "Forgiveness" endings can be achieved without ever directly confronting an entity. If you hate chase sequences, prioritize lore collection over exploration.
FAQ
Q: I'm stuck on the mosque puzzle. What's the sequence? A: The symbols are on the walls of four buildings surrounding the mosque. Starting from the mosque entrance, go clockwise: Building 1 (northeast) has a crescent moon. Building 2 (southeast) has a spiral. Building 3 (southwest) has an eye. Building 4 (northwest) has a hand. Input: Moon → Spiral → Eye → Hand. If this doesn't work, check you didn't miss a building.
Q: The entity keeps finding me in the tunnels. What am I doing wrong? A: The tunnel entity tracks light, not sound. If your flashlight or lantern is on, it knows exactly where you are. Turn off all light sources when you hear its approach. Navigate by the faint glow of distant openings. The tunnels have enough ambient light to see walls at close range without a light source.
Q: I missed a photograph and can't go back. Can I still get the good ending? A: No. The true ending requires all three photographs. If you progressed past the accident site without collecting photograph 3, reload an earlier save. The game doesn't block you from going back, but the car disappears after a story trigger.
Q: How do I find the victim's letter? A: School building, second floor. Look for a classroom with overturned desks. The blue desk near the window has a loose floorboard underneath it. Crouch and interact with the floorboard. The letter is inside. This is the most missable item in the game.
Q: I'm getting motion sickness. Any tips? A: Reduce the FOV to 70. Turn off head bob. Increase the camera smoothing setting. The default movement has a slight acceleration curve that triggers motion sickness — setting mouse sensitivity lower helps.
Q: Is there a New Game Plus? A: No. But the multiple endings give you reason to replay. A focused run skipping all optional content takes about 3 hours.
Q: How scary is this game compared to others? A: Less jump-scares than Outlast, more psychological dread than Amnesia. Similar pacing to SOMA. If you're sensitive to themes of guilt, death, and car accidents, the story may hit harder than the horror.
Why Curse: The First Knot Works
For a two-person team, this is an impressive achievement. The Anatolian setting is integral to every aspect — narrative, puzzles, horror, atmosphere. The sound design is exceptional. The story lingers.
At $1.79, it's almost an insult to the developers' effort. The game respects your intelligence: no hand-holding, no quest markers, no inventory puzzles that insult your problem-solving skills. It trusts you to pay attention.
The knot metaphor holds together mechanically and thematically. Every puzzle is a knot you untie. Every document is a thread. The final sequence asks you to decide: cut the knot, untie it, or pull it tighter. That's rare — a horror game whose ending is a genuine moral choice, not a skill check.
Screenshots