Daily Pick
One deeply researched guide worth reading today.
A practical route through the systems that matter most, written to help new players make confident decisions quickly.
Overview
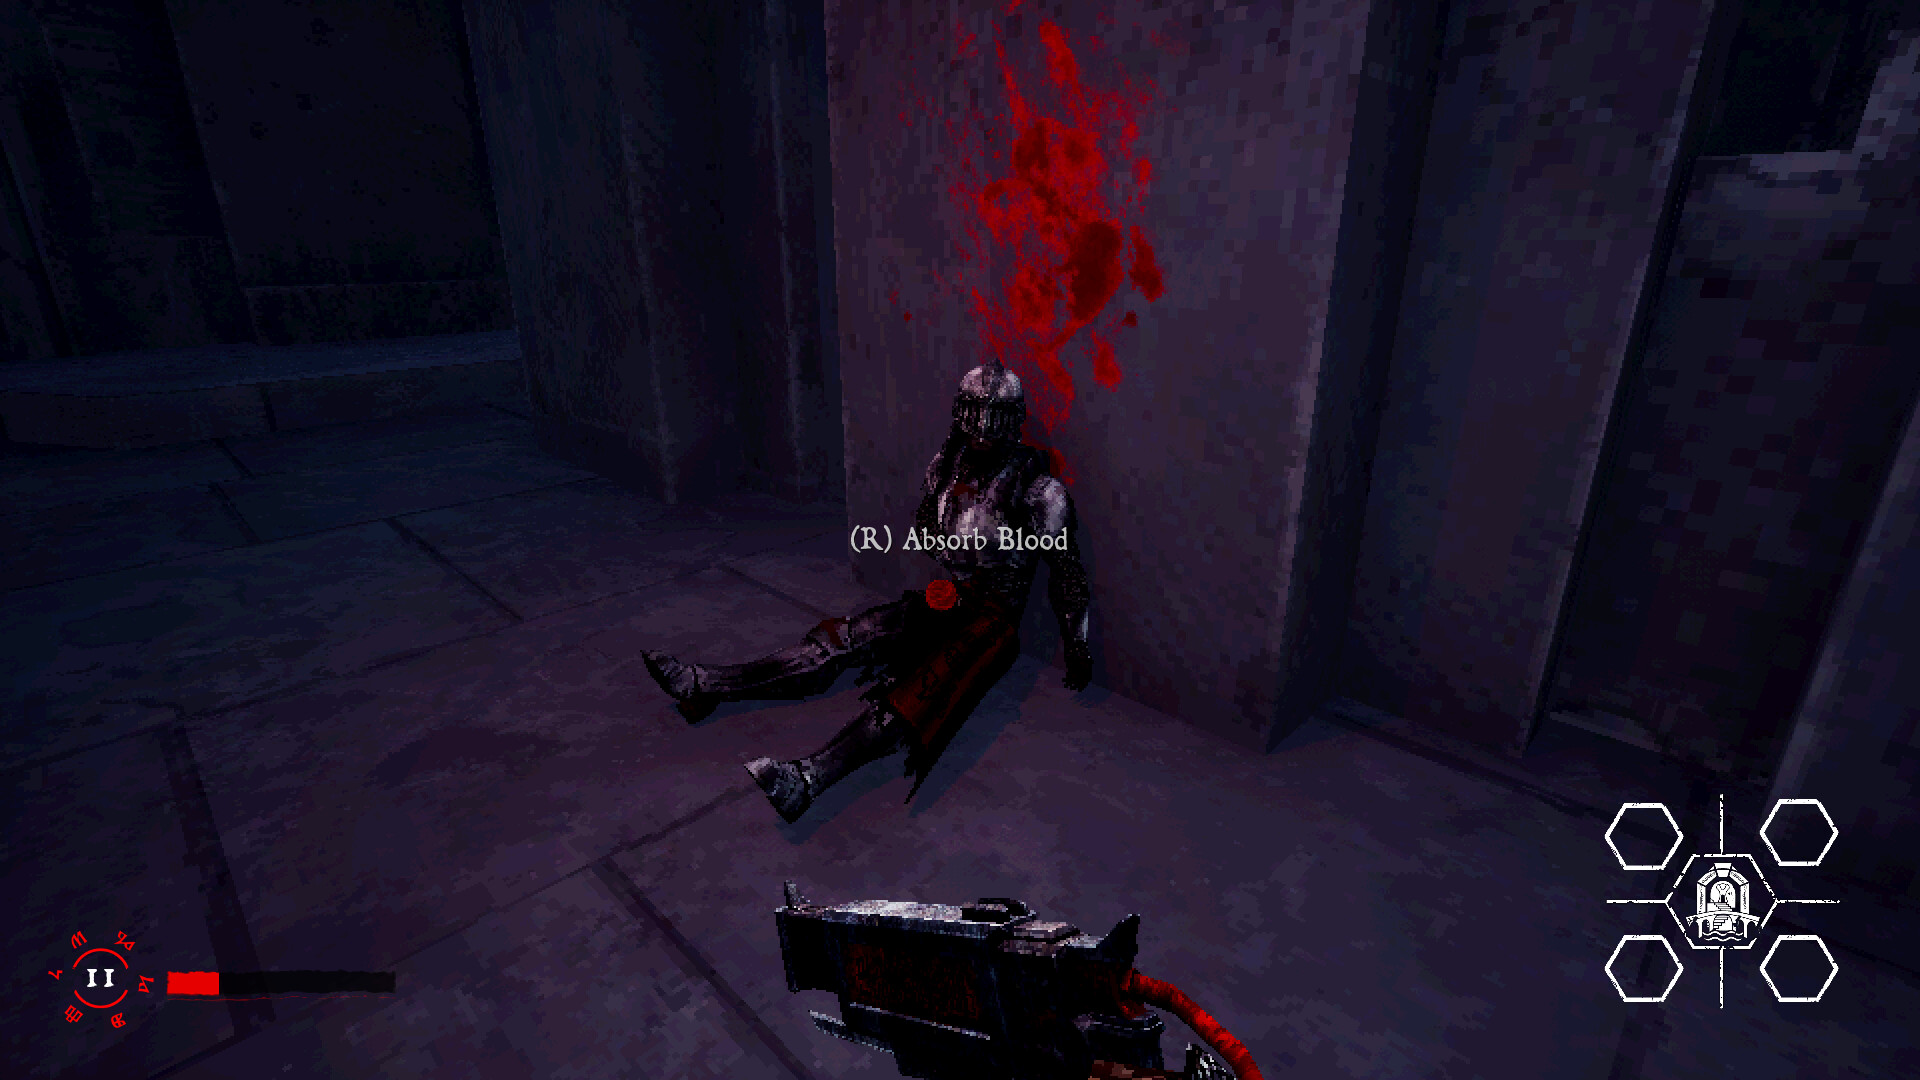
CONCRETE BURIAL is a short first-person horror game built around one cruel idea: your weapon runs on your own blood. You play a Knight of the Crimson Clan who descends into the Whispering Crypt, a brutalist catacomb, to complete four trials and collect the four Artifacts of Desire. The legend promises an irrefutable wish to anyone who succeeds. It also mentions that nobody has returned alive.
The game came out on September 17, 2026, published by DreadXP as the third XP ULTRA release (after FLATHEAD and VILE: Exhumed) and developed by the Brazilian studio Games From The Abyss, the team behind The Lacerator and Death Elevator. It costs $3.99, runs on anything with a GTX 960, and is designed to die inside your afternoon: one sitting, 40 to 90 minutes, no saves.
One clarification the store page buries: this is a puzzle-platformer that occasionally lets you shoot, not a shooter. Reviews compare it to Quake-era movement and Lunacid's mood, but the core skill is routing and nerve, not gunplay. You will run, jump, wade, look away from things that want to be looked at, and spend blood only when nothing else works.
| Fact | Detail |
|---|---|
| Developer / Publisher | Games From The Abyss / DreadXP |
| Genre | First-person horror, puzzle-platformer with FPS elements |
| Platform | Windows (Steam) |
| Price | $3.99 |
| Release | September 17, 2026 |
| Length | 40-90 min first run; ~30 min for veterans; ~3 h to 100% |
| Languages | English, Portuguese-Brazil |
| Structure | Prologue + 4 trials + confrontation |
| Armament | One blood-fueled handgun with a sword attachment |
| Main threat | The Protector Entity, who kills what looks at her |
| Replay | Speedrun Mode unlocks after the first clear |
| Achievements | 14, all reasonable, one easter egg hunt |
| Saves | None. Checkpoints only (~5 per run). Quitting wipes everything |
Who it's for: horror fans who want a dense single evening, people who like resource-tension design, achievement hunters (14/14 takes about 3 hours), and speedrunners.
Who it's not for: anyone who needs to play in 20-minute chunks and quit freely. The game has no save, not even save-and-quit. Close the window, lose the run. Your progress is knowledge, and knowledge resets to zero on the disk but not in your head.
Getting Started: Your First Descent
The run structure, mapped
The crypt is linear at the top level. You get a prologue, then four trial areas, then the artifact placement and the confrontation. Each trial holds one artifact and a different gimmick:
| Order | Area | Artifact | Gimmick | Achievement |
|---|---|---|---|---|
| 1 | Water area | Hands | Slow wading, water monsters, statue rescues | Salvation |
| 2 | Pit area | Book | Vertical platforming, instant-death drops | Knowledge |
| 3 | Confusing area | Scales | Rotating rooms, corner-camping entity | Order |
| 4 | Crown room | Crown | The only mandatory combat, three chambers | Power |
Eleven mind reads are scattered through the areas, three per trial except the crown room, which has two. They are lore collectibles tied to the rarest achievement in the game.
The first 15 minutes, planned
- Die twice in the prologue, on purpose. The first checkpoint comes right after the tutorial corridor. Jump into a pit for the Oops... achievement (44% of players have it, that tells you how painless it is), then drain your blood with the melee sword until you drop for Not enough blood. Both are free here, the checkpoint is meters away, and you will never have to think about them again.
- Learn your sprint relationship. You cannot sprint while aiming, and shooting cancels your momentum. Sprint is life. Every second your finger is off Shift is a second you chose to be vulnerable. Internalize this before the water area punishes it.
- In the water area, look right after the entry hallway. Bricks jut from the wall in a staircase pattern. This route matters later for the easter egg.
- Save the three statues in passing. Salvation's statues sit along the main path: near the concrete bridges, up the platforming arrangement left of the bridges, and along the left path from the entrance. Interact with each once. Do not detour for them, route them.
- When you first hear the whispers and see the red glow, do not investigate. That is the Protector Entity. Walk in the other direction, eyes down.
Beginner mistakes that end runs
- Looking at her. The Protector Entity catches you on eye contact at close range. She always faces you. Every death she causes starts with a glance. Head slightly down while moving, always.
- Shooting what you can walk past. Blood is HP and ammo in one pool. Every trigger pull makes the next mistake more fatal. The question is never "can I kill it" but "does it block the only exit."
- Playing in multiple sittings. The game warns you it is a single-sitting design and players still close the app at 80% completion, then rate it negatively for their own lost evening. Block out 90 minutes before you press start.
- Hoarding blood through the crown room. The inverse error. The final arena spawns blood pickups specifically so you can spend them. Arriving with a full tank and dying with it full is the same failure as arriving empty.
- Reading minds greedily. Mind-read progress banks only at checkpoints. If you read three minds mid-area and die before finishing the area, they respawn in new locations and your count resets. Collect minds on a dedicated careful run, not your first blind one.
Core Mechanics Under the Hood
The blood economy: one pool, two jobs
Health and ammunition are the same meter. The design consequence is that offense is a defensive decision: a shot that leaves you at 30% has bought you a corpse you cannot afford. Three rules hold the whole economy together:
- Movement is free, violence is not. Sprinting, jumping, and strafing cost nothing. The sword attachment costs nothing. The gun is the only thing that spends blood. Exhaust the free options first, always.
- A full tank is a full magazine. Refill before fights, not after. Blood pickups spawn in the crown room arena specifically to be spent the moment they are grabbed.
- The snowball is real. Players describe the game as all-or-nothing: never get hit and you carry enough blood to fight anything; take two hits and you are suddenly too poor to defend yourself. The first hit is the expensive one. Play like it.
The Crimson Knight achievement (reach 50 blood) sits at an 18.5% unlock rate, which tells you how unusual it is to end a stretch rich. You get there by refusing fights, not by farming.
The Protector Entity: the whole horror game
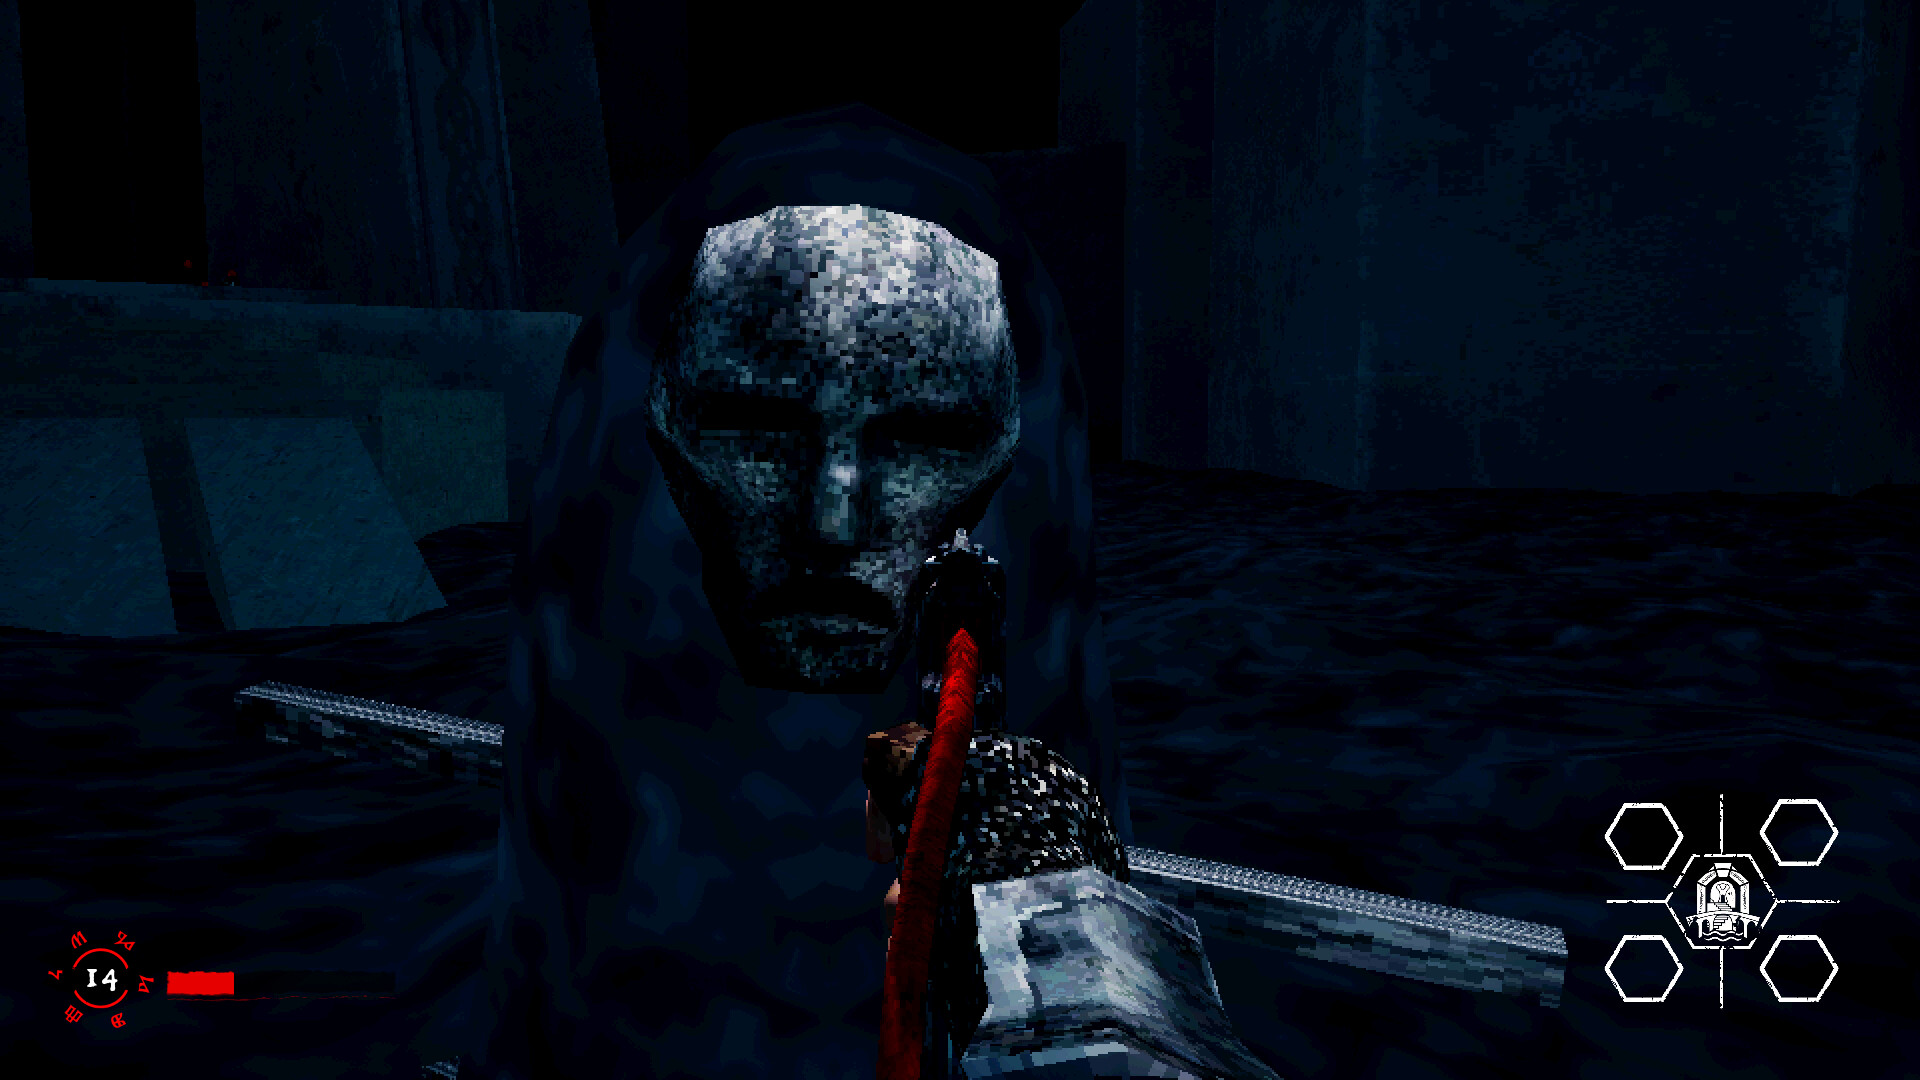
She appears at least once in every artifact room, sometimes repositions, and always faces you. Her rule is simple and the game never states it clearly: she can only catch you if you look at her while close enough. Distance plus eye contact triggers a capture.
What capture means is not a game over. You wake inside her arena, a closed space where red blob masks materialize on the walls. Break the masks (shoot them) to reveal the exit, and run. The in-game signs teach this; the practical version:
- The moment you regain control, turn your back to her.
- Hold sprint. Do not release it once during the entire sequence.
- Find a mask, turn briefly to shoot it, turn back.
- Repeat until the door opens, leave.
Avoiding capture entirely is a three-part discipline:
- Head down while walking. Angling your view toward the floor breaks eye contact even when she is somewhere you did not expect. This one habit got most players through the Confusing area, where she waits around corners.
- Scan before committing. Before any jump or doorway, sweep the space for the red glow. Surprise is the actual killer; she is slow once you know where she stands.
- Route before approaching. Some objectives force you near her, most notably the water area, where you juggle her presence and the water monsters in the same corridor. Decide the path first, then move through it with your view turned away.
Shooting her does nothing. She cannot be harmed, and every bullet you waste on her is blood you needed for the masks later.
The gun: one weapon, two modes
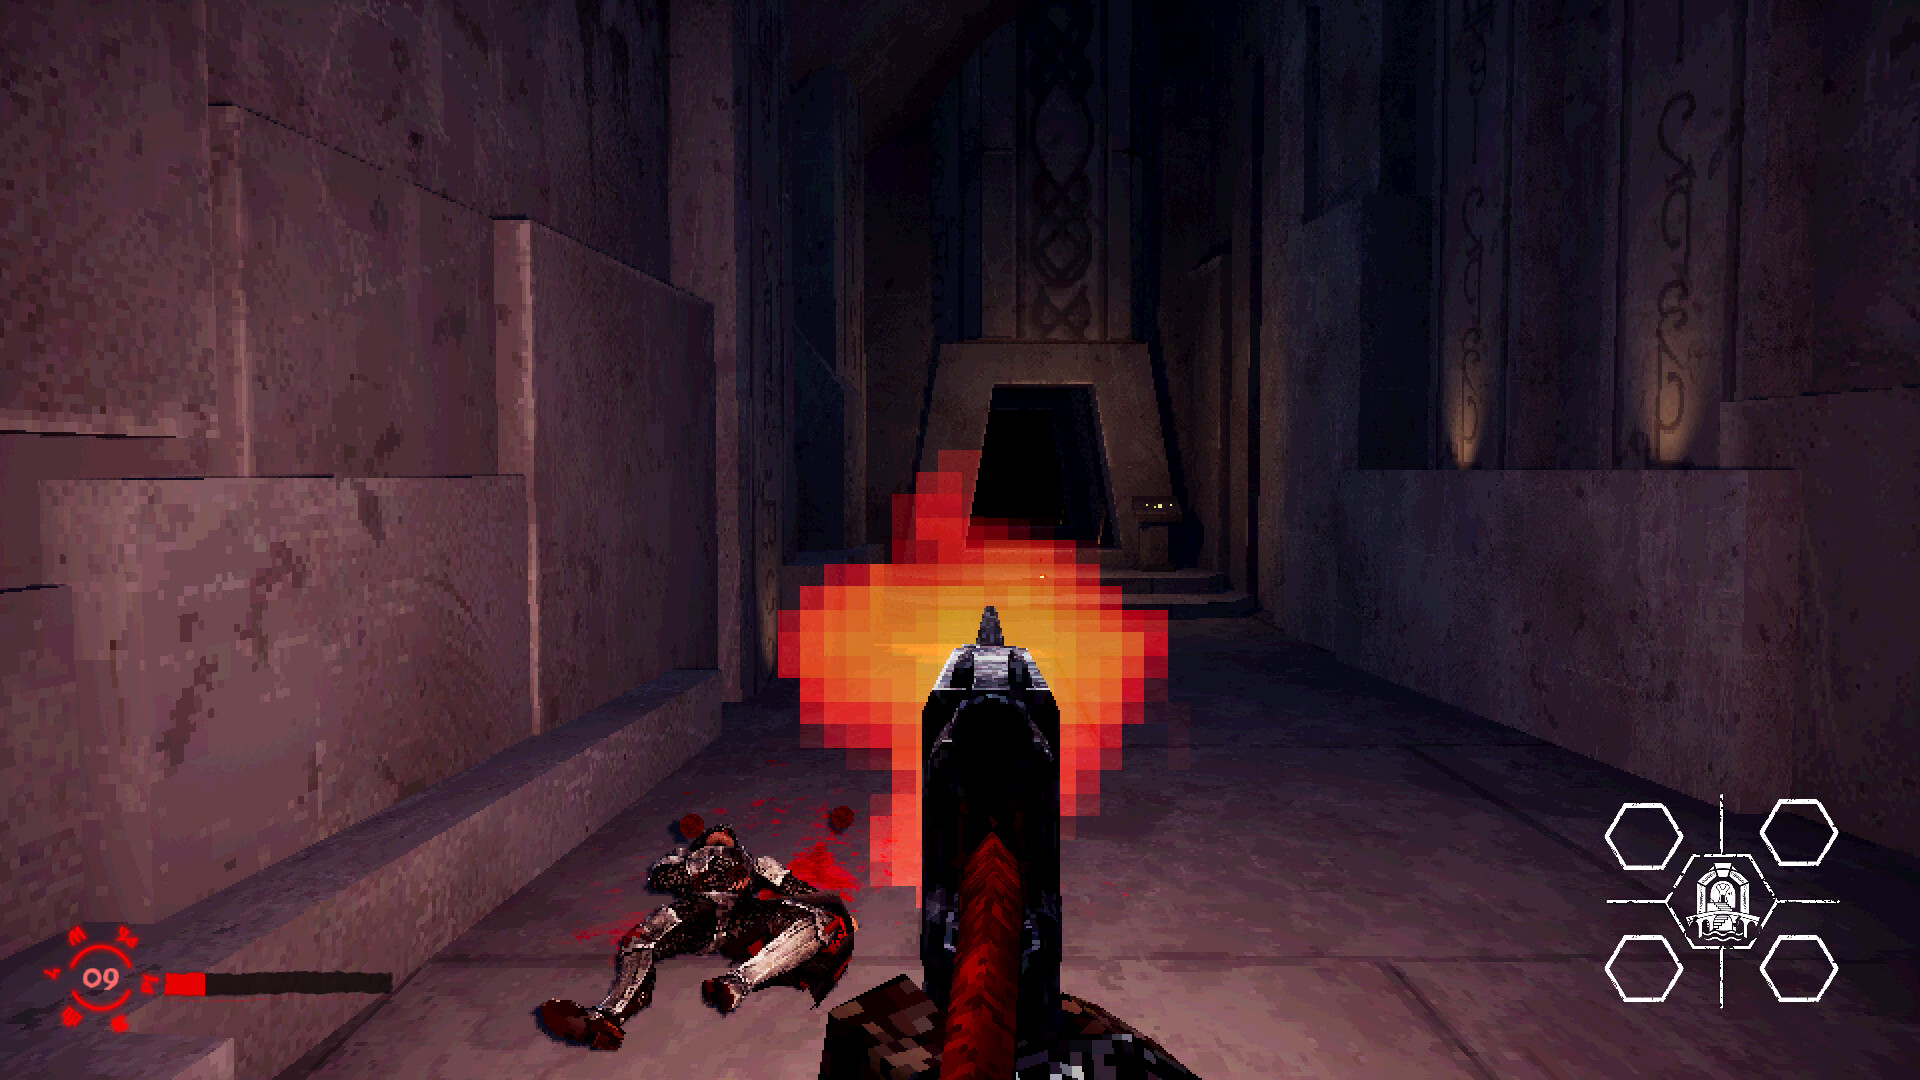
The handgun is welded to the knight's arm and feeds on her blood. The sword attachment is the same idea in melee form. There are no other weapons and the game is not long enough to want any. What the gun does have, per every review that mentions it, is feel: heavy, loud, and satisfying in the one room the game asks you to use it.
The melee swing drains blood too, but slower than shooting, and it works without aiming, which means without canceling your sprint. In the crown room swarm, melee the closest enemy and shoot the far ones, never the reverse.
Movement: the actual main character
First-person platforming carries the game. Sprint is the default state, jumps are generous, and the instant-death pits are the most common killer in the game (the pit-death achievement sits at 44%). The crypt's four areas each stretch a different movement muscle:
- Water slows you to a wade and puts monsters in the flood. Patience terrain. The sprint reflex has to be unlearned here, which is exactly why it is first.
- Pit is vertical. Ramps spiral up pillars, hexagonal platforms ring the upper walls, and every drop is lethal. The fell-and-survived bug from launch was patched; assume every fall kills.
- Confusing spins entire rooms around you. Navigation by texture and corner memorization, not by map (there is no map).
- Crown is flat and open, built for strafing circles around a swarm.
Step-by-Step Strategy: The Five Sequences
Sequence 1: Free achievements in the prologue
- Start the run. Walk the tutorial corridor.
- Reach the first checkpoint. Note it, this is your safety net.
- Walk into the nearest pit. Oops..., unlocked.
- After reload, hold the melee button until your blood empties. Not enough blood, unlocked.
- Cross the checkpoint again and proceed clean.
Both achievements are permanent unlocks tied to your Steam account, not to the run. Spending two fake deaths here removes the only two achievements that would otherwise require deliberate failure later.
Sequence 2: The water area (Salvation) without a capture
- Enter through the hallway. Look right: jutting bricks mark the high route. Ignore them for now, that is the easter egg ladder.
- Wade the main path. The water slows you; the monsters kill what lingers. Move between cover points, never stop mid-channel.
- Statue one: keep right after entering, check left when you reach the concrete bridges.
- Statue two: left of the bridges, take the platforming arrangement upward, statue sits near the pedestal.
- Statue three: from the entrance, take the left path, look right between the walls.
- If the entity spawns in your corridor, route along the far wall with your view down and away. Her capture range is short; a body-length of distance is enough.
- Take the Hands artifact and exit. The water artifact spawns in a fixed spot, unlike the others.
Sequence 3: The pit area (Knowledge) clean
- On entering the chamber, turn right. The mind read is there if you are collecting.
- Stick to the right wall to the pillar with the ramp; take it to the upper level.
- Cross the hexagonal platforms toward the room's center. Second mind read is here, with the starting one visible across the gap.
- Behind the second memory stands a pedestal. Look down from it: third mind read below, and sometimes the Book artifact spawns up here with you. Grabbing it from above skips the descent, but plan where you will drop before you take it.
- Descend only when you have mapped your landing. Every pit in this room kills.
- Exit with the Book. This area is also the best place to deliberately escape an entity arena, its corridors are linear and the exit door is easy to find under pressure.
Sequence 4: The confusing area (Order) without getting lost
- From the entrance, go straight. First mind read is ahead.
- Stop in the gap between the two spinning rooms. Do not enter a spinner while it rotates your screen; wait for your orientation to settle.
- Take the left doorway, then the left path of the split.
- Turn 180 at the stairs and walk the corridor to its end; the stairs on your right lead to the third mind read beside the giant pillar.
- The Scales artifact spawns in one of the pre-set spots; it moves if you died earlier in the area, so re-scout after any death.
- Throughout: head down, eyes off the corners. The entity camps this area's corners specifically. Her position moves, so re-scan every room before crossing it.
Sequence 5: The crown room (Power) swarm survival
This is the fight the whole game builds to, and the only mandatory combat. Three chambers:
- Chamber one is an introduction. Clear it or run it; the door does not care.
- Chamber two adds wall shooters. Keep to the long side walls, and note the mind read above one of the doors before you fight, grabbing collectibles mid-fight wastes blood.
- Chamber three spawns both enemy types at once. This is the swarm. The working pattern: sprint in wide circles, melee whatever closes distance, hip-fire the rest, and grab blood pickups the moment they appear. Standing still to aim is how runs end here.
- Kill everything for the Power achievement. If you do not care about achievements, you can theoretically sprint past, but the arena gates discourage it.
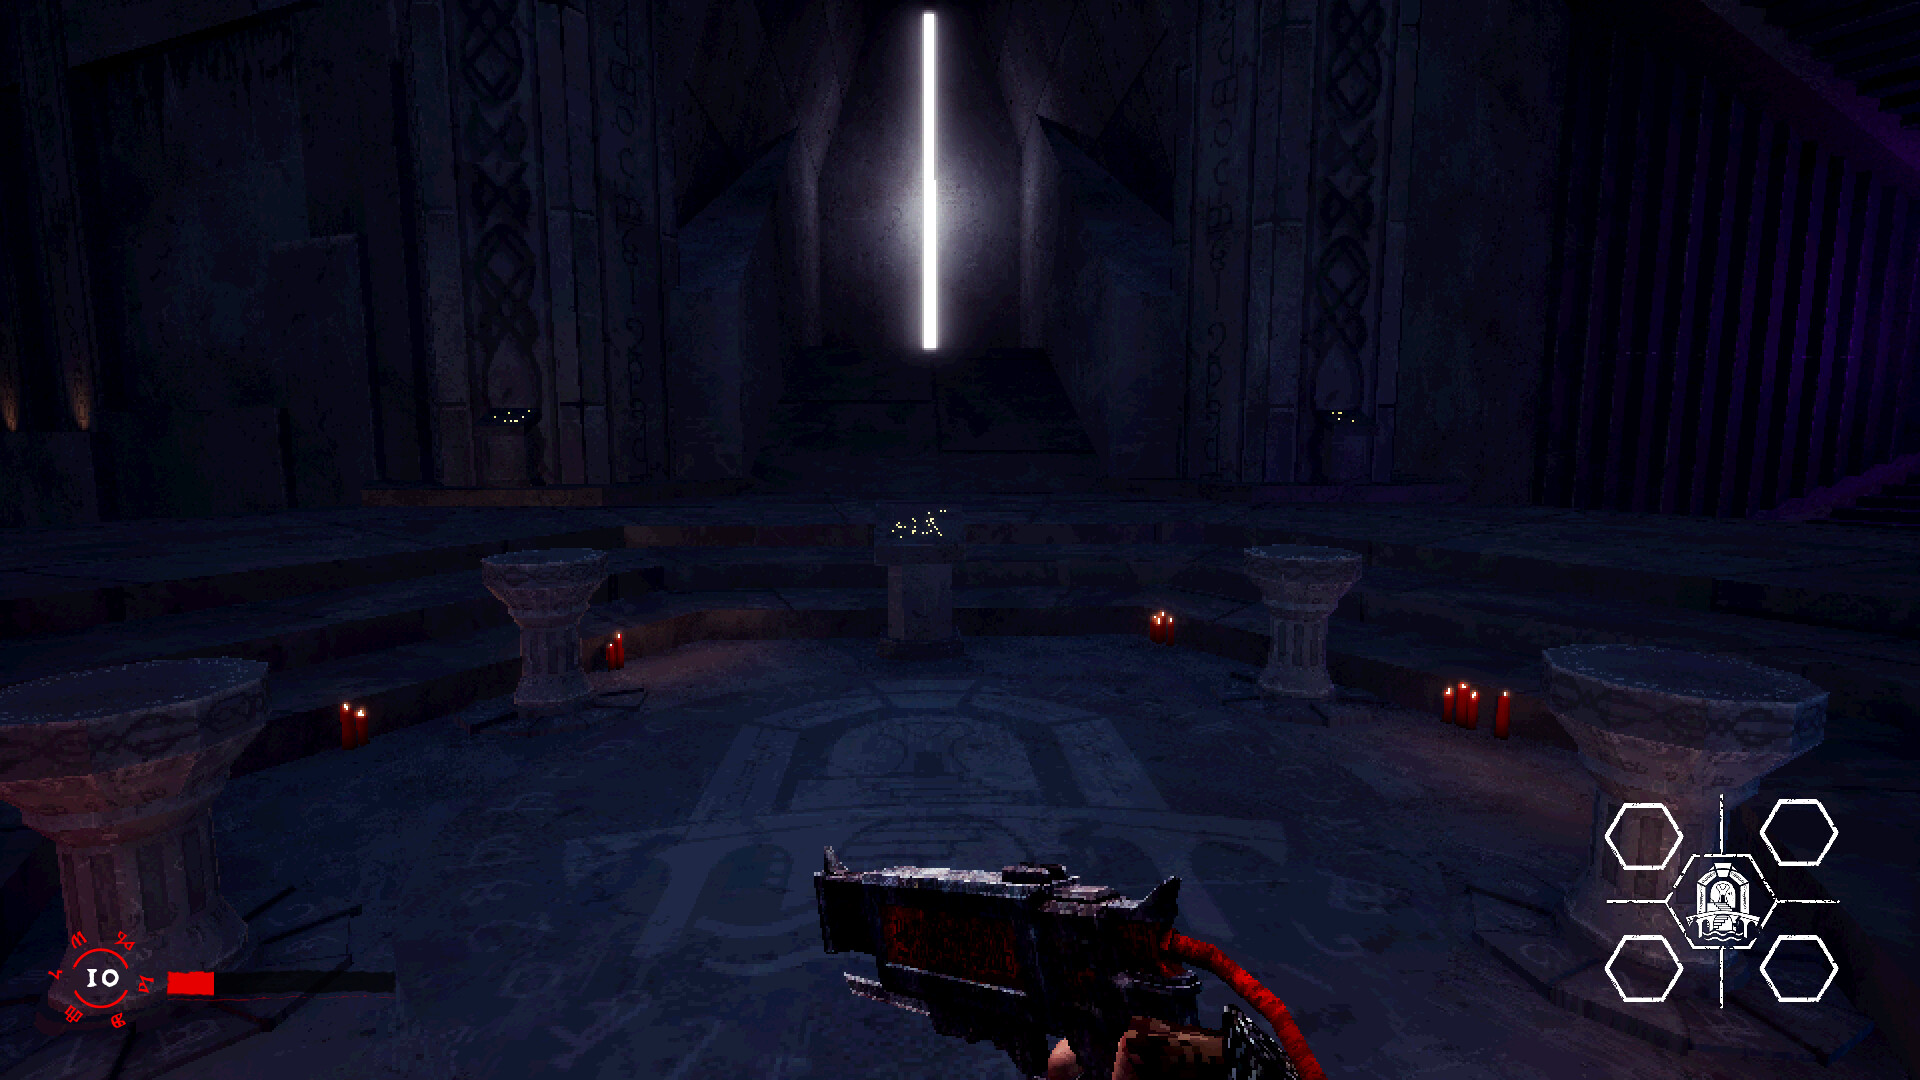
- Take the Crown. All four artifacts in hand, place them at the central structure, and walk into the confrontation.
The ending twist is a meta question aimed at you rather than the knight. Reviews split on it, some call it the best beat in the game and some call it a cop-out. Either way, the fight before it is the test, and blood management decides it.
Trial Order and Routing
The areas are presented in a fixed sequence (water, pit, confusing, crown) on a first run. On Speedrun Mode the routing is yours, and the community-consensus fast order inverts the water area to last:
| Leg | Reasoning |
|---|---|
| Pit first | Shortest area, no water slow-down, linear exits make entity escapes trivial |
| Water second | Statues and artifact in one pass, easter egg grab if you are hunting |
| Confusing third | Rotating rooms cost focus; do them while fresh on timing |
| Crown last | Combat arena wants you arriving with a full tank and warmed-up movement |
A published community run clears the whole mode in 13:21 this way: the pit leg in about ten seconds of routing, water in under five minutes, confusing under eight and a half, crown to the finish around thirteen.
For a first run, ignore all of that and go in order. The areas teach in sequence. Speedrun Mode exists to compress; story mode exists to be survived slowly.
Achievements: All 14, Ranked by Effort
| Achievement | Unlock % | How |
|---|---|---|
| She is always watching | 57.1% | Let the entity catch you once. Trivial, most players earn it by accident in run one. |
| Oops... | 44.0% | Fall into any pit. Free in the prologue. |
| Protector Entity Evaded | 41.8% | In her arena, shoot the two masks to open the door and escape. Story-forced. |
| Knowledge | 41.4% | Complete the pit area: grab the Book, get out alive. |
| Not enough blood | 37.2% | Drain yourself to death with melee or gunfire. Free in the prologue. |
| Salvation | 33.9% | Save all three water-area statues (bridges, upper platform, left path). |
| Order | 30.6% | Complete the confusing area. |
| Power | 26.2% | Kill everything in the crown room. |
| You may request a wish! | 26.0% | Place all four artifacts. Story-forced. |
| You are God! | 25.9% | Finish story mode. |
| Crimson Knight | 18.5% | Hold 50 blood. Refuse fights through two areas and it lands on its own. |
| Wait, What? | 5.5% | Water-area easter egg. See below. |
| Mind Scavenger | 4.9% | Read all 11 minds in one run, no unbanked deaths. |
| Quick God! | 4.2% | Finish Speedrun Mode at any pace. |
Wait, What? The easter egg route
Enter the water area and find the jutting bricks on the right wall just past the entry hallway. Climb the staircase pattern all the way up toward the lit block that breaks the darkness. Several jumps look impossible; they are not. The invisible platforms sit level with matching brick clusters on the far walls, so when there is nowhere obvious to go, aim for the opposite wall's bricks and jump. Roughly two minutes of careful parkour from the hallway, and the achievement fires on arrival. Doing this with around 20 blood instead of a full tank keeps the controls manageable in the water.
Mind Scavenger without the heartbreak
The trap: minds bank only at checkpoints, and dying re-rolls the unbanked ones to new pre-set spots. The fix: run it in Speedrun Mode after you know the areas, collecting three minds per area (two in the crown room) and reaching each area's end before taking risks. Never grab a mind and then attempt a dangerous jump; the mind is the thing you cannot afford to re-collect.
Full mind checklist:
| Area | Count | Landmarks |
|---|---|---|
| Knowledge (pit) | 3 | Right of entrance; hexagonal platforms at center; below the pedestal behind the second one |
| Salvation (water) | 3 | Left of the concrete bridges; up the platform arrangement left of the bridges; right side of the left path between walls |
| Confusion | 3 | Straight from entrance; between the two spinners (left door, left split); beside the giant pillar past the 180-stairs |
| Power (crown) | 2 | Above a door in the wall-shooter chamber; right side near a door in the dual-spawn chamber |
Advanced Tips
- Blood sequence your risks. If damage is coming, take it immediately after a refill, never before one. Full-tank hits are cheap; low-tank hits cascade.
- The sword is a sprint-safe weapon. Melee drains blood slower than gunfire and never cancels your momentum. In the swarm, the closest enemy always dies to the sword.
- Her capture range is short. A single body-length of separation is enough to pass her safely, given your view is turned away. Panic distance is bigger in your head than on the floor.
- Read the arena signs. The mask-escape mechanic is taught by signs inside her arena. Players who never got captured before the final area meet the mechanic untrained in the worst place; getting captured once early is cheap education.
- Artifact spawns re-roll on death. Except the water artifact, which seems fixed. If you died inside an area, re-scout the artifact spot before committing to the run for it.
- 4K players: expect tiny achievement popups. The game shipped without a native 1440p option; 2K monitor owners report using 4K output and living with it. Borderless fullscreen is also missing at review.
- No key remapping. Fixed WASD and fixed bindings. Left-handed players and AZERTY owners are out of luck as of the current patch; a controller sidesteps the layout problem entirely and works well except in the crown room swarm, where mouse aim is worth the trade.
- Two runs to 100%. Run one: blind, story mode, die where you die, grab accidental achievements. Run two: Speedrun Mode with the mind checklist and the easter egg. Roughly three hours total, which is excellent value on a $4 game.
Troubleshooting: When Runs Go Wrong
Symptom: the entity catches you repeatedly in the confusing area. Cause: corner peeking. Her spawn set in that area favors doorways. Fix: commit to the head-down walk, scan only at room centers, and cross doorways at a slight diagonal with your view already turned.
Symptom: dying to water monsters mid-statue route. Cause: stopping in open channels. The monsters punish lingering, not movement. Fix: split the statue route into short sprint bursts between cover points and never turn to look at what is chasing you in the water.
Symptom: crown room swarm overwhelms you. Cause: aiming. ADS and careful shots cancel your sprint and freeze you in a room designed for motion. Fix: circles, sword for anything inside three meters, gun only for the wall shooters, blood pickups on every lap.
Symptom: lost a mind-read streak to a death. Cause: banking rules. Minds checkpoint only at area completion. Fix: consider the streak dead, finish the area anyway, and restart the mind run rather than mixing objectives.
Symptom: closed the game at 80% and lost everything. Cause: there is no save and the store page means it. Fix: none in-game. The community's honest answer is that a second run with knowledge takes under 40 minutes. Block a real 90-minute window for run one; that is the design contract.
Symptom: the game is not on your account after purchase. Cause: Family Sharing confusion or a different region's store page. Fix: check your purchase history, and confirm you are reviewing the app ID 4810070 library entry, not a wishlist row.
Comparison With Similar Games
| Game | What it shares | Where CONCRETE BURIAL differs |
|---|---|---|
| Quake-style retro FPS | Movement feel, brutalist geometry | Combat is garnish; the game is a puzzle-platformer with one gun |
| Lunacid | PS1-era mood, dungeon crawling | One-sitting length, no RPG systems, no shops or leveling |
| Other DreadXP shorts (FLATHEAD, VILE: Exhumed) | XP ULTRA bite-size format, horror tone | Blood-as-ammo economy and the eye-contact entity are unique in the line |
| Hospital of the Undead-style dread horror | Watching entity tension | Here the entity is a mechanical system you can master, not scripted jumpscares |
The honest genre label, from the community's own reviews: a horror puzzle-platformer about discipline. Players who went in expecting a shooter bounced off it; players who went in expecting to route a dungeon and hoard a resource finished it in one sitting and bought copies for friends.
FAQ
How long is the game? 40-90 minutes on a first run. Under 30 once you know the rooms. Speedrun Mode plus achievement cleanup brings the total experience to around three hours.
Is there any way to save? No. Checkpoints (about five per run) exist inside a single sitting. Closing the game erases all progress, by design, and the store page says so. Your second run will be fast because you know the solutions, not because anything was stored.
Can I fight the Protector Entity? No. She takes no damage. The counterplay is eye-contact discipline, spacing, and if captured, breaking the arena masks while sprinting with your back turned.
What actually kills most first runs? Pits, in raw numbers. Then the entity in the confusing area. Then the crown room swarm. Only the last of those is a fight; the first two are attention failures.
Do I need to collect the minds on my first run? No, and you should not. Mind progress resets on unbanked deaths, which makes first-run collecting a trap. Do story first, minds on a dedicated speedrun-mode pass.
Is the ending good? It is a meta twist that addresses the player directly. Reviewers split cleanly: memorable and bold versus cheap cop-out. Either way it is 30 seconds long and the game before it earns its $4 regardless of which side you land on.
Controller or keyboard? Both are fully supported. Reviews lean keyboard-and-mouse for the crown room's aim-heavy finale and controller for everything else. Pick per preference; nothing in the game demands one.
Does it run on a weak PC? The stated minimum is a 2.9 GHz CPU, 4 GB RAM, and a GTX 960. A Steam Deck-class machine runs it without trouble. Load times are short and the 2 GB install is small.
What unlocks Speedrun Mode and what changes? Finish story mode once. Speedrun Mode restarts the crypt with the structure open for routing, and finishing it at any pace earns Quick God!. The known community route puts the whole run at 13 minutes.
Is it worth $3.99? The review consensus says yes, loudly: Very Positive at 179 reviews, with the price-to-length ratio cited as the main buying argument even by people who disliked the checkpoint design.