Daily Pick
One deeply researched guide worth reading today.
A practical route through the systems that matter most, written to help new players make confident decisions quickly.
Overview: What Kind of Game Is Blood Welkin?
Blood Welkin is a first person roguelite shooter from solo developer DeviousGlizzy, released June 24, 2026 on Steam for $3.99. You are a soldier of the Royal Canadian 18th Infantry Battalion fighting a war that history never recorded: a Great War with France that erupted in December 1899, fought across African colonies like Abidjan, Kouto and Transvaal. The tagline repeats like a prayer: YOU. ARE. NOT. CRAZY.
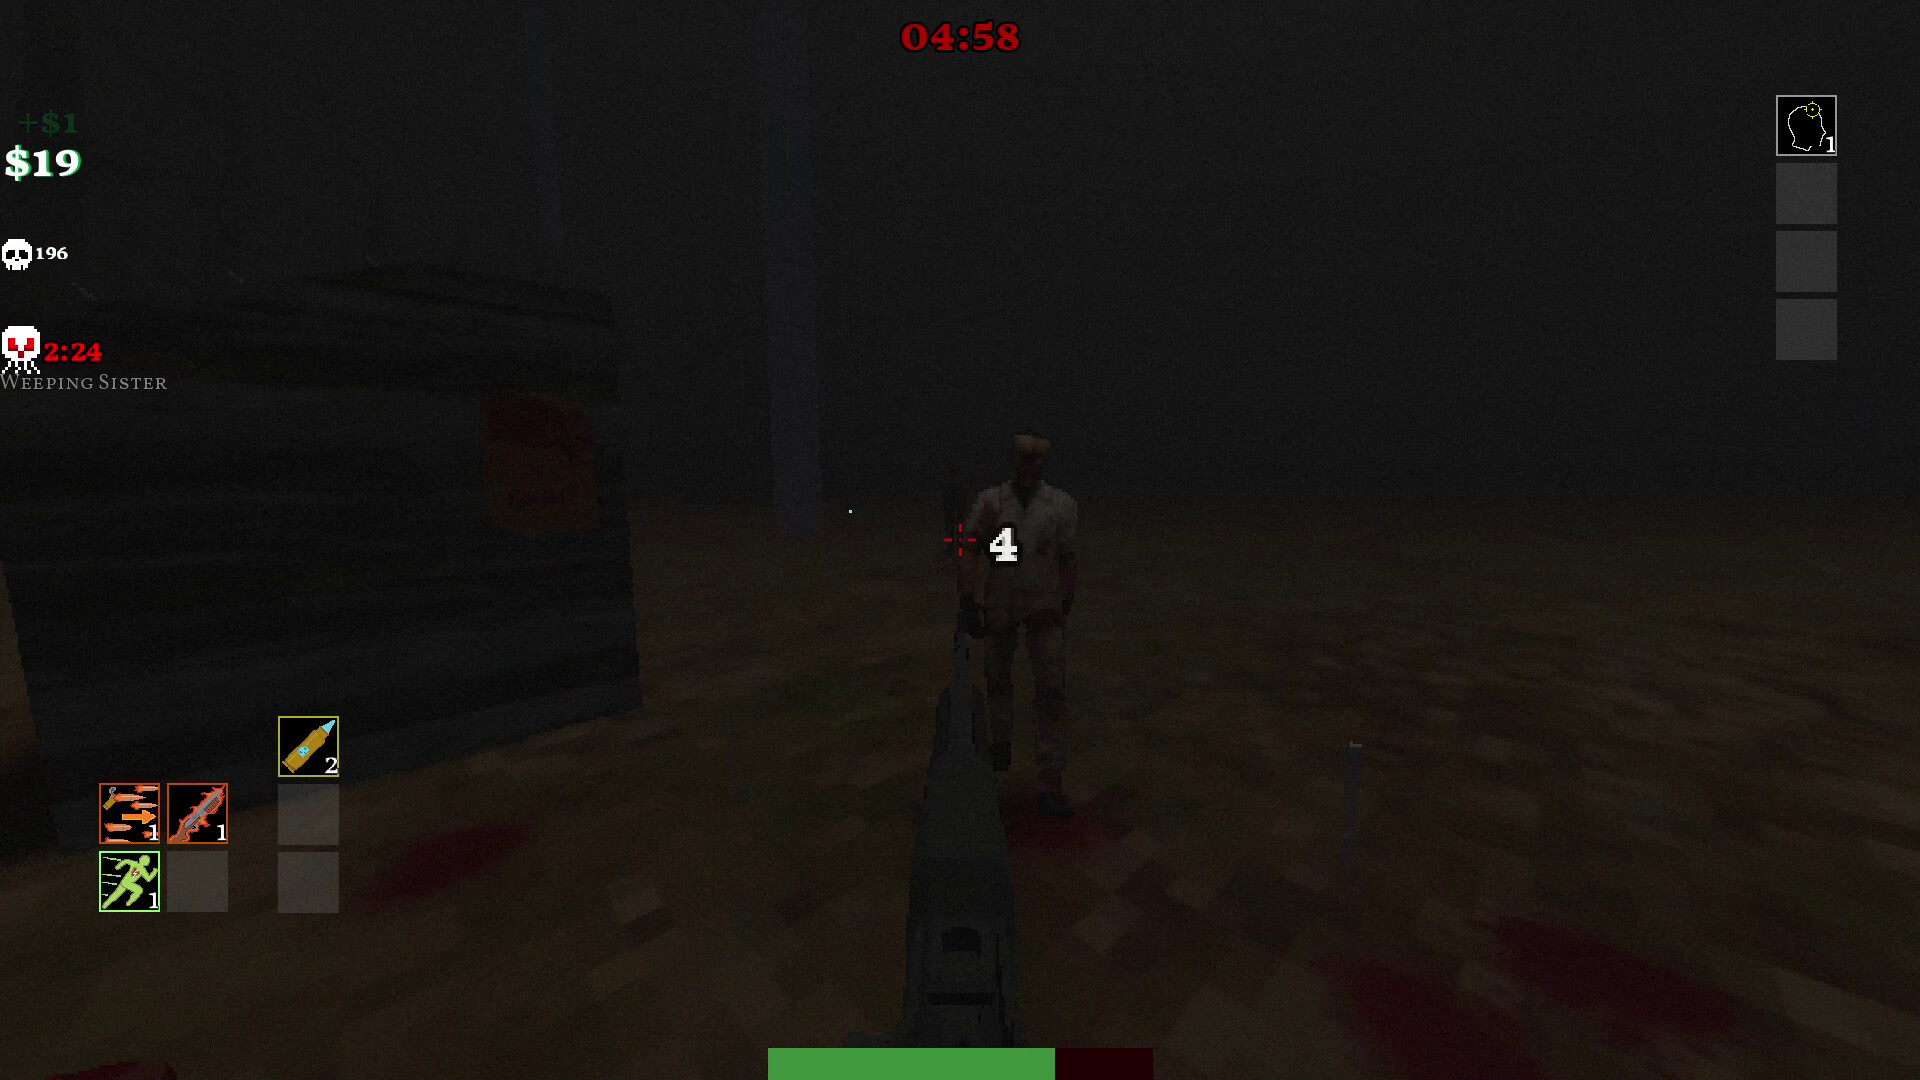
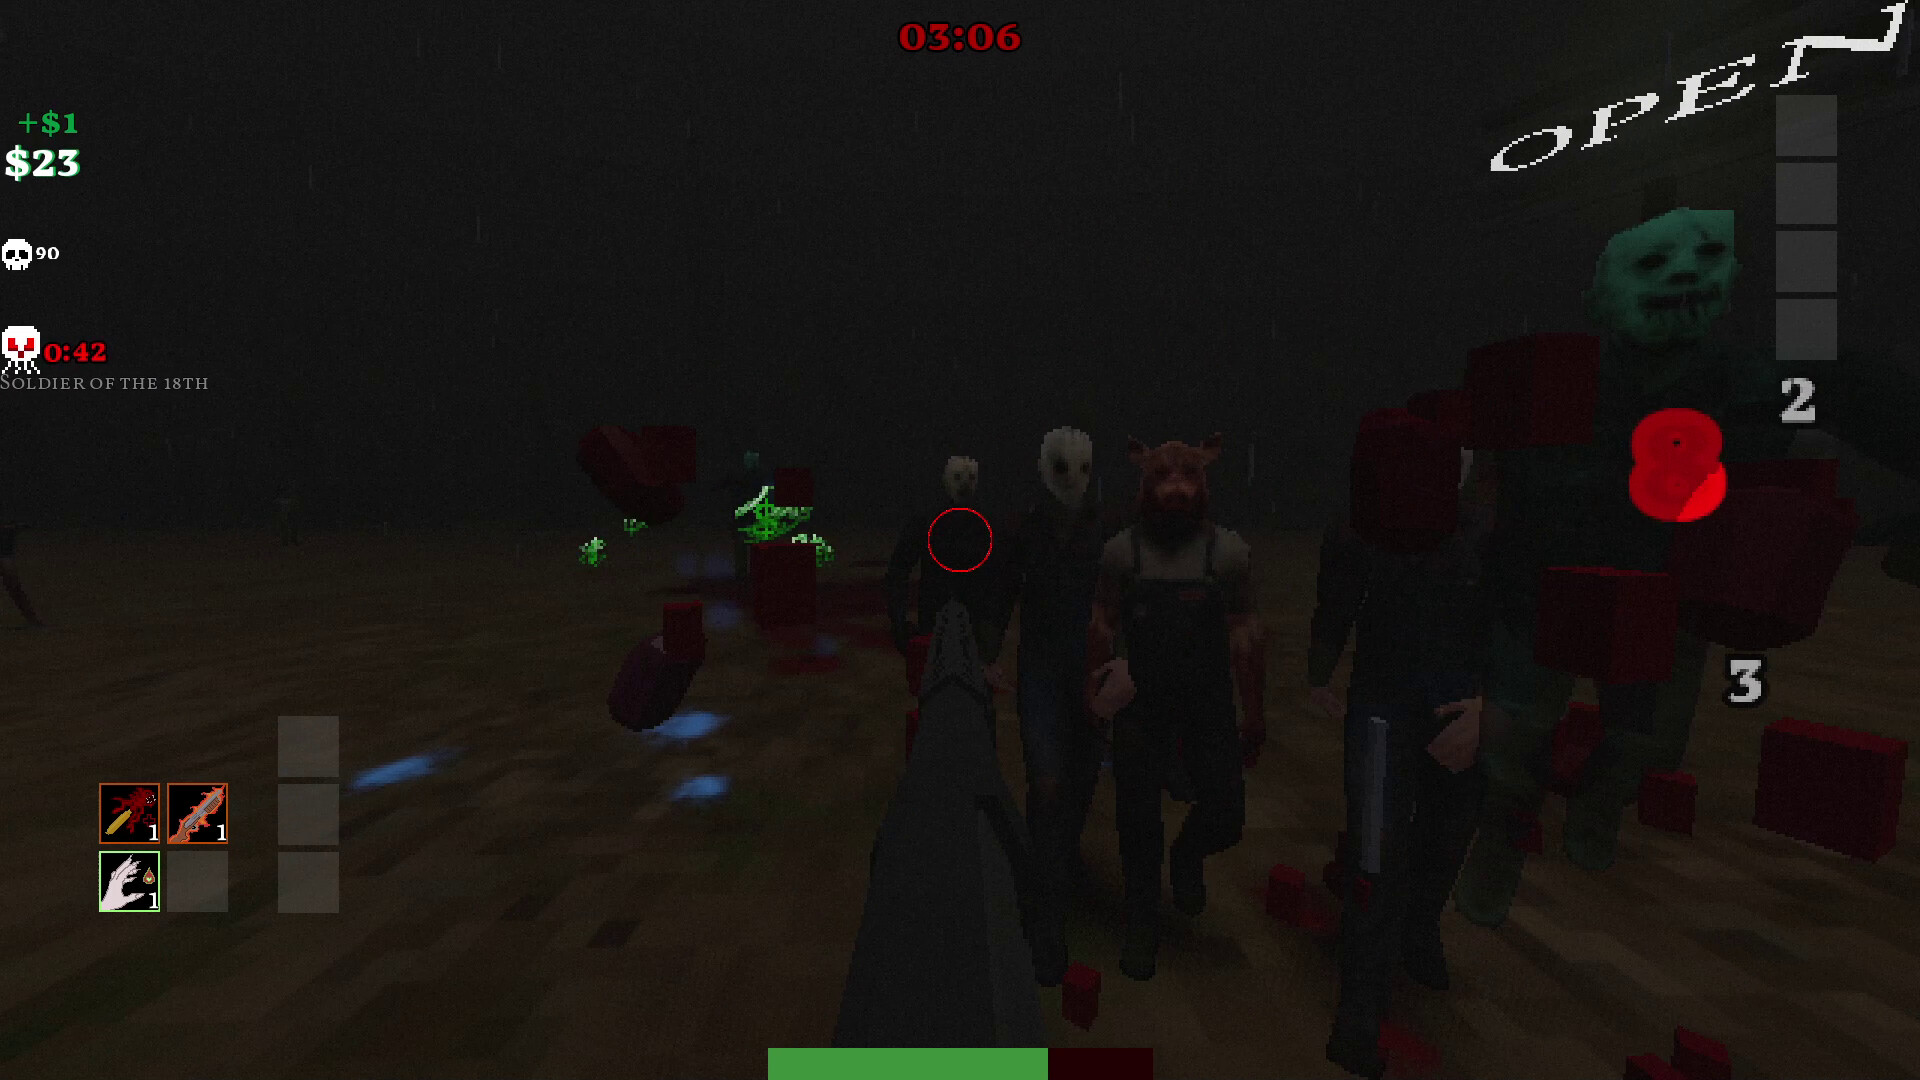
The gameplay loop is best described as an FPS survivors game. Endless hordes of cultists close in from every direction while you move, shoot and build a kit from dozens of items between waves. Fans of Vampire Survivors, Devil Daggers and Risk of Rain 2 will recognize the DNA instantly. You buy upgrades from shops scattered around the arena, stack effects across three weapon types, and face named Ascended Abominations that demand specific strategies.
The game is compact and honest. One reviewer's summary is accurate: a great time killer, satisfying, a bit barebones next to the genre giants, and sometimes janky, but the core shooting feels good and the kit-building has real depth. There are 23 Steam achievements, a bleak alt-history narrative told through journal entries, and a difficulty curve that starts approachable and climbs fast.
| Field | Detail |
|---|---|
| Genre | FPS / roguelite / survivors-like |
| Developer | DeviousGlizzy |
| Platform | Windows (Steam) |
| Price | $3.99 |
| Release | June 24, 2026 |
| Players | Single player |
| Weapons | Rifle, auto rifle, shotgun |
| Bosses | 7 named Ascended Abominations |
| Achievements | 23 |
| Controller | Partial support, keyboard and mouse recommended |
| Extras | Steam Cloud, adjustable difficulty, family sharing |
Getting Started: Your First 30 Minutes
There is no tutorial. The game drops you into an arena with a rifle, an auto rifle and a shotgun, and the horde starts moving. Survive the first minutes with these fundamentals:
- Bind dodge to something your thumb can reach. Spacebar works, but a side mouse button or a key under your thumb lets you dodge without lifting off WASD. You will dodge constantly.
- Learn the shop rotation first. There are four shops around the map and only one is active at a time. Buying an item closes the current shop and activates another. Knowing where the active shop is saves you from hunting for it mid-wave.
- Spend money as soon as you have it. Death wipes your wallet. Every coin spent is a coin that survives the run.
- Shoot from the hip while moving. Standing still to aim is a death sentence. Lateral strafing cuts incoming damage dramatically.
- Expect to die on your first boss. Everyone does. Boss wind-ups are learnable, but you have not seen them yet. The death is the lesson.
- Break everything. Crates, barrels and debris drop money. A full arena sweep of destructibles funds your first shop visit.
Beginner mistakes that end runs:
| Mistake | Why it kills | The fix |
|---|---|---|
| Hoarding money | Death resets your wallet | Buy something every time you can |
| Ignoring the shop rotation | You waste a wave hunting for the active shop | Check shop locations during wave downtime |
| Standing still to aim | Cultist projectiles track your position | Constant movement, shoot from the hip |
| Buying one item from every tab | A shallow kit beats no specialization | Commit to a direction by the second shop |
| Treating the shotgun as a primary | Ammo runs dry at the worst moment | Shotgun for close panic, rifle for work |
| Skipping defensive items | The boss one-shots your glass cannon | Two physique items minimum by boss time |
Core Mechanics Explained
The Three Weapons
Every run starts with three weapons, one from each type. The Steam page calls them "3 different weapon types with their own banes and boons."
| Weapon | Role | Strengths | Weaknesses |
|---|---|---|---|
| Rifle | Workhorse | Accurate, reliable, headshot friendly | Slower fire rate, needs steady aim |
| Auto rifle | Add clear | Full auto, forgiving, high DPS | Spreads at range, burns ammo |
| Shotgun | Panic button | Massive close range burst, knockback | Point blank only, slow reload |
The weapons upgrade through the shop system, and the achievements confirm the upgrade paths: "Fully upgrade the rifle," "Fully upgrade the auto rifle," "Fully upgrade the shotgun." A fully upgraded weapon is a run-defining investment, and each weapon type has its own achievement for maxing it.
Melee is part of the kit too. The item system has melee interactions: pushing enemies back deals damage, and pushing enemies back heals you. "Kill 500 abominations using melee" is one of the rarest achievements in the game, so melee is a viable but demanding playstyle.
The Shop System
The dev explained the economy in detail, and it works like this:
- Four shops sit around the map. Only one is active at any time.
- When you buy an item and close the buy menu, that shop closes and one of the other three activates.
- The buy menu has three tabs: Weapon, Physique, Special. Each tab has three tiers.
- Tier 1 items are the base. Tier 2 and tier 3 build on top of them.
- Buying a tier highlights the next tier in blue. That is the game telling you what to buy next.
- Upgrade discount: if you own a lower tier, the higher tier costs only the price difference. Upgrading in sequence is always cheaper than skipping tiers.
This system rewards focused builds. Jumping between tabs means paying full price for every tier. Committing to one item line means paying the difference, which stretches your money much further.
Weapon Items (Tier 1)
These increase the effectiveness of your main gun:
| Item | Effect |
|---|---|
| Express Rounds | Increases fire rate of your main gun |
| Close Range | Increases damage when enemies are close |
| Improved Rifling | Increases damage at range, extends bullet lifetime |
| Healing Bullets | Heals you when bullets hit enemies |
| Heavy Melee | Pushing enemies back deals damage |
| Christened Lead | Bullet hits apply damage over time |
| Lucky Chamber | Increases critical hit chance |
| Avenging the Fallen | Activated: temporary bullet damage boost |
Physique Items (Tier 1)
These keep you alive:
| Item | Effect |
|---|---|
| Extra Health | Increases maximum health |
| Adrenaline | Increases walk speed |
| Health Regen | Slowly regenerates health over time |
| Healing Melee | Pushing enemies back heals you |
| Armour | Reduces a percentage of damage taken |
| Healing Prayer | Activated: small instant heal |
Special Items (Tier 1)
These change how the run plays:
| Item | Effect |
|---|---|
| A-A Field (Anti-Abomination Field) | Damages enemies that get close to you |
| Gas Grenade | Throws grenades at intervals, creating high damage AoEs |
| Aethereal Bullet Coating | Full damage to ghost enemies, plus 10% bullet damage |
| RADAR | HUD radar showing enemies, money pickups and player items |
| Holyflare | Fires a beam of holy light at one enemy for large damage |
| Energy Wave | Shoots a long damaging wave at a close enemy on an interval |
| Cash Collector | Pulls nearby money drops toward you |
There are more items in the game, and they drop from boss kills. The seven special items above are the shop pool, and the achievements confirm that gas, Energy Wave, A-A Field and Holyflare all have dedicated kill-count achievements, which means each supports a full build.
Enemies and the Horde
The horde is made of cultists, the endless rank and file that swarms from the arena edges. They are slow early and relentless later. Ghost enemies exist too, and they take reduced or no damage until you have Aethereal Bullet Coating. Between the cultists and the bosses stand elite variants and the named Abominations.
Money
Money drops from kills, destructibles and pickups. It funds the shops. The "War Service Gratuity" achievement requires earning $3000 in a single run, which is a good benchmark for a complete, well-farmed run. Cash Collector turns money farming from a chore into an autopilot system, and it pairs naturally with runs that kill fast.
The Ascended Abominations: Boss Roster
Seven named bosses are confirmed through the achievement list. Each has a distinct name, a kill achievement, and a place in the story.
| Boss | Achievement | Notes |
|---|---|---|
| Sludge Spewer | A Victim of Circumstance | 75% unlock rate, likely the first or second boss |
| Pestilence | The Sites and Sounds of Abidjan | Named for the Ivory Coast port city |
| Your old friend | Fraticide | A personal, story-driven fight |
| The Weeping Sister | The Bell Tolls for Marie | Named after Marie, a story figure |
| The Dread | The Murder of Crows... | Crow imagery, likely a flying or swarm boss |
| Shellshock | Post Traumatic Stress | War trauma given form |
| Blitz | No Man's Land's Finest | Fast, aggressive, the name says it all |
The unlock rates tell a progression story. Sludge Spewer and Pestilence sit at 75%, meaning most players who finish the opening reach them. The Dread and the Weeping Sister drop to 64%, Shellshock to 57%, Blitz to 50%. The late roster is where runs die.
General boss rules:
- Learn the wind-up, not the attack. Every Abomination telegraphs. The animation is the warning, the damage comes after.
- Kill adds first. Cultists that spawn during a boss fight will grind you down while you tunnel on the boss.
- Save special items for the boss. A Holyflare or Energy Wave that deletes a boss phase is worth more than a wave of trash kills.
- Dodge through charges, not away. Most boss charges have forward hitboxes. A backward dodge still gets hit. Dodge forward and to the side.
- Position against the arena, not the boss. Keep a path open. Cornering yourself against a charging Abomination is the classic death.
Builds and Tier List
The kit system supports distinct build identities. These are the strongest directions based on the confirmed item pool.
S-Tier: The Holyflare Inquisitor
Core items: Holyflare, Aethereal Bullet Coating, Lucky Chamber, Express Rounds How it plays: Holyflare deletes single high value targets on a cooldown while your rifle cleans up. Aethereal Bullet Coating solves ghost enemies and adds 10% bullet damage. Lucky Chamber and Express Rounds push gun DPS so the beam is a finisher, not a crutch. Why it is strong: The beam ignores positioning. It fires from the heavens at a chosen enemy, which means it works while you are kiting, reloading or panicking. Watch out for: Swarms. The beam is single target. You need wave clear from the gun.
S-Tier: The A-A Field Aura Tank
Core items: A-A Field, Armour, Extra Health, Health Regen, Heavy Melee How it plays: Walk into the horde and let the field burn everything that touches you. Melee knockback punishes anything that survives. Armour and health make the facetanking viable. Why it is strong: The "Personal Space" achievement tracks 1000 kills with the field, which proves it is a real damage source at scale. This is the lowest effort, highest consistency build in the game. Watch out for: Bosses. The field is close range and bosses punish close range. Bring a rifle and kite during boss phases.
A-Tier: The Gas Grenade Artillery
Core items: Gas Grenade, Improved Rifling, Adrenaline How it plays: Gas grenades create high damage zones on a timer. You control space by where you fight. Improved Rifling keeps the rifle effective at the edge of the gas clouds, and Adrenaline keeps you repositioning faster than the horde. Why it is strong: "Transvaal, 1903" tracks 1000 gas kills. Area denial is a full build. The grenades fire in random directions, so the build rewards players who fight in open space and punish players who camp corners. Watch out for: Random grenade direction. It is chaos by design. Keep your escape route away from the gas.
A-Tier: The Energy Wave Reaper
Core items: Energy Wave, Close Range, Healing Melee How it plays: The wave fires at close enemies on an interval. Stack Close Range damage and let the wave do the work while you focus on survival. Melee interactions fill the gaps. Why it is strong: "Aethereal Side Arm" tracks 1000 wave kills. It is a reliable, automatic damage source that rewards aggressive positioning. Watch out for: It needs enemies close. Ranged bosses and spread-out hordes reduce its value.
B-Tier: The Vampiric Sustainer
Core items: Healing Bullets, Health Regen, Express Rounds, Lucky Chamber How it plays: Max fire rate, max crit, and let Healing Bullets keep your health topped off. Health Regen covers the gaps between hits. Why it is strong: The best sustain build in the shop pool. It turns long boss fights into war of attrition you win. Watch out for: No burst. This build dies to one big mistake, because the healing is steady, not bursty.
B-Tier: The Cash Collector Economy Run
Core items: Cash Collector, RADAR, Express Rounds How it plays: Cash Collector vacuums money, RADAR shows where it is, and every wave funds more upgrades. This is the farm build that snowballs into a fully upgraded weapon. Why it is strong: "War Service Gratuity" (3000 money in a run) and the fully upgraded weapon achievements are the payoff. A maxed rifle with full tier 3 upgrades outclasses a scattered kit. Watch out for: The economy does not kill bosses. You still need damage items. Treat this as a foundation, not a finish.
Progression Strategy
The First Three Shop Decisions
Your first three purchases set the run's direction:
- First buy: pick a damage direction. Express Rounds (fire rate) or Close Range (aggression) or Improved Rifling (range). This decides how you play the opening waves.
- Second buy: commit to the tier chain. Buy the tier 2 of your first item. The upgrade discount makes this the cheapest power spike in the game.
- Third buy: one survival item. Extra Health or Armour. You will need it for the first Abomination.
Money Management
Money is the only resource and it resets on death. The math is simple: a tier 2 item costs less if you own tier 1, so finishing an item line is always more efficient than starting a new one. Plan your shop visits around completing lines, not sampling tabs.
Run Structure
Wave phase → kill horde, break destructibles, note shop locations
Shop phase → buy, close menu, track the new active shop
Repeat    → each wave harder, each shop visit deeper into tier chains
Boss      → named Abomination, save specials, kill adds first
Advance   → harder tier, better drops, journal entries unlock
The Meta Game
Death is not failure. It is progression. The journal entries unlock as you play, the "Behind the Eyes of a Madman..." achievement asks for every journal entry, and each run teaches a boss wind-up or a shop route. The game is short, so runs are cheap to restart and the knowledge compounds fast.
Step by Step Strategy Sequences
Sequence 1: Your First Clean Run
- Start with the rifle as your mental primary. It is the most forgiving weapon to build around.
- Wave 1: stay central, let cultists converge, break every crate. Collect everything.
- First shop: buy Express Rounds. If it is not offered, buy Close Range.
- Wave 2: test the fire rate. If the gun feels good, the build direction is set.
- Second shop: buy the tier 2 of your first item. The discount makes it cheap.
- Wave 3: add one physique item, Extra Health or Armour, before the boss approaches.
- Boss: keep distance, learn the wind-up, dodge through charges, kill adds first.
- After the boss: spend everything, then keep the loop going.
Sequence 2: The A-A Field Tank Build
- Buy A-A Field at the first opportunity. It is the build's engine.
- Immediately add Armour and Extra Health. The field only works if you survive contact.
- Add Heavy Melee for knockback damage on anything that pushes through.
- Fight in the center of the arena. The field's radius covers more ground there.
- Against bosses, switch to the rifle and kite. The field is for the horde, not the boss.
- Track the kill counter. Personal Space achievement progress is your build health check.
Sequence 3: Beating the Charging Boss
The classic early Abomination charges in a straight line with a telegraphed wind-up.
- Stand at mid range, rifle ready.
- Watch for the wind-up animation. The moment it starts, stop shooting and focus.
- Dodge forward and to the side when the charge is about to connect. Do not dodge backward.
- The boss overshoots. Turn and fire into its back for a full second of free damage.
- If it raises both arms, it is about to slam. Back away immediately, the slam has a wide radius.
- After the slam, it is stunned. Use your special here.
- Repeat until the boss dies. Never let it corner you.
Sequence 4: The Ghost Enemy Problem
Ghost enemies ignore normal damage. They are the horde's middle finger to unplanned kits.
- Recognize the threat: translucent enemies that shrug off bullets.
- Buy Aethereal Bullet Coating at the first shop that offers it.
- The coating adds 10% bullet damage, so it is never a wasted slot even after ghosts stop appearing.
- If you cannot buy it, kite ghosts and let the horde's other enemies die first.
- After buying it, ghosts die like everything else, and the 10% bonus makes every future wave faster.
Sequence 5: Farming Money for a Fully Upgraded Weapon
- Buy Cash Collector early. It vacuums drops so you can keep moving.
- Buy RADAR so you can see money pickups through the chaos.
- Focus destructibles. Crates and debris are the hidden money printer.
- Commit every shop visit to one weapon line: rifle, auto rifle or shotgun.
- The tier discount means the third tier costs a fraction of the first.
- Max the weapon, collect the achievement, and watch the boss HP bar melt.
Sequence 6: The Melee Challenge Run
Melee is viable but demanding. Only attempt it after you know boss patterns.
- Buy Healing Melee first. Melee without healing is suicide.
- Add Heavy Melee for damage on pushback.
- Close distance constantly. The horde is your resource, use it for healing and damage.
- Never melee a boss during its wind-up. Melee during recovery only.
- Accept that this is the hardest achievement in the game. "Fisticuffs" sits at 7% unlock for a reason.
Advanced Tips
- The shop rotation is predictable. Four shops, one active, buying rotates to the next. If you track which shop you bought from, you know which one activates next. Route your kiting toward it.
- Tier chains beat tab-hopping. Every tier you skip costs full price later. Finishing one item line is cheaper and stronger than owning tier 1 of five items.
- Audio is a cheat code. Boss wind-ups have audio tells that fire before the visual. Play with sound on. Muted Blood Welkin is a harder game.
- Dodge i-frames exist. The dodge has invincibility at the start. Roll through projectiles, not just away from them.
- Reload cancel. Swap weapons during the last part of a reload to shave time off every reload.
- Destructibles are a money source. Break everything, every wave. The extra coins fund an entire extra item by the boss.
- The gas grenade is random. It throws in a random direction on an interval. Fight in open space so the gas lands on enemies instead of your escape route.
- Aethereal Bullet Coating is never wasted. Even if ghosts stop appearing, the 10% bullet damage stays. It is the most efficient special item in the shop.
- Healing Bullets reward aggression. The closer and faster you shoot, the more you heal. It converts aim skill into survivability.
- Know your boss order. Sludge Spewer and Pestilence come early, Blitz and Shellshock come late. Practice early bosses until they are free, then the late roster is the only wall.
The Lore: A War That Never Happened
The story is the game's quiet weapon. The journal entries tell the tale of a soldier of the Royal Canadian 18th Infantry Battalion. One entry is dated December 27th, 1899. The narrator is lucky his battalion departed for England, so he could spend Christmas with family. Toronto held a parade, then the train to Halifax, then the sail to England. The men will "make history" and return "with medals and honour."
The alternate history peels away fast. Days after the Queen's death, the French lay claim to an African town. The narrator hopes the French surrender quickly, and dreams of seeing Africa. The war spreads to Abidjan, Kouto, Transvaal. The names on the achievements are the campaign map.
And under it all, the madness. The tagline YOU. ARE. NOT. CRAZY. becomes I. AM. NOT. CRAZY. as the achievement list confirms. The Abominations are not just monsters, they are Shellshock, Post Traumatic Stress given flesh, the Dread, a murder of crows, the Weeping Sister, Marie's bell. The horror is not supernatural in origin. It is the war.
The lore is optional. You can play Blood Welkin as a pure arena shooter and never read a journal. But the journal entries are the difference between a good time killer and a haunting one, and "Behind the Eyes of a Madman..." rewards the players who dig.
FAQ and Common Mistakes
How long is a run? Short. A full run from wave one to the late bosses takes 30 to 45 minutes. Failed runs end in 10 to 15.
Is there meta-progression? Progress is knowledge and journal entries. The game is designed to be replayed, and each run funds the next lesson.
Can I play with a controller? Partial support. Keyboard and mouse is recommended for precision. The achievements and boss fights favor fast aim.
Are there difficulty options? The game has adjustable difficulty. The base curve starts approachable and the late bosses are the real wall.
How many bosses are there? Seven named Ascended Abominations: Sludge Spewer, Pestilence, your old friend, the Weeping Sister, the Dread, Shellshock and Blitz.
What are ghost enemies? Translucent enemies that ignore normal bullets. Aethereal Bullet Coating makes them take full damage and adds 10% bullet damage on top.
What is the best weapon? The rifle for consistency, the auto rifle for wave clear, the shotgun for burst. The best weapon is the one you fully upgrade, because the tier 3 version of any weapon outclasses the tier 1 version of all three.
Common mistake: not spending money. The number one beginner killer. Unspent money vanishes on death. Buy anything over hoarding anything.
Common mistake: skipping tiers. Buying tier 3 without tier 2 costs more and misses the discount. Complete the chain.
Common mistake: standing still. Movement is defense. The horde tracks, and a moving target takes a fraction of the damage.
Common mistake: saving specials forever. Specials are for bosses, but a boss you never reach because the horde killed you is a wasted special. Use them to survive the wave, reach the boss, then let them carry the fight.
Common mistake: ignoring physique. A glass cannon with max damage and no armor dies to one elite. Two physique items minimum by the first boss.
Final Verdict
Blood Welkin is a compact, honest FPS roguelite that knows exactly what it is. The shop rotation and tier discount system give the kit-building real strategic weight. The seven named Abominations give the bosses personality. The alt-history journal entries give the violence a soul. It is janky in places and thinner than the genre's giants, but at $3.99 it delivers a satisfying, replayable loop with a haunting story buried underneath. You are not crazy. The game is just that good.
Last reviewed by Game How To Editorial. We play each game, verify mechanics against official sources, and update guides when the game changes.